
 Pin it
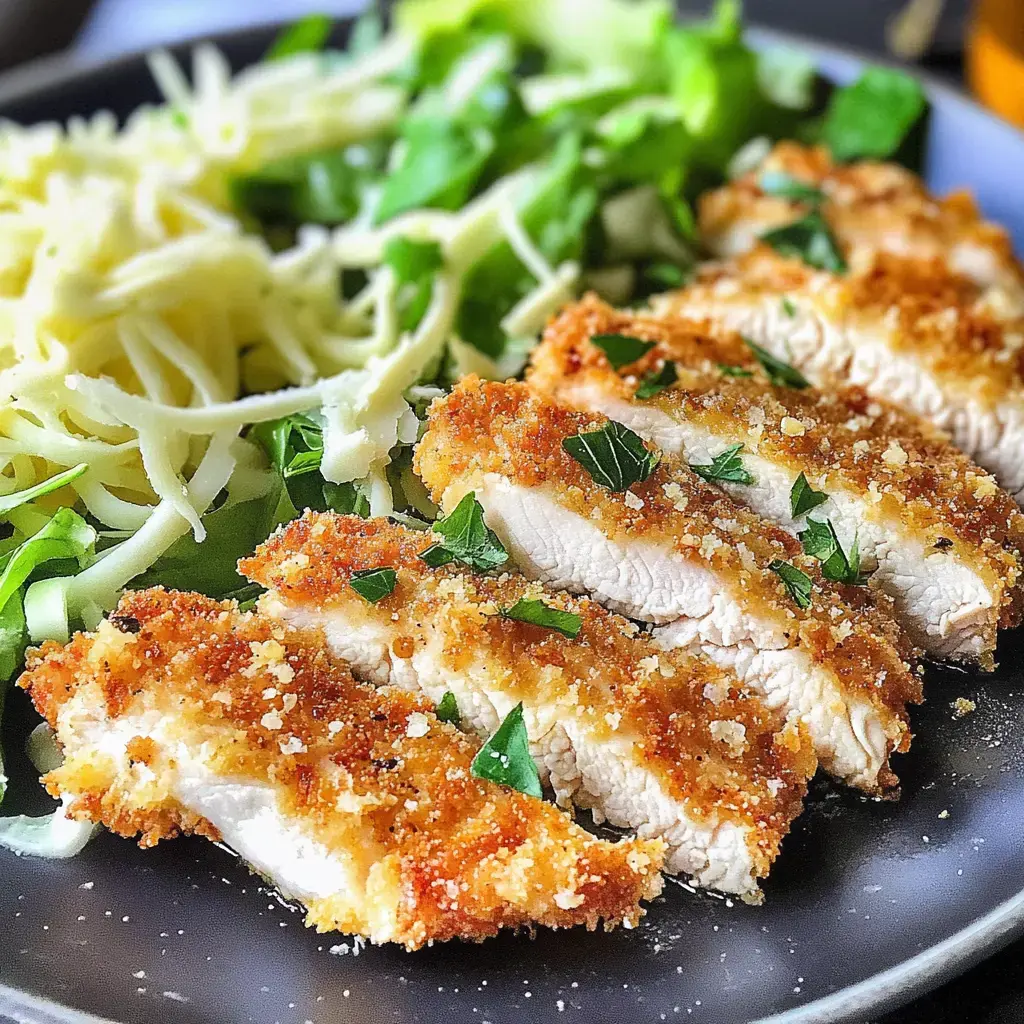
I've gotta share my go-to Chicken Milanese that's become a regular at my dinner table. I picked up this method from my Italian friend next door and can't stop making it. There's something almost magical about that golden, crunchy exterior with the tender, juicy meat inside that makes me smile every time.
Fancy Yet Straightforward
The thing I can't get enough of with this meal is how flexible it is. Sometimes it's just a quick dinner with lemon squeezed on top, while other days it transforms into an awesome chicken parm. And guess what? It only takes about 30 minutes to throw together – perfect when life's crazy but you still want something that feels special.
Beginning with the Basics
Great Chicken Milanese starts with picking the right stuff. I always grab fresh chicken and cut it myself. My breadcrumbs are homemade when I'm not rushed, and I never use pre-packaged parmesan. These small touches really change how the final dish turns out.
The Winning Method
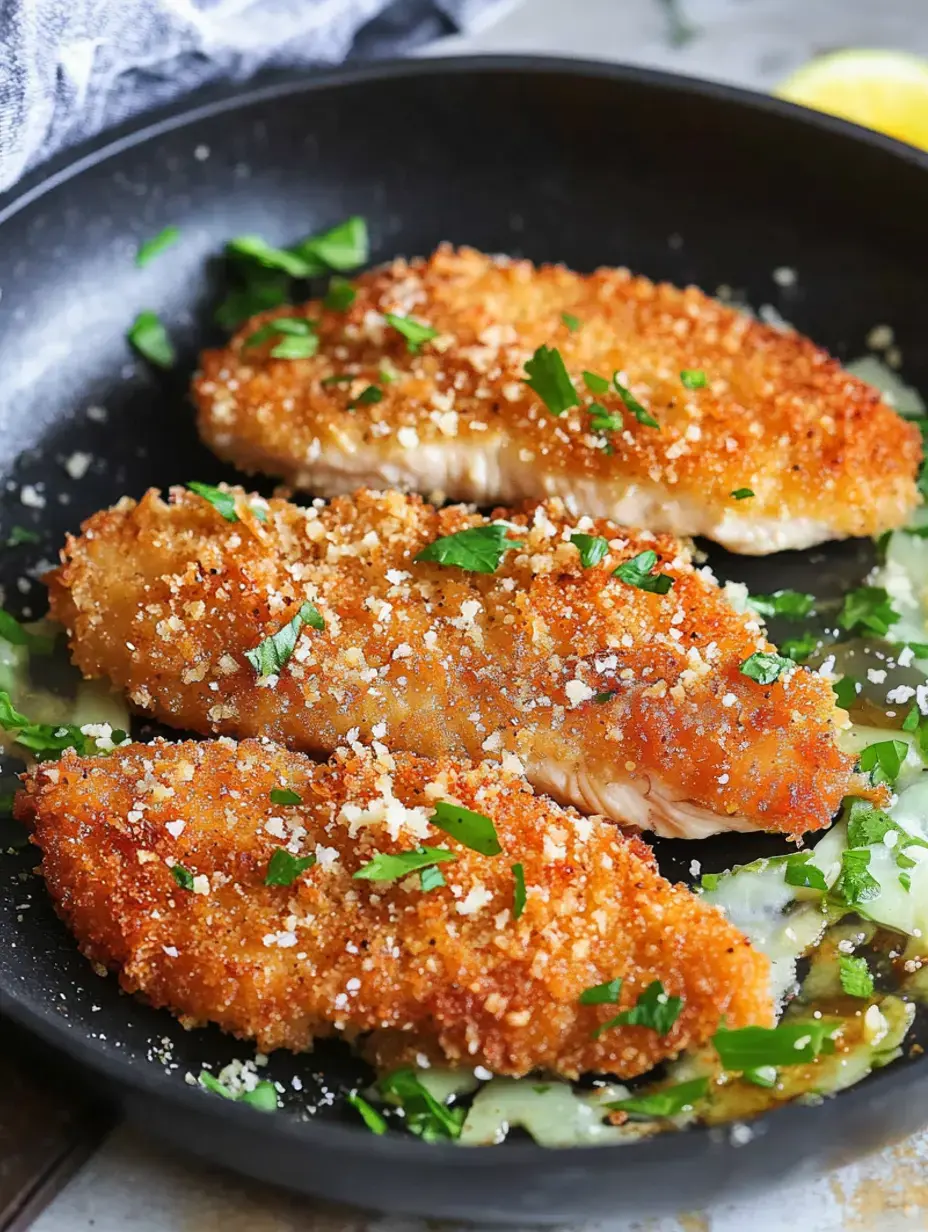
After making this countless times, I've got my coating process down pat. Each chicken piece gets first rolled in flour, then dunked in whisked eggs, and finally covered in seasoned crumbs. I love watching each cutlet transform as it gets its crunchy jacket.
Standing Out From the Crowd
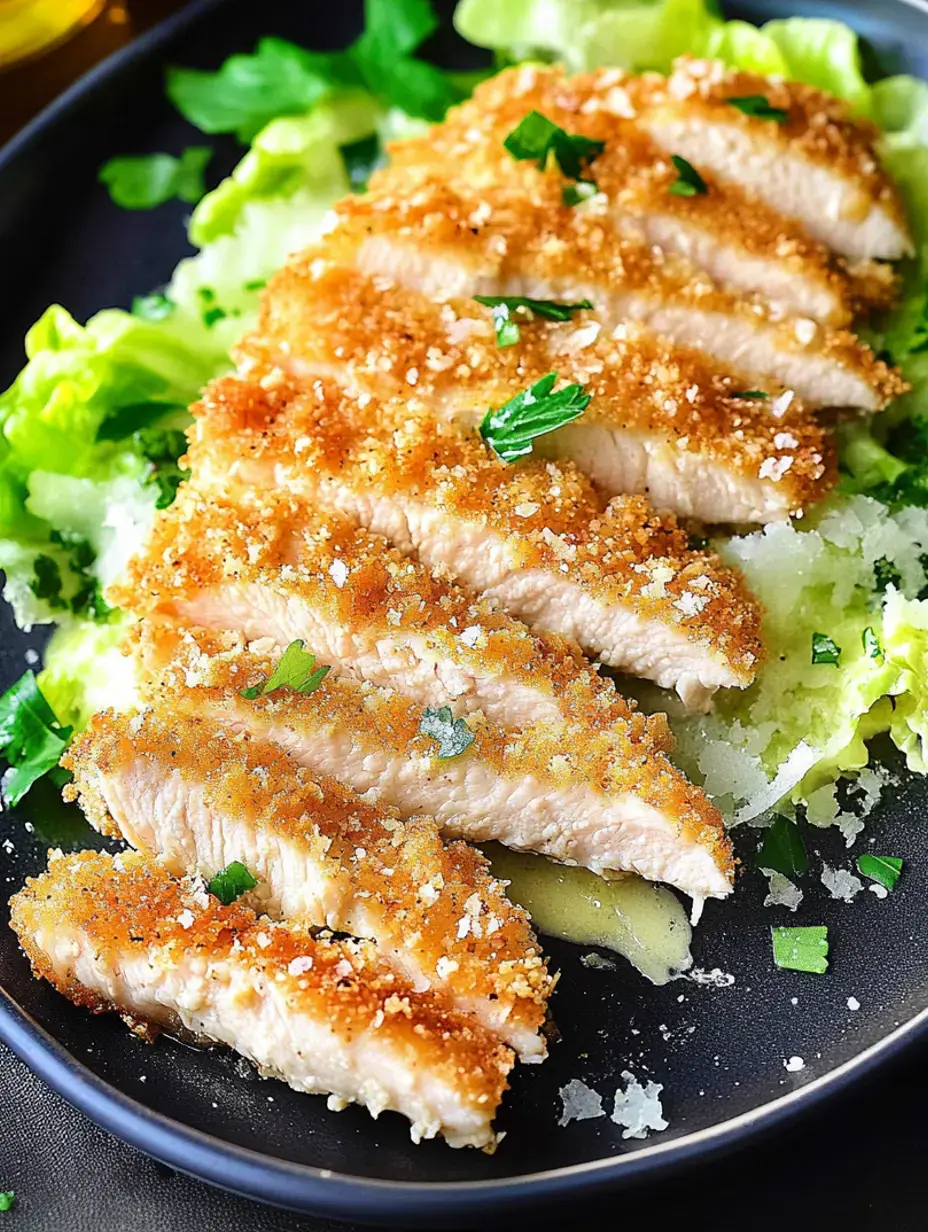
While it might look like other breaded chicken dishes, my Milanese has its own character. The crunchy coating with parmesan makes it stand apart, giving you that perfect bite every time. It's now my signature dish that everyone asks for when they come over.
 Pin it
Small Steps Count
Over time, I've figured out some key tricks. Getting the chicken pounded flat and even is super important for cooking it right. And you've gotta season at every step – the flavors build up that way. These tiny details really affect how good your meal turns out.
Setting Up Your Station
My breading setup works like a production line. Three flat dishes all lined up – flour, beaten eggs, and my special breadcrumb mix. I keep one hand for wet stuff and one for dry stuff, which keeps everything from getting messy and makes sure each piece gets coated just right.
The Magic of Parmesan
I won't budge on adding parmesan to my breadcrumbs. It brings such amazing flavor and helps create that gorgeous golden crust. I always grate it myself – the stuff in containers just doesn't compare.
Choosing Your Fat
Using good olive oil really matters for this dish. I love the subtle flavor it adds while making everything perfectly crispy. Sometimes I'll throw in some butter too – it gives the chicken the most beautiful color.
What Goes With It
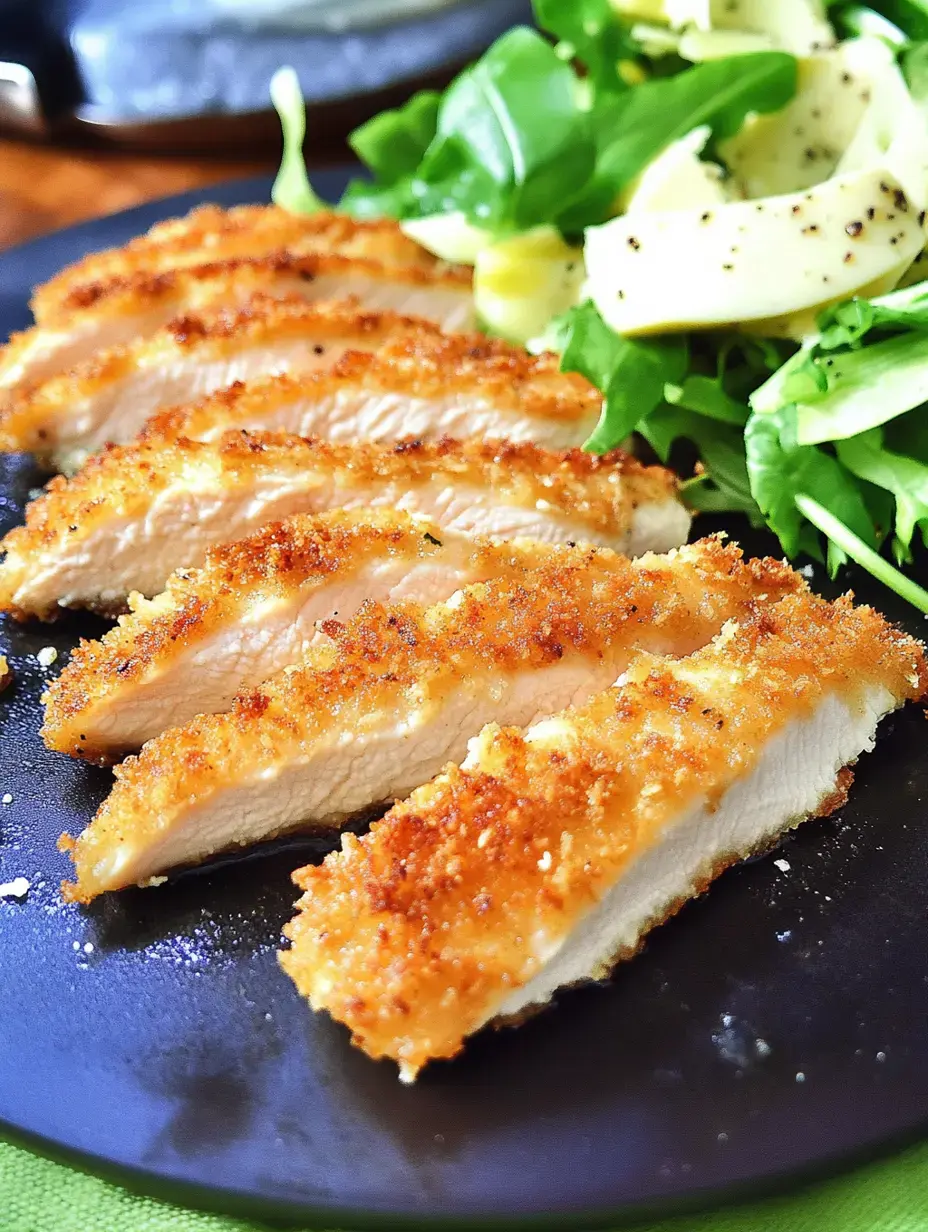
I love serving this with a simple arugula salad dressed with fresh lemon juice and olive oil. The peppery greens and tangy citrus balance out the richness perfectly. For hungry nights, I'll add some crispy roasted potatoes on the side.
 Pin it
Getting Started with Chicken
Working those chicken breasts to the right thickness takes a little practice. I sandwich them between plastic and gently hammer them flat. It's kinda relaxing and makes sure they'll cook the same all over.
Mind Your Temperature
Getting that perfect golden crust comes down to heat control. I stick with medium-high and pay close attention. You should hear a gentle sizzle when chicken touches the pan – that's your sign the temp is just right.
Staying Crunchy
I've learned not to stuff too many pieces in the pan at once – it's better to take your time with batches. As each piece finishes cooking, I rest it on a wire rack instead of paper towels, which keeps the crust crispy all around.
For All Your Friends
When I have gluten-sensitive friends over, I swap in gluten-free breadcrumbs and flour. They're always so happy to enjoy the meal without worry, and honestly, it tastes just as good.
My Must-Have Equipment
My favorite meat pounder and big cast iron pan are must-haves for this dish. Having the right gear just makes everything easier. I also keep my meat thermometer nearby to make sure the chicken is cooked perfectly.
 Pin it
The Beauty Touch
A handful of fresh parsley and some lemon wedges make this dish pop on the plate. I love putting it all on my grandma's white serving dish – the golden chicken looks so pretty against it.
Cook in Groups
You can't rush good food. I typically cook about three pieces at once – any more and they start steaming instead of frying. It might take a bit longer, but trust me, you'll taste the difference.
Leftovers Plan
These cutlets are best fresh, but I sometimes make extra for the next day's lunch. I always warm them in the oven, never the microwave, to keep them crispy. They make amazing sandwiches with some sliced tomato and lettuce.
Prep Now, Cook Later
During hectic weeks, I'll bread a bunch and freeze them raw. They freeze great between sheets of parchment. It's so handy to grab just what you need and cook them up fresh.
Last Little Touches
Every part of this dish needs care, but those final seasonings really make it special. A sprinkle of flaky salt right after cooking, some fresh black pepper, and maybe a little more grated parmesan. That's all you need for pure deliciousness.
 Pin it
Frequently Asked Questions
- → Can I make this without gluten?
Definitely! Swap in gluten-free flour and Panko. The 4C gluten-free brand works great and gives a similar texture.
- → How should I store and reheat leftovers?
Keep in a sealed container with parchment between pieces for up to four days. Warm them in a pan on medium-low or air fry at 360°F for 3-4 minutes to bring back the crunch.
- → Why do you halve the chicken breasts?
Cutting them in half horizontally makes thinner pieces that cook fast and evenly. You'll get juicy meat with a perfectly crispy coating.
- → Can I bread the chicken in advance?
You can! Coat the chicken hours before cooking and refrigerate. Place parchment between pieces to keep the breading intact.
- → What's the purpose of Parmesan in the coating?
Parmesan adds tons of flavor and helps the crust become crispier and more golden as it cooks.