
 Pin it
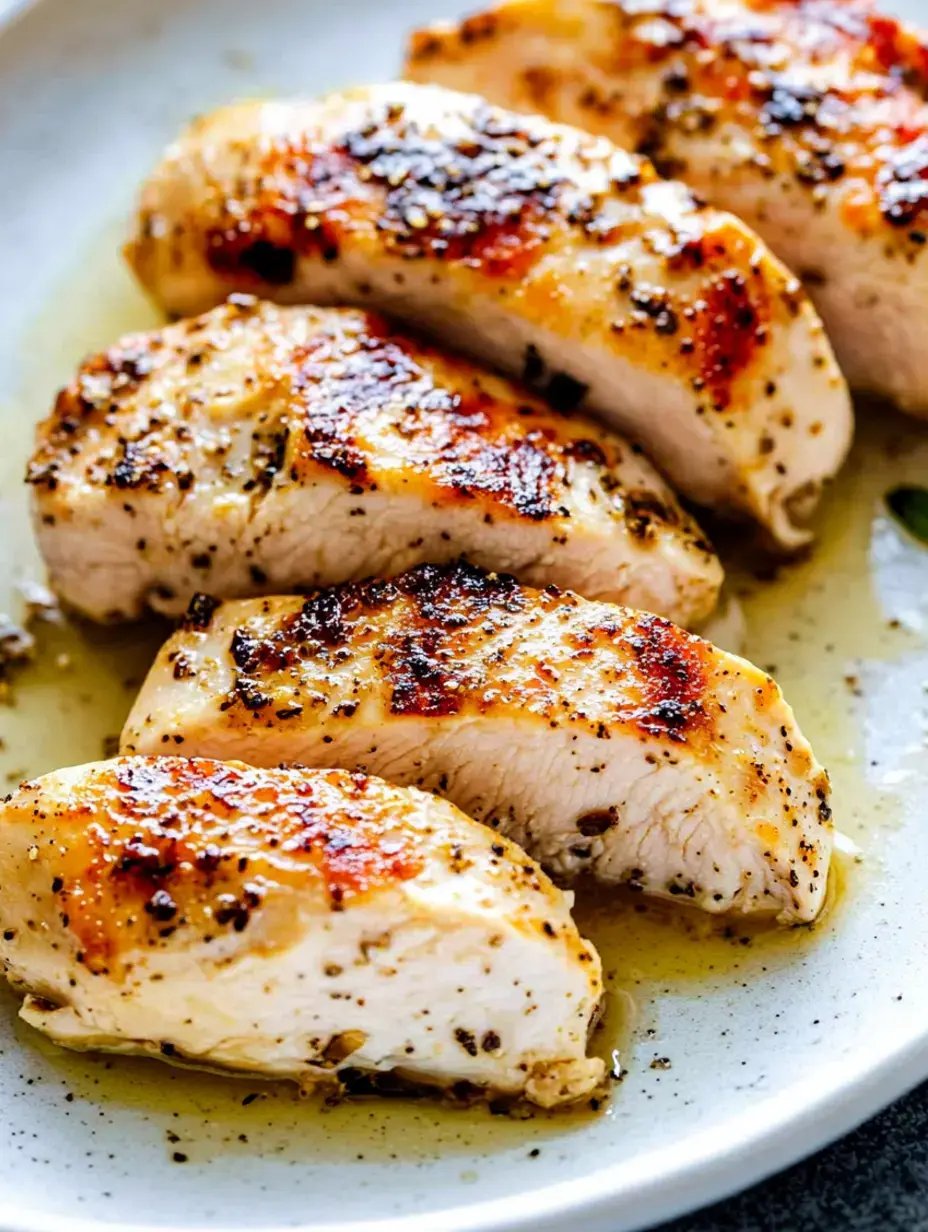
After years of experimenting in the kitchen, I've discovered the ultimate technique for perfectly cooked chicken breasts. This method consistently delivers golden-brown exterior and juicy interior - ideal for both quick dinners and meal prep. The results are so reliable that it's become my signature chicken recipe.
Key Ingredients
Quality matters when it comes to chicken. This recipe transforms basic ingredients into something special using just chicken breasts, basic seasonings, and high-heat cooking oil. The simplicity allows the chicken's natural flavors to shine through.
Ingredient Selection
Start with fresh, high-quality chicken breasts. Use an oil that can handle high temperatures like avocado or grapeseed. Keep seasonings simple - salt, pepper, and your favorite herb blend will create the perfect flavor foundation.
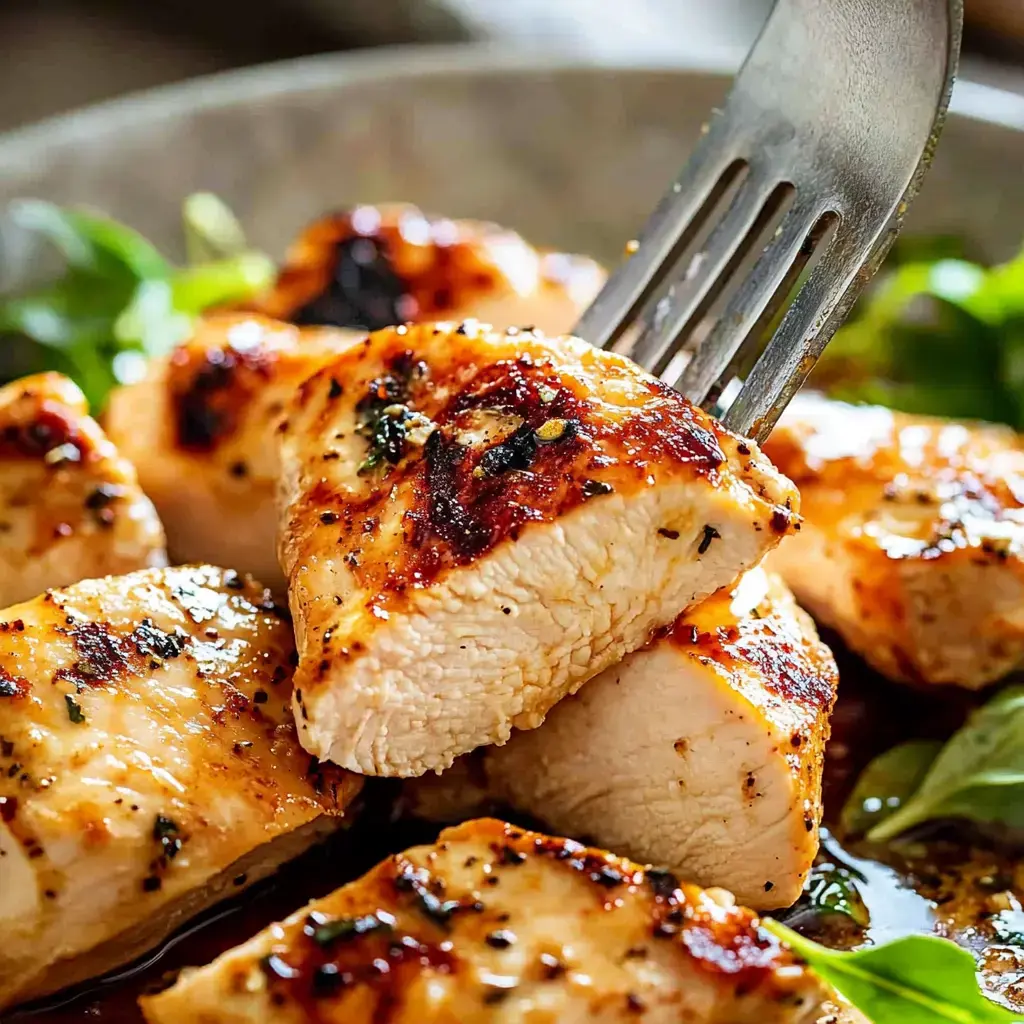
Essential Preparation
Pound chicken breasts to an even thickness before cooking. This critical step ensures uniform cooking and tender results. Season generously on all sides, allowing the spices to form a flavorful crust during cooking.
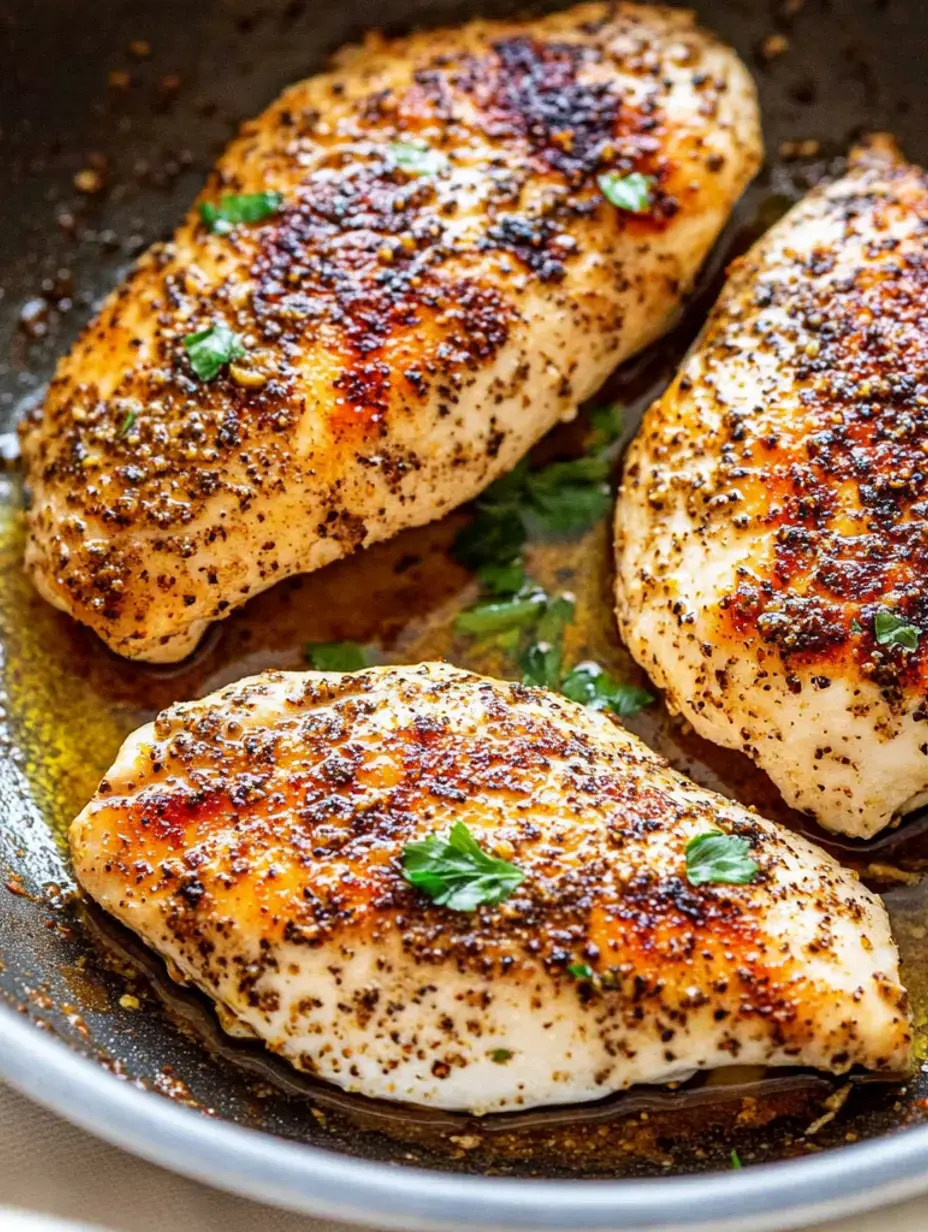
Cooking Technique
Heat your pan until it's properly hot before adding the chicken. The initial sear creates that coveted golden crust. Resist the urge to move the chicken too early - patience yields the best results.
 Pin it
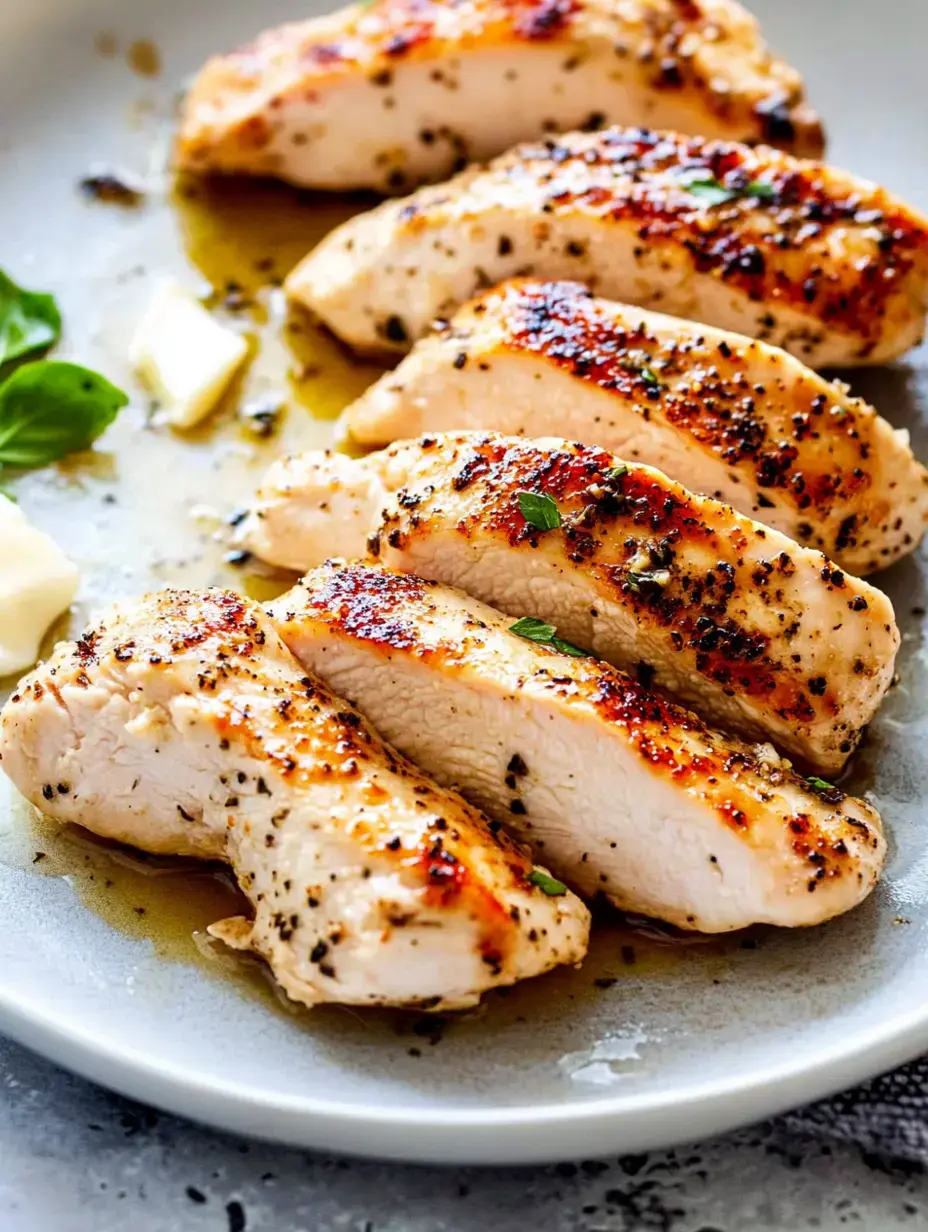
Professional Tips
Use a meat thermometer to achieve perfect doneness. Finish with a small pat of butter for extra richness. These simple touches elevate the dish from good to exceptional.
Resting Period
Allow the chicken to rest after cooking. This crucial step lets the juices redistribute throughout the meat. Five minutes of patience makes the difference between good and great results.
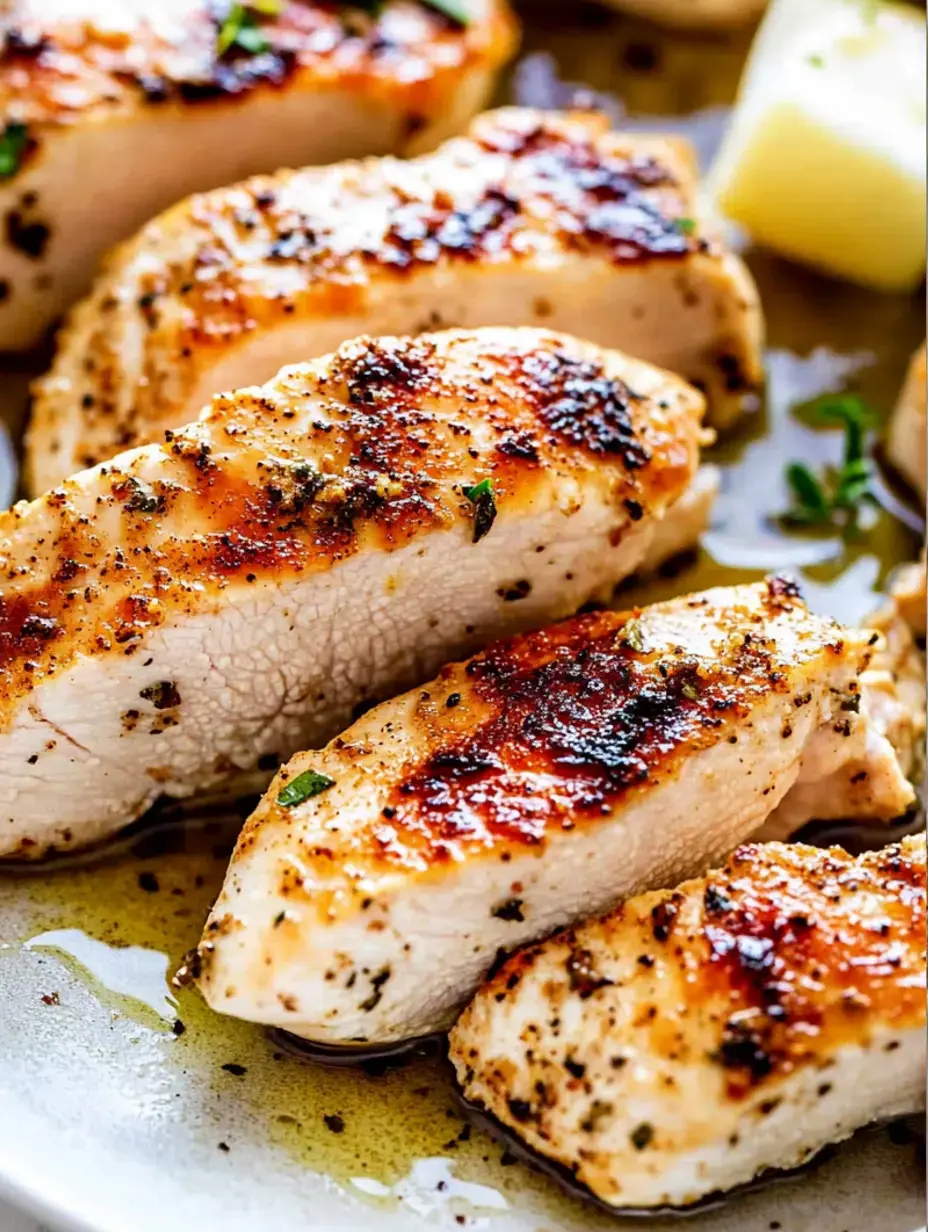
Serving Suggestions
This versatile chicken works beautifully in numerous dishes. Serve it alongside roasted vegetables, atop fresh greens, or as the protein in grain bowls. Its neutral seasoning complements any side dish.
Storage Tips
Store leftover chicken properly to maintain its moisture. Cool completely before refrigerating. Properly stored, it stays tender for several days - perfect for quick meals throughout the week.
Reheating Method
Gentle reheating preserves the chicken's texture. Use low heat and add a splash of broth to maintain moisture. Whether using microwave or stovetop, avoid high temperatures that can toughen the meat.
 Pin it
Flavor Variations
Customize the seasoning blend to create different flavor profiles. Try Mediterranean herbs, Mexican spices, or Asian-inspired marinades. The basic cooking technique remains the same while delivering varied results.
Technical Details
The success of this method lies in temperature control. High heat creates the initial sear, while moderate heat ensures thorough cooking. Understanding this balance produces consistently excellent results.
Meal Planning
Batch cooking this chicken streamlines meal preparation. Cook extra portions during weekend prep for easy weekday meals. The cooked chicken becomes a versatile ingredient for multiple dishes.
Portion Control
Adjust cooking times based on chicken breast thickness. Larger pieces may require oven finishing. Monitor internal temperature for perfect doneness regardless of size.
Nutritional Benefits
This cooking method retains chicken's natural nutrients while keeping added fats minimal. The result is a protein-rich, lean main dish that fits into any healthy eating plan.
 Pin it
Advanced Preparation
Marinate chicken overnight to enhance flavor development. This preparation step creates deeper taste while maintaining the meat's moisture during cooking.
Common Pitfalls
Learn from typical cooking mistakes - overcrowding the pan, insufficient preheating, premature flipping. Understanding these issues helps achieve consistent results.
Complementary Elements
Create simple pan sauces using cooking residue. Pair with crusty bread to capture every flavorful drop. These additions transform a basic protein into a complete meal.
Recipe Adaptations
Use this chicken in multiple preparations - sandwiches, salads, wraps, or pasta dishes. The basic recipe provides endless possibilities for creative meals.
Cooking Foundation
Mastering this fundamental technique builds essential cooking skills. It serves as a foundation for numerous recipes and provides confidence in the kitchen.
 Pin it
Frequently Asked Questions
- → Why do chicken breasts need to be thinner than an inch?
When they're thicker, the inside can stay undercooked while the outside gets dried out. Flattening them ensures even cooking and keeps them moist.
- → Why pick vegetable oil over olive oil?
Vegetable oil can handle higher heat than olive oil. This helps when pan-searing the chicken since you can avoid burning but still get that golden crust.
- → How can I tell it’s time to turn the chicken?
Cook for 5-7 minutes and don’t move it. If the chicken easily comes off the pan without sticking, it’s ready to flip. If it’s stuck, give it another minute or two.
- → How long will cooked chicken last in the fridge?
Let it cool all the way before storing it in a sealed container. It’ll keep in the fridge for up to 4 days.
- → Can I switch up the spices used in this recipe?
Definitely. Use your favorite spice mix instead of the one provided, and follow the same cooking steps for great results.
Conclusion
An easy walkthrough for preparing stovetop chicken breasts that are tender, juicy, and evenly cooked. Focuses on thinning the meat, seasoning well, and nailing the cook time.