
 Pin it
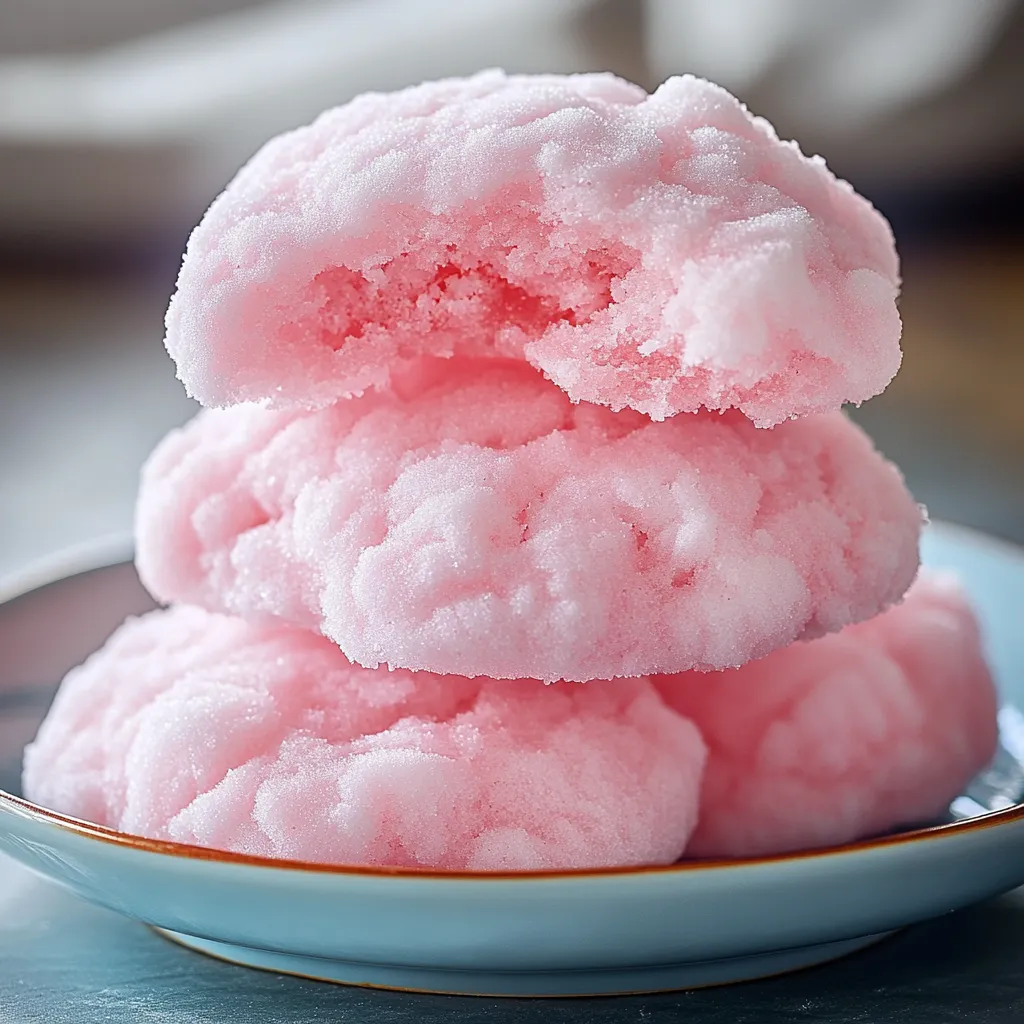
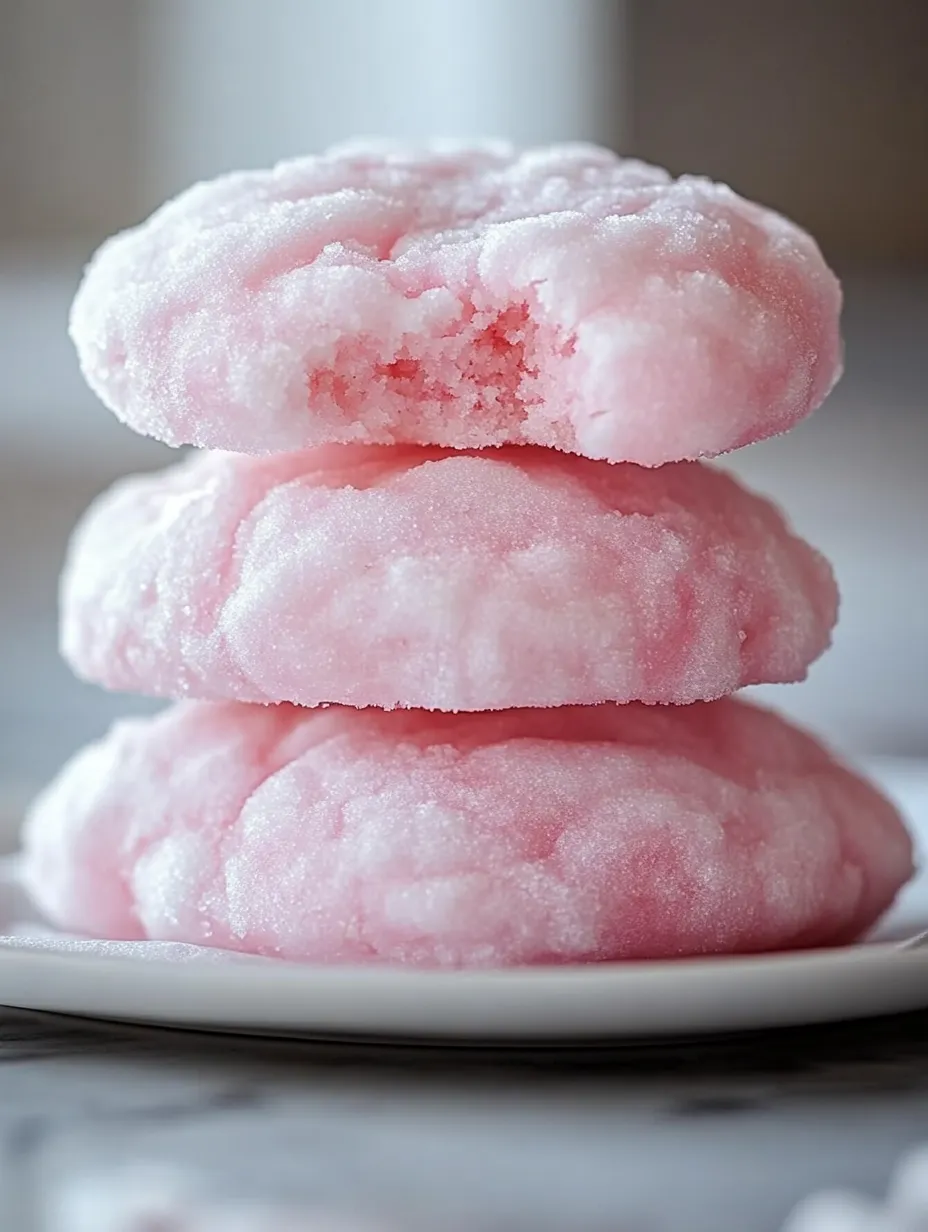
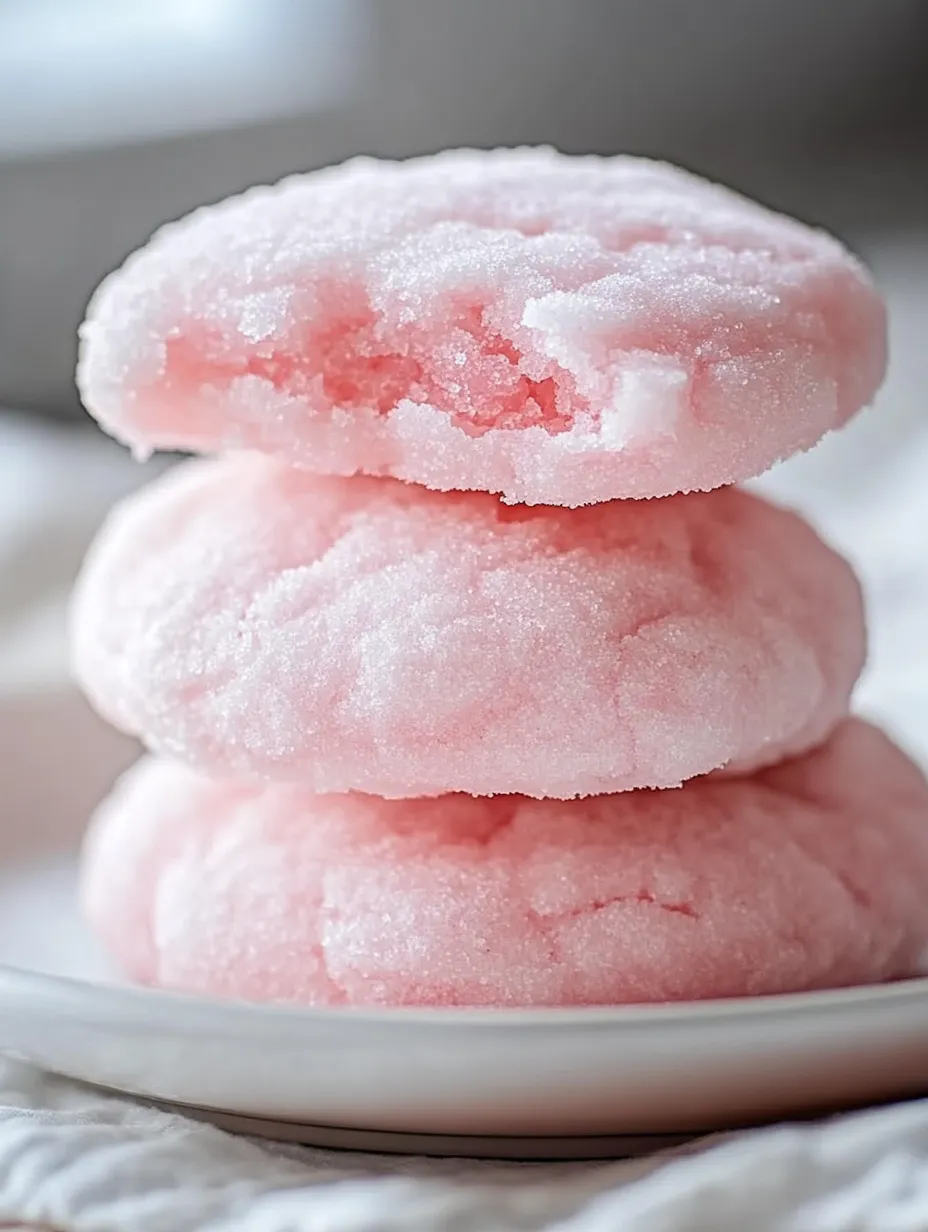
This nostalgic cotton candy cookie recipe transforms a favorite carnival treat into a delightful dessert you can enjoy at home. The soft, chewy cookies feature a beautiful marbled pink and blue design that perfectly captures the whimsical essence of cotton candy.
I first created these for my niece's carnival-themed birthday party and they were such a hit that they've become our go-to treat for special occasions. The kids love helping swirl the colorful dough together almost as much as they enjoy eating the finished cookies.
Ingredients
- All-purpose flour: Provides the perfect structure for these soft cookies
- Baking powder and baking soda: Work together to create the ideal rise and texture
- Unsalted butter: Allows you to control the salt level while adding richness
- Granulated sugar: Gives these cookies their sweet flavor and helps create crisp edges
- Large egg: Binds everything together and adds moisture
- Cotton candy extract: Delivers that authentic fairground flavor without being overpowering
- Food coloring: Creates the signature pink and blue cotton candy look
- White chocolate chips: Add little pockets of creamy sweetness throughout each cookie
- Crushed cotton candy: Makes for a fun finishing touch that melts slightly into the warm cookies
Step-by-Step Instructions
- Preheat Oven & Prepare Baking Sheets:
- Turn your oven to 350°F and let it fully preheat while you prepare the dough. Line your baking sheets with parchment paper which prevents sticking and makes cleanup easier. The parchment also helps the cookies bake more evenly by providing insulation against direct heat.
- Mix Dry Ingredients:
- Combine the flour, baking powder, baking soda, and salt in a medium bowl and whisk thoroughly. This step is crucial for evenly distributing the leavening agents throughout the flour. Whisking rather than just stirring ensures there are no pockets of baking soda or powder that could create bitter spots in your finished cookies.
- Cream Butter & Sugar:
- Use room temperature butter for the best results. Beat the butter and sugar together until the mixture becomes noticeably lighter in both color and texture, which takes about two full minutes with an electric mixer. This creates tiny air pockets that help your cookies achieve that perfect texture. Add the egg and cotton candy extract, making sure they're fully incorporated before moving on.
- Add Dry Ingredients:
- Pour the flour mixture into your wet ingredients gradually, about one third at a time. Mix just until combined after each addition. Overmixing at this stage can develop too much gluten, resulting in tough cookies rather than tender ones. The dough should look uniform but stop mixing as soon as the last streaks of flour disappear.
- Color the Dough:
- Divide your dough into two equal portions using a kitchen scale if you have one. Add a few drops of pink food coloring to one portion and blue to the other. Gently fold each color into its respective dough portion until evenly distributed. Avoid vigorous mixing which can make the cookies tough.
- Swirl & Shape the Cookies:
- Take a small piece of each colored dough and press them together without fully mixing them. Roll gently between your palms to form a ball about 1.5 inches in diameter. Place each cookie at least 2 inches apart on your prepared baking sheet as they will spread during baking.
- Bake:
- Place the cookies in the center rack of your preheated oven and bake for exactly 10 to 12 minutes. Look for set edges with slightly underdone centers. They may seem too soft when you remove them but will continue to set as they cool. This timing is the secret to achieving that perfect chewy texture.
- Decorate:
- If using optional toppings, add them while the cookies are still warm from the oven. The residual heat will help melt white chocolate drizzles or slightly dissolve cotton candy pieces, creating a lovely finish. Work quickly as the window for the perfect temperature is brief.
 Pin it
You Must Know
The cotton candy extract is what truly makes these cookies special. I discovered it by accident at a specialty baking store and now keep it stocked for whenever the craving hits. My daughter says these cookies taste like "birthday party happiness" and I couldn't agree more.
Make Ahead Options
These cotton candy cookies work beautifully as a make ahead dessert. You can prepare the dough up to 48 hours in advance and store it in the refrigerator, tightly wrapped. When ready to bake, let the dough sit at room temperature for about 20 minutes before shaping. Alternatively, you can freeze the shaped cookie dough balls for up to 3 months. Simply add 1 to 2 minutes to the baking time when cooking from frozen.
Storage Solutions
Store these cookies in an airtight container at room temperature for the best texture and flavor. They will stay fresh for up to 5 days, though they rarely last that long in my house. Place a piece of bread in the container to help keep the cookies soft. Avoid storing with any crushed cotton candy topping as it will dissolve over time and create sticky spots on your cookies.
Clever Substitutions
No cotton candy extract? Combine vanilla extract with a bit of raspberry or strawberry extract for a similar effect. For a different spin, butter extract with a touch of almond creates a funnel cake flavor profile that complements the cotton candy theme. If food coloring isn't your thing, try using freeze dried strawberry powder for the pink portion and butterfly pea powder for the blue to create natural colorings with subtle flavor additions.
 Pin it
Serving Suggestions
These cotton candy cookies make a showstopping addition to any dessert table. Serve them alongside vanilla ice cream for an elevated ice cream sandwich experience. For birthday parties, stack them on a tiered platter with actual cotton candy tufts between the layers for a magnificent display. They also pair wonderfully with a glass of cold milk or a cup of white hot chocolate for dipping.
Frequently Asked Questions
- → How do you get the cotton candy flavor in the cookies?
The cotton candy flavor comes from cotton candy extract, which you can find in specialty baking stores or online. If unavailable, a combination of raspberry and vanilla extract works as an alternative.
- → Can these cookies be made without food coloring?
Yes, you can skip the food coloring, but the cookies will lose their signature pink and blue swirls. They’ll still taste delicious.
- → How can I make the cookies crispier?
For crispier cookies, bake them for an additional 1–2 minutes—just ensure you don’t overbake, as they can dry out quickly.
- → What’s the best way to store these cookies?
Store the cookies in an airtight container at room temperature for up to 5 days. For even freshness, add a piece of bread to the container to retain moisture.
- → Can I freeze the cookie dough?
Yes, the cookie dough can be frozen. Roll it into balls and freeze on a baking sheet until solid, then transfer to a freezer-safe bag. Bake straight from frozen, adding 1–2 minutes to the baking time.