
 Pin it
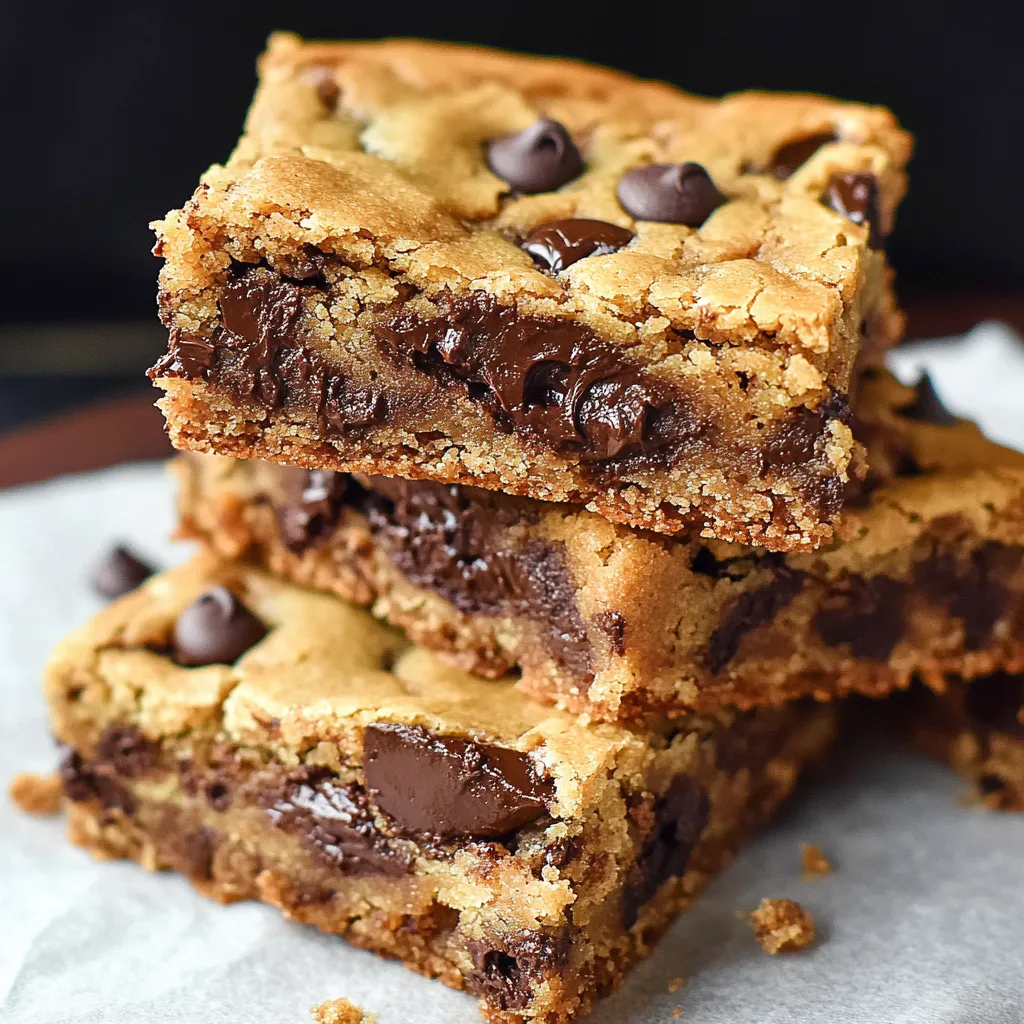
This chocolate chip cookie bar recipe transforms the classic treat into a convenient, shareable dessert that's perfect for potlucks, bake sales, or anytime you need an easy crowd-pleaser. The bars retain all the buttery, chocolate-filled goodness of traditional cookies but require half the effort with no scooping or multiple batches.
I created these bars during a busy holiday season when I needed homemade treats but lacked time for rolling dozens of cookies. My family now requests these over traditional chocolate chip cookies because they're just as delicious but leave more time for us to enjoy together.
- Butter: Adds richness and creates that distinctive cookie flavor. Use unsalted for better control of saltiness.
- Brown sugar: Provides moisture and a subtle caramel undertone that makes these bars irresistible.
- Granulated sugar: Balances the brown sugar and creates the perfect texture with crisp edges.
- Eggs: Bind everything together while adding structure. Room temperature eggs incorporate better.
- Vanilla extract: Enhances all other flavors. Pure vanilla extract offers superior flavor to imitation.
- All purpose flour: Forms the foundation. Measure by spooning into measuring cups and leveling for accuracy.
- Baking soda: Creates the perfect rise and texture. Check that yours is fresh for best results.
- Salt: Balances sweetness and enhances chocolate flavor. Fine sea salt works beautifully here.
- Semisweet chocolate chips: Deliver the quintessential chocolate flavor. High quality chips melt better and taste more complex.
Step-by-Step Instructions
- Preheat the Oven:
- Set your oven to 350°F and allow it to fully preheat while you prepare the dough. This ensures even baking from the moment your bars enter the oven. Position the rack in the center for optimal heat distribution.
- Cream the Butter and Sugars:
- In a stand mixer or large bowl with a hand mixer, combine softened butter with both brown and granulated sugars. Beat for a full 4 minutes until the mixture becomes notably lighter in color and fluffy in texture. This step incorporates air which creates the perfect cookie bar structure.
- Add Wet Ingredients:
- Add the egg and vanilla to your butter mixture and mix until fully incorporated. The mixture should look smooth and uniform with no streaks of egg visible. This typically takes about 30 seconds of mixing.
- Incorporate Dry Ingredients:
- Add the flour, baking soda, and salt to your wet ingredients. Mix on low speed just until no dry flour is visible. Overmixing at this stage can develop gluten, resulting in tough rather than tender bars.
- Fold in Chocolate Chips:
- Gently fold in your chocolate chips using a spatula rather than the mixer. This ensures even distribution without breaking the chips or overmixing the dough. Some bakers reserve a handful to sprinkle on top just before baking for a more attractive appearance.
- Prepare and Fill the Pan:
- Line your pan with parchment paper for easy removal and cleanup. Press the dough evenly into the pan, taking care to spread it into the corners. Use slightly damp hands or the back of a measuring cup to prevent sticking while pressing.
- Bake to Golden Perfection:
- Bake until the edges are set and lightly golden while the center still looks slightly underdone. This takes between 20 to 28 minutes depending on your specific oven and pan. The bars will continue cooking from residual heat after removal.
- Cool and Cut:
- Allow the bars to cool in the pan for at least 10 minutes before cutting. This cooling period allows the structure to set, preventing the bars from falling apart when cut. For cleaner cuts, let cool completely or even chill briefly in the refrigerator before slicing.
The brown sugar is truly the secret ingredient that makes these bars special. My grandmother taught me that the ratio of brown to white sugar determines whether cookies are chewy or crisp. This perfect balance creates bars with crisp edges and soft centers that stay fresh for days. I remember the first time I made these for a school bake sale, they sold out within minutes while traditional cookies lingered on the table.
Perfect Pan Selection
Aluminum baking pans produce the most reliable results for these cookie bars. The material conducts heat evenly and helps achieve that golden exterior with a soft interior. Glass pans tend to retain heat longer which can result in overcooked edges before the center sets properly. If you must use glass, reduce the oven temperature by 25 degrees and be prepared to adjust baking time. Dark nonstick pans may require a slight reduction in baking time as they absorb more heat during baking.
Storage Solutions
These chocolate chip cookie bars maintain their fresh taste and texture for 3 to 4 days when stored properly. Keep them in an airtight container at room temperature with parchment paper between layers to prevent sticking. For longer storage, freeze the bars in a single layer until solid, then transfer to a freezer bag with parchment between layers. They thaw beautifully at room temperature in about an hour. For a special treat, warm individual bars in the microwave for 10 seconds before serving to recreate that fresh baked experience.
Creative Variations
Transform this base recipe into countless variations by experimenting with mix ins and toppings. Replace half the chocolate chips with butterscotch chips for a delightful flavor combination. White chocolate chips and dried cranberries create a festive holiday version. Add 1/2 cup of chopped nuts for texture, with toasted pecans or walnuts being particularly complementary. For a more decadent dessert, drizzle cooled bars with melted chocolate or dulce de leche. During fall, add 1/2 teaspoon of cinnamon and a pinch of nutmeg to the batter for a seasonal twist.
Serving Suggestions
Elevate these bars from simple treat to impressive dessert with thoughtful presentation. For casual gatherings, cut into generous squares and serve on a rustic wooden board. Transform into an elegant dessert by warming slightly and topping with premium vanilla ice cream and a drizzle of hot fudge or caramel sauce. Cut into smaller pieces and arrange on a platter with fresh berries and mint sprigs for a beautiful dessert board. Package individual bars in waxed paper and twine for charming gifting or bake sales.
Frequently Asked Questions
- → Can I double the recipe for a larger pan?
Yes, you can double the recipe for a 9 x 13 pan. Adjust ingredient quantities accordingly and bake for the same time until golden brown.
- → Can I use a glass pan instead of aluminum?
It’s best to use an aluminum pan for even baking and ideal texture. Glass pans may result in uneven baking.
- → How do I store leftover cookie bars?
Store leftover cookie bars in an airtight container at room temperature for up to 3 days, or freeze for longer storage.
- → What type of chocolate chips work best?
Semi-sweet chocolate chips are recommended for a perfectly balanced sweetness, but milk or dark chocolate can be substituted.
- → Can I add nuts or other mix-ins?
Absolutely! You can add chopped nuts, shredded coconut, or even toffee bits to customize the bars to your liking.