
 Pin it
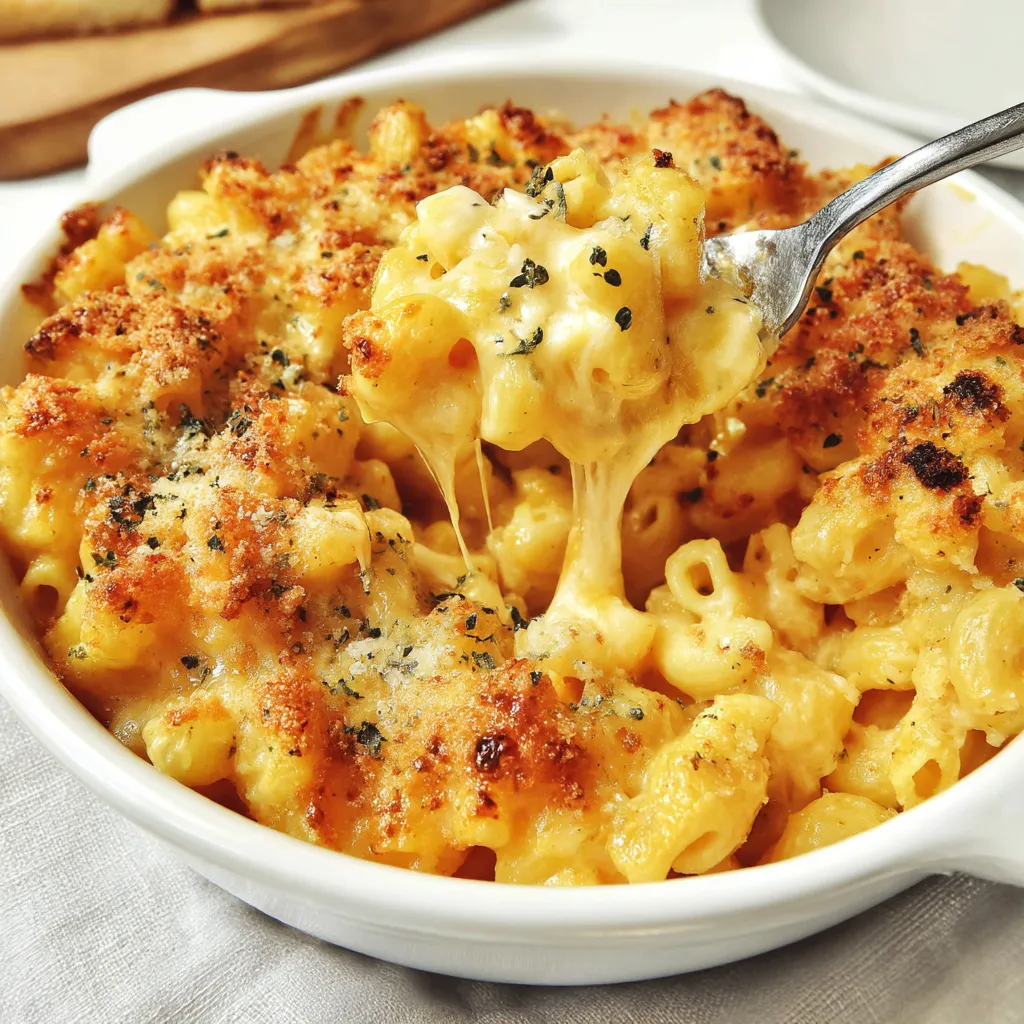
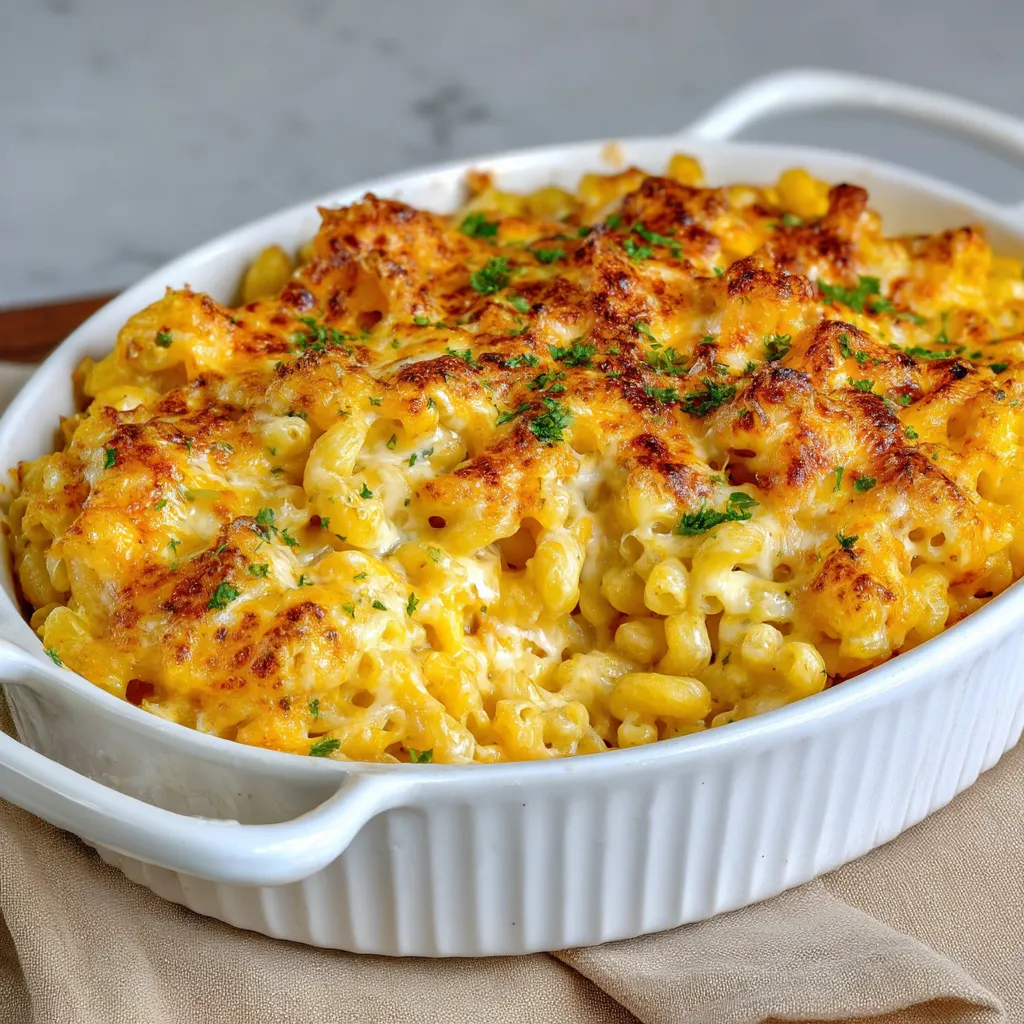
This creamy, cheesy baked mac and cheese brings restaurant-quality comfort food right to your dinner table. The generous cheese sauce creates the perfect balance of gooey interior and crispy cheesy topping that makes this dish absolutely irresistible.
I first made this recipe during a particularly hectic holiday season when I needed something that would please both adults and children. The way everyone went silent as they devoured it told me everything I needed to know. It has been my go-to crowd-pleaser ever since.
Ingredients
- Elbow macaroni pasta: preferably high-quality Italian bronze-cut pasta which holds sauce better and provides more texture than regular pasta
- Unsalted butter: forms the base of your roux giving you complete control over the salt level
- All-purpose flour: works with butter to create the perfect thickening agent for your creamy sauce
- Whole milk and heavy cream: provide richness and body to the cheese sauce
- Medium cheddar cheese: offers classic flavor while providing excellent melting properties
- Mozzarella cheese: adds that coveted stretchy cheese pull when serving
- Paprika, mustard powder, garlic powder, and onion powder: create depth of flavor without overpowering the cheese
- Reserved pasta water: contains starch that helps bind your sauce to the pasta
Step-by-Step Instructions
- Prepare Your Dish:
- Preheat your oven to 350°F and thoroughly butter your casserole dish. This prevents sticking and adds a subtle buttery flavor to the edges.
- Cook The Pasta:
- Bring a large pot of water to a rolling boil before adding salt and pasta. Cook until al dente approximately 6-7 minutes. The pasta will continue cooking in the oven so keeping it slightly firm now prevents mushiness later. Reserve half a cup of pasta water before draining.
- Prepare The Cheese Mixture:
- Combine shredded cheddar and mozzarella in a large bowl. Setting this aside allows the cheese to come to room temperature which promotes smoother melting.
- Create The Roux:
- Melt butter completely in a Dutch oven over medium heat until it begins foaming. Whisk in flour immediately and continue whisking constantly for about 2 minutes. The mixture should turn slightly golden but not brown. This cooking process eliminates the raw flour taste.
- Build The Sauce:
- Slowly pour in milk, cream, and reserved pasta water while continuously whisking. This gradual addition prevents lumps from forming. Continue whisking until the mixture begins to bubble gently and thickens to a gravy consistency.
- Add Seasonings:
- Incorporate paprika, mustard powder, garlic powder, onion powder, salt, and pepper into your sauce. These seasonings enhance the cheese flavor without overwhelming it. Allow the mixture to simmer for 2-3 minutes while whisking constantly.
- Incorporate The Cheese:
- Add cheese in two batches stirring until completely melted before adding more. This gradual addition ensures a smooth sauce without clumping or separation. Reserve 2 cups of cheese for topping.
- Combine With Pasta:
- Stir the cooked pasta into the cheese sauce until every piece is thoroughly coated. Taste and adjust seasonings if needed.
- Bake To Perfection:
- Transfer the mac and cheese to your prepared casserole dish and sprinkle with remaining cheese. Bake for 15 minutes until the cheese is bubbly and melted. For extra browning broil for the final 2-3 minutes watching carefully to prevent burning.
 Pin it
The reserved pasta water is my secret weapon in this recipe. I discovered its importance after making a particularly dry batch years ago. The starchy water helps bind the sauce to the pasta creating that silky texture that restaurant mac and cheese is known for.
Perfect Cheese Selection
The combination of medium cheddar and mozzarella creates the ideal balance of flavor and texture. The cheddar provides that classic mac and cheese taste while the mozzarella brings the stretch factor that makes for impressive cheese pulls when serving. If you prefer a sharper taste substitute with aged cheddar which intensifies the flavor profile. For a more sophisticated version try incorporating Gruyere which adds a nutty complexity that adults particularly appreciate.
Make-Ahead Magic
This recipe shines as a make-ahead option. You can assemble the entire casserole up to two days before baking. Simply prepare everything up to the baking step then cover and refrigerate. When ready to serve add an extra 10-15 minutes to the baking time if cooking directly from the refrigerator. The flavors actually develop beautifully during the waiting period making this possibly even better than when freshly made.
Serving Suggestions
Serve this baked mac and cheese as a main dish alongside a simple green salad dressed with vinaigrette to cut through the richness. For a complete comfort food experience pair it with crispy fried chicken or slow-cooked beef brisket. It also makes an impressive side dish for holiday meals especially Thanksgiving or Christmas where it can hold its own alongside traditional favorites. For brunch consider serving smaller portions topped with crispy bacon and a sunny-side-up egg.
Frequently Asked Questions
- → How do I prevent the pasta from sticking together?
After cooking the pasta, drizzle it with a little olive oil and toss to coat. This helps prevent sticking before combining it with the cheese sauce.
- → Can I make this dish ahead of time?
Yes, you can assemble the casserole, cool it to room temperature, cover and refrigerate it for up to 2 days. Bake with additional time when ready to serve.
- → What cheese works best for this dish?
Medium cheddar and mozzarella are recommended for a classic flavor, but you can experiment with options like sharp cheddar, Pepper Jack, or Gruyere.
- → How do I store and reheat leftovers?
Cool leftovers completely and store them in an airtight container in the fridge for up to 4 days. Reheat by microwaving with a sprinkle of water to maintain moisture.
- → Can I freeze baked mac and cheese?
Yes, you can freeze it for up to 3 months. Thaw in the refrigerator overnight, then reheat in the oven or microwave with added moisture.