Crispy, Easy Chicken Chimichangas

Featured in Heartwarming Main Course Recipes.

Baked Chicken Chimichangas are an easy, crispy, and flavorful dish perfect for Mexican-inspired meals. Filled with seasoned and shredded chicken, cheese, and optional beans, these delicious chimichangas can be fried until golden or baked for a healthier option. Serve them hot with your favorite toppings like salsa, guacamole, sour cream, or cilantro for a satisfying and wholesome meal. This recipe is simple to follow and offers flexibility with spices or textures for everyone's taste. Perfect for a family meal or a dinner party, they’re a crowd-pleaser all around.
Rose
Updated on Thu, 13 Mar 2025 12:15:38 GMT
Baked Chicken Chimichangas Pin it
Baked Chicken Chimichangas | lovelylifewithrose.com

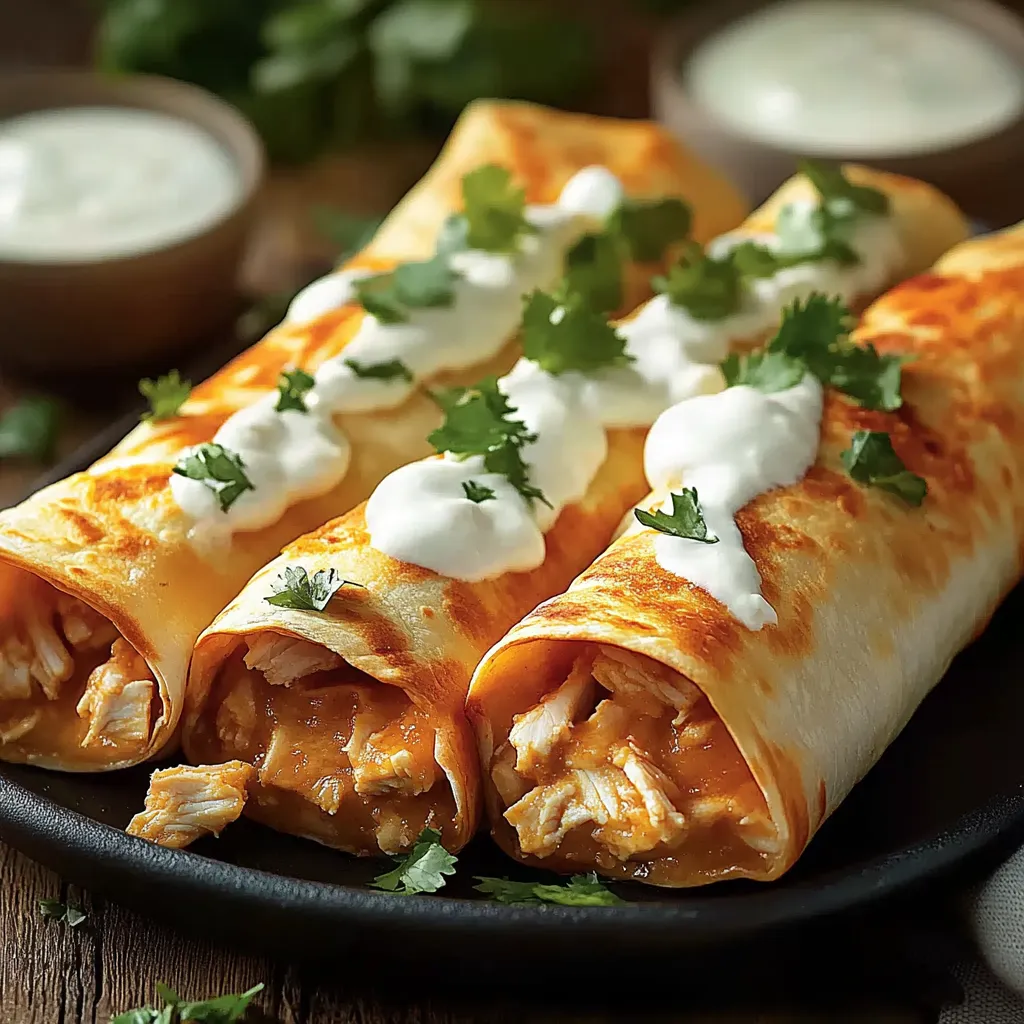
Transforming humble tortillas into crispy, golden-brown chimichangas filled with perfectly seasoned chicken is one of my favorite ways to elevate Mexican-inspired cuisine. This baked version delivers all the satisfying crunch without deep frying, making it a healthier yet equally delicious alternative that's become a staple in my weekly dinner rotation.

After trying countless chimichanga recipes, this baked version has won over even my most skeptical dinner guests who swear by the fried version.

Essential Ingredients and Selection Tips

  • Shredded Chicken: Use rotisserie chicken for convenience or poach chicken breasts in seasoned broth for extra flavor
  • Large Flour Tortillas: Choose burrito-size (10-inch) tortillas that are fresh and pliable
  • Taco Seasoning: Homemade blend preferred, but quality store-bought works well
  • Green Chilies: Mild or hot, depending on preference - fresh roasted adds amazing depth
  • Refried Beans: Creates a protective barrier that prevents tortillas from getting soggy
  • Cheese: Monterey Jack or sharp cheddar - freshly grated melts better than pre-shredded

Step-by-Step Instructions

Step 1:
Prepare Filling: Sauté onions and peppers until soft and fragrant
Step 2:
Season Mixture: Combine chicken, seasonings, and broth, letting flavors meld
Step 3:
Assembly: Layer beans and filling, being careful not to overfill
Step 4:
Rolling Technique: Fold sides, then bottom, rolling tightly while tucking in edges
Step 5:
Baking Prep: Brush with oil, arrange seam-side down
Step 6:
Bake: 20-25 minutes at 400°F, rotating halfway through for even browning

My family particularly loves the green chilies in this recipe. My daughter, who usually avoids spicy foods, actually requests these chimichangas specifically for the mild, smoky flavor they provide.

Storage and Reheating

  • Store leftovers wrapped in foil for up to 3 days
  • Reheat in oven at 350°F for 15 minutes
  • Avoid microwave reheating to maintain crispiness
  • Can be assembled ahead and baked just before serving

After years of making chimichangas, this baked version has become my go-to recipe. It delivers restaurant-quality results while being healthier and more practical for home cooking. The combination of crispy exterior and flavorful filling makes these chimichangas a guaranteed crowd-pleaser.

Frequently Asked Questions

→ Can I make these chimichangas healthier?
Yes, you can bake the chimichangas instead of frying them for a lighter option.
→ Can I prepare the filling ahead of time?
Yes, you can make the chicken filling in advance and store it in the fridge for up to two days before assembling.
→ What can I serve with chimichangas?
Serve them with salsa, guacamole, sour cream, or a side of rice and beans for a complete meal.
→ Can I freeze chimichangas?
Yes, assemble them and freeze before frying or baking. Thaw and cook when ready to eat.
→ Can I use a different protein?
Absolutely, you can substitute chicken with beef, turkey, or even beans for a vegetarian option.

Baked Chicken Chimichangas

Crispy baked chicken chimichangas with seasoned chicken and cheese.

Prep Time
15 Minutes
Cook Time
25 Minutes
Total Time
40 Minutes
By: Rose

Category: Main Dishes

Difficulty: Intermediate

Cuisine: Mexican-Inspired

Yield: 4 Servings

Dietary: ~

Ingredients

→ Main Ingredients

01 2 cups shredded cooked chicken (450g)
02 1 tbsp olive oil
03 1 small onion, finely diced
04 1 green bell pepper, diced
05 2 garlic cloves, minced
06 1 can (4 oz) diced green chilies
07 1 tbsp taco seasoning
08 1/2 cup (120ml) chicken broth
09 1 cup shredded cheddar or Monterey Jack cheese (120g)
10 1 can (15 oz) refried beans (optional)
11 8 large flour tortillas
12 Vegetable oil, for frying

→ For Serving

13 Sour cream
14 Salsa
15 Guacamole
16 Freshly chopped cilantro

Instructions

Step 01

Warm olive oil in a skillet over medium heat. Add the diced onion and green bell pepper, cooking until softened, about 5 minutes. Stir in the minced garlic and cook for another minute or two. Mix in the shredded chicken, diced chilies, taco seasoning, and chicken broth. Allow the mixture to cook for 3-5 minutes or until everything is well combined and heated through. Remove from heat and stir in shredded cheese.

Step 02

Take a tortilla and spread a layer of refried beans (if using) down the center. Pile on a generous amount of the chicken filling. Fold the sides in toward the center, then roll tightly from the bottom into a burrito shape. If needed, secure with toothpicks to hold the roll together.

Step 03

Heat approximately 1 inch of vegetable oil in a large skillet over medium-high heat. Place the chimichanga seam-side down in the hot oil and fry for about 2-3 minutes on each side until golden and crispy. Remove and set on a plate lined with paper towels to drain excess oil.

Step 04

For a lighter version, preheat the oven to 400°F (200°C). Arrange the rolled chimichangas on a baking sheet, brush them with oil or melted butter, and bake for 20-25 minutes until golden and crispy.

Step 05

Top your finished chimichangas with sour cream, salsa, guacamole, and freshly chopped cilantro. Serve hot and enjoy!

Notes

  1. You can spice up your chimichangas by using spicy green chilies or adding chopped jalapeños for extra heat.
  2. For an extra cheesy texture, add more shredded cheese into the filling.
  3. Leftover chimichangas can be stored in an airtight container in the fridge for up to 3 days. Reheat them in the oven for the best texture.

Tools You'll Need

  • Skillet or frying pan
  • Baking sheet (if using the baking method)
  • Paper towels

Allergy Information

Please check ingredients for potential allergens and consult a health professional if in doubt.
  • Contains dairy (cheese)
  • Contains gluten (flour tortillas)

Nutrition Facts (Per Serving)

It is important to consider this information as approximate and not to use it as definitive health advice.
  • Calories: 92
  • Total Fat: ~
  • Total Carbohydrate: ~
  • Protein: ~