
 Pin it
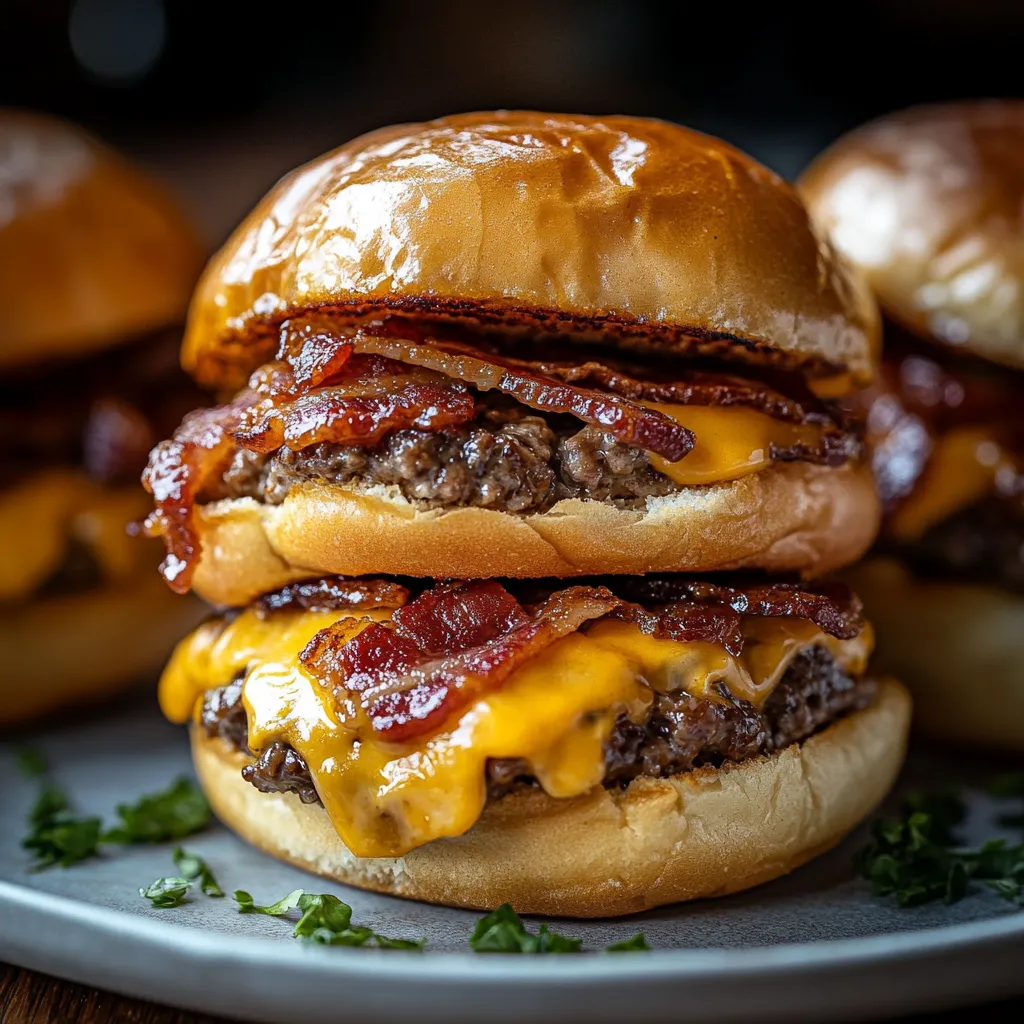
This bacon cheeseburger bombs recipe transforms your favorite burger flavors into an irresistible handheld treat perfect for game days, parties, or simply when you crave something indulgent. The combination of seasoned beef, crispy bacon, and melty cheese wrapped in golden biscuit dough creates an explosion of flavors that will leave everyone asking for more.
I first made these for my son's football team gathering, and they disappeared faster than any other dish on the table. Now they've become our go to request whenever we host friends for weekend game watches.
Ingredients
- Ground beef: the star protein that creates that classic burger flavor
- Bacon: adds smoky crispness that elevates the entire bomb experience
- Refrigerated biscuits: provides the perfect pillowy wrapper for all those amazing flavors
- Cheddar cheese: melts beautifully inside creating that gooey center everyone loves
- Worcestershire sauce: adds depth and that distinctive burger umami
- Ketchup and mustard: classic burger condiments that bring familiar comfort
- Garlic and onion powder: provides aromatic flavors without the texture issues some people dislike
- Egg wash: gives that beautiful golden shine to the finished bombs
- Parmesan cheese: optional but adds a wonderful savory crust
Step-by-Step Instructions
- Prepare Your Workspace:
- Heat your oven to 375°F and line a baking sheet with parchment paper or silicone mat. This prevents sticking and makes cleanup so much easier.
- Cook The Bacon:
- Start with a cold skillet for the bacon which helps render the fat more evenly. Cook over medium heat until perfectly crispy usually takes about 8 10 minutes. Transfer to paper towels to drain and cool.
- Brown The Beef:
- Use the same skillet with some of that bacon flavor to cook your ground beef. Break it apart thoroughly as it cooks for about 4 6 minutes until no pink remains. Drain the grease carefully to prevent your bombs from becoming soggy.
- Season The Filling:
- Crumble your cooled bacon and combine it with the beef in a mixing bowl. Add all seasonings and condiments mixing thoroughly. This step builds the foundational flavors that make these bombs so addictive.
- Prepare The Biscuits:
- Dust your work surface lightly with flour to prevent sticking. Roll each biscuit into a thin 4 inch circle. Work gently to avoid tears in the dough which could lead to filling leakage.
- Fill And Shape:
- Place about 2 3 tablespoons of meat mixture in the center of each flattened biscuit. Add a generous portion of cheddar pressing it slightly into the meat. Carefully fold the edges of the dough up and around the filling pinching firmly to seal. Shape into uniform balls for even cooking.
The most memorable time I served these was during our family reunion last summer. My grandmother who rarely compliments cooking that isn't her own asked for the recipe immediately. The combination of the crispy bacon with the seasoned beef brought her back to the burgers my grandfather used to grill every Sunday afternoon.
Storage and Reheating
These bacon cheeseburger bombs maintain their delicious flavor profile for up to 3 days when stored properly in an airtight container in the refrigerator. For best results when reheating place them in an oven preheated to 350°F for about 10 minutes or until heated through. Microwaving works in a pinch but may make the biscuit wrapper slightly soggy. If you want to make them well in advance they freeze beautifully for up to 3 months. Simply allow them to cool completely then freeze them individually on a baking sheet before transferring to a freezer bag.
Serving Suggestions
Transform these bombs into a complete meal by pairing them with complementary sides. A crisp green salad with vinaigrette dressing provides the perfect fresh contrast to the rich bombs. For a more traditional burger experience serve alongside homemade sweet potato fries or pickle spears. I particularly love setting up a dipping station with additional ketchup barbecue sauce ranch dressing or even buffalo sauce for guests to customize their experience.
Customization Ideas
The beauty of these cheeseburger bombs lies in their versatility. Try substituting ground turkey for a lighter option or plant based ground for vegetarian guests. The cheese varieties can be endless experiment with pepper jack for heat blue cheese for sophistication or even stuffing each bomb with a cube of velveeta for the ultimate gooey center. For those who enjoy different flavor profiles consider adding diced jalapeños for a spicy kick diced mushrooms for an umami boost or even a touch of BBQ sauce instead of ketchup for a smokier taste.
 Pin it
Frequently Asked Questions
- → How do I prevent the dough from tearing?
Make sure to evenly roll out the dough to about 4 inches in diameter and avoid overfilling. Pinch the edges tightly to seal.
- → Can I use a different cheese?
Yes, you can substitute cheddar with mozzarella, pepper jack, or any melt-friendly cheese of your choice.
- → Can these be made ahead of time?
Absolutely! Prepare and assemble the bombs, then refrigerate them covered before baking. Bake them fresh when ready to serve.
- → How do I reheat leftovers?
Reheat leftovers in the oven at 350°F for 5-10 minutes to maintain their crispness.
- → Can I add more ingredients to the filling?
Feel free to customize with ingredients like diced onions, jalapeños, or mushrooms for added flavor.