
 Pin it
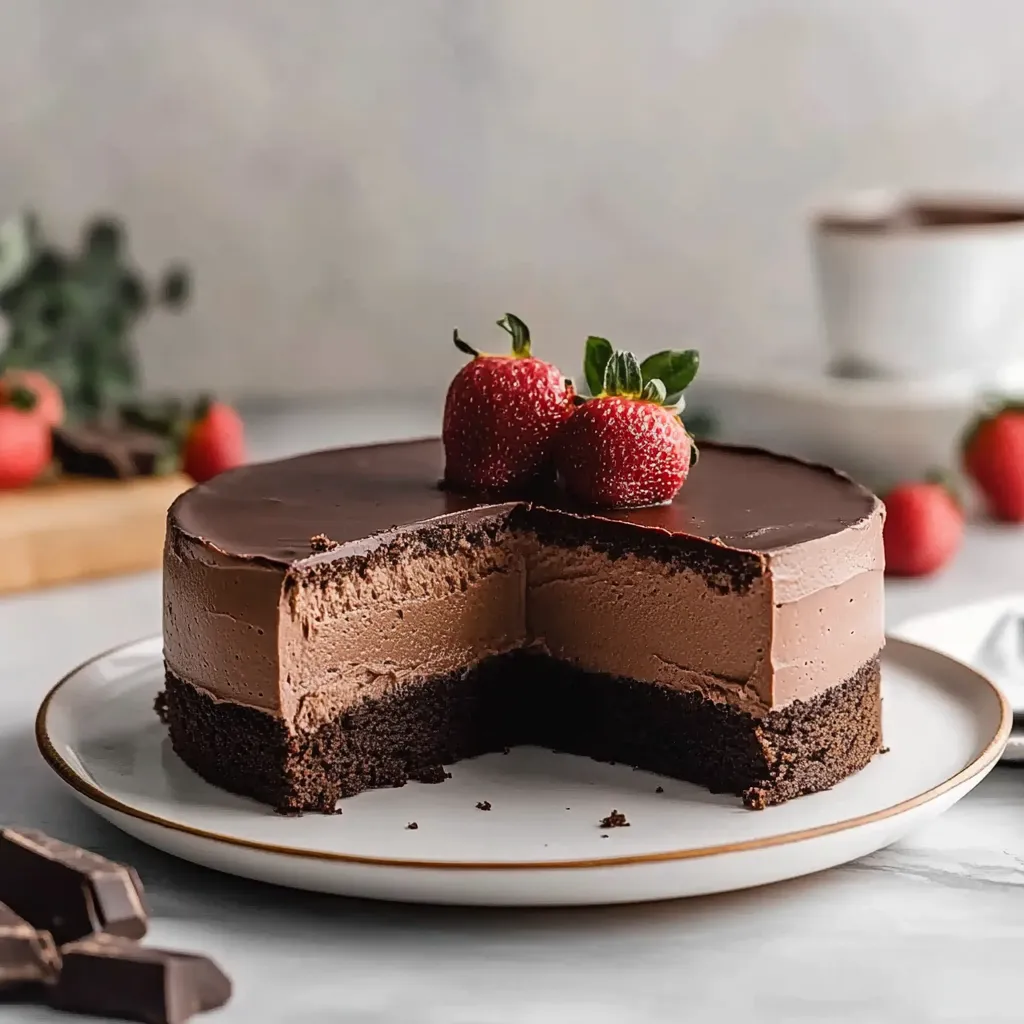
This triple chocolate mousse cake has become my signature dessert for special occasions, combining three decadent chocolate layers that create a stunning presentation and even more impressive flavor profile.
I first made this cake for my sister's birthday five years ago, and it has since become the most requested dessert at family gatherings. Even my cousin who claims to dislike chocolate asks for a slice every time.
Ingredients
- Unsweetened chocolate: for the brownie base provides the foundation with its deep, intense flavor
- Semi-sweet chocolate: appears in both the mousse and ganache for balanced sweetness
- Dutch-process cocoa powder: offers a smoother, less acidic chocolate flavor that complements the brownie layer
- Gelatin powder: stabilizes the mousse layer so it holds its shape beautifully when sliced
- Heavy cream: appears throughout the recipe creating silky textures in both the mousse and ganache
- Granulated sugar: measured precisely to ensure balanced sweetness without overwhelming the chocolate flavors
- Pure vanilla extract: enhances the chocolate notes without competing with them
Step-by-Step Instructions
- Prepare the Brownie Base:
- Create a solid foundation by melting chocolate and butter together over medium-low heat until completely smooth. Stir constantly to prevent burning, as chocolate can scorch easily. The cooled mixture gets enriched with eggs and vanilla before adding sifted dry ingredients. A gentle fold ensures a fudgy texture rather than a cakey result.
- Bake the Perfect Base:
- The brownie layer should be just set with a few moist crumbs when tested with a toothpick. Overbaking will create a dry base that contrasts too much with the creamy mousse. Allow it to cool completely before adding the next layer as residual heat can prevent the mousse from setting properly.
- Create the Mousse Layer:
- Bloom the gelatin in cold water for five minutes until it resembles applesauce in texture. Meanwhile, warm cream and sugar before adding to chopped chocolate. The softened gelatin gets stirred in while the mixture is still warm enough to dissolve it completely. Properly whipped cream folded into the chocolate mixture creates the airy yet stable mousse structure.
- Perfect the Ganache Topping:
- Heat cream and butter just until bubbles form around the edges without allowing it to boil. Pour immediately over chopped chocolate and allow it to sit undisturbed for about a minute before stirring. This method ensures the smoothest possible ganache without any graininess or lumps.
 Pin it
The Dutch-process cocoa powder is truly my secret ingredient here. I once tried substituting natural cocoa powder and while still delicious, it lacked that velvety richness that makes this cake so special. My family now judges all chocolate desserts against this cake, which has become our celebration tradition.
Storing Your Mousse Cake
The complete cake keeps beautifully in the refrigerator for up to three days. For best results, store it uncovered until the ganache is completely set, then cover loosely with foil to prevent the ganache from sticking. The cake actually improves after a day in the refrigerator as the flavors meld together and the textures become more harmonious.
 Pin it
Customizing Your Chocolate Layers
Experiment with different chocolate varieties to create your own signature version. Try white chocolate for the mousse layer with the dark chocolate brownie and ganache for a striking visual contrast. For chocolate connoisseurs, use single-origin chocolates with varying cacao percentages to create a tasting experience that showcases chocolate's complexity.
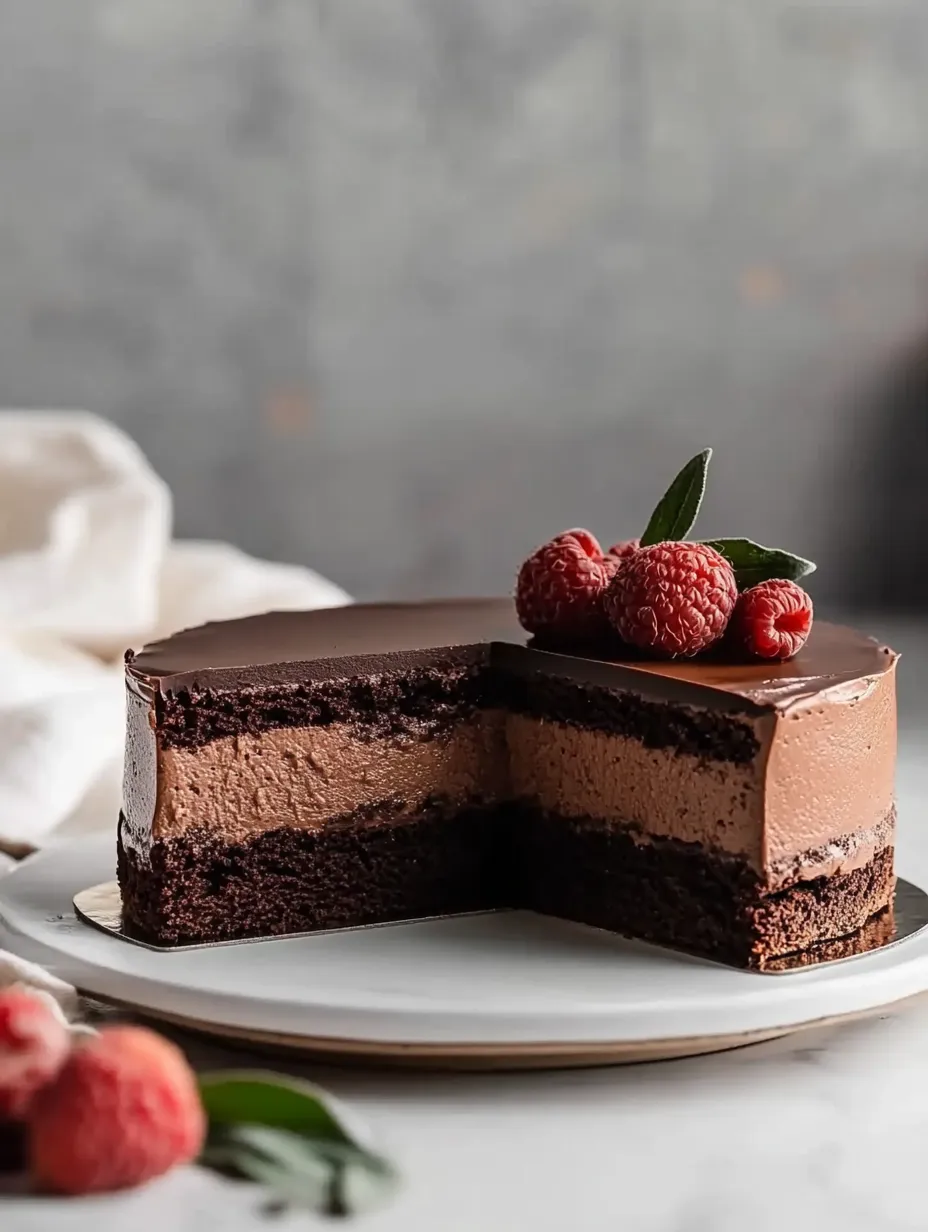
Serving Suggestions
This cake truly shines when served slightly below room temperature. Remove it from refrigeration about 30 minutes before serving to allow the ganache to soften slightly while maintaining the mousse's structure. Pair with fresh raspberries or a small dollop of unsweetened whipped cream to balance the richness. For special occasions, dust with a little edible gold powder on the ganache for an elegant presentation.
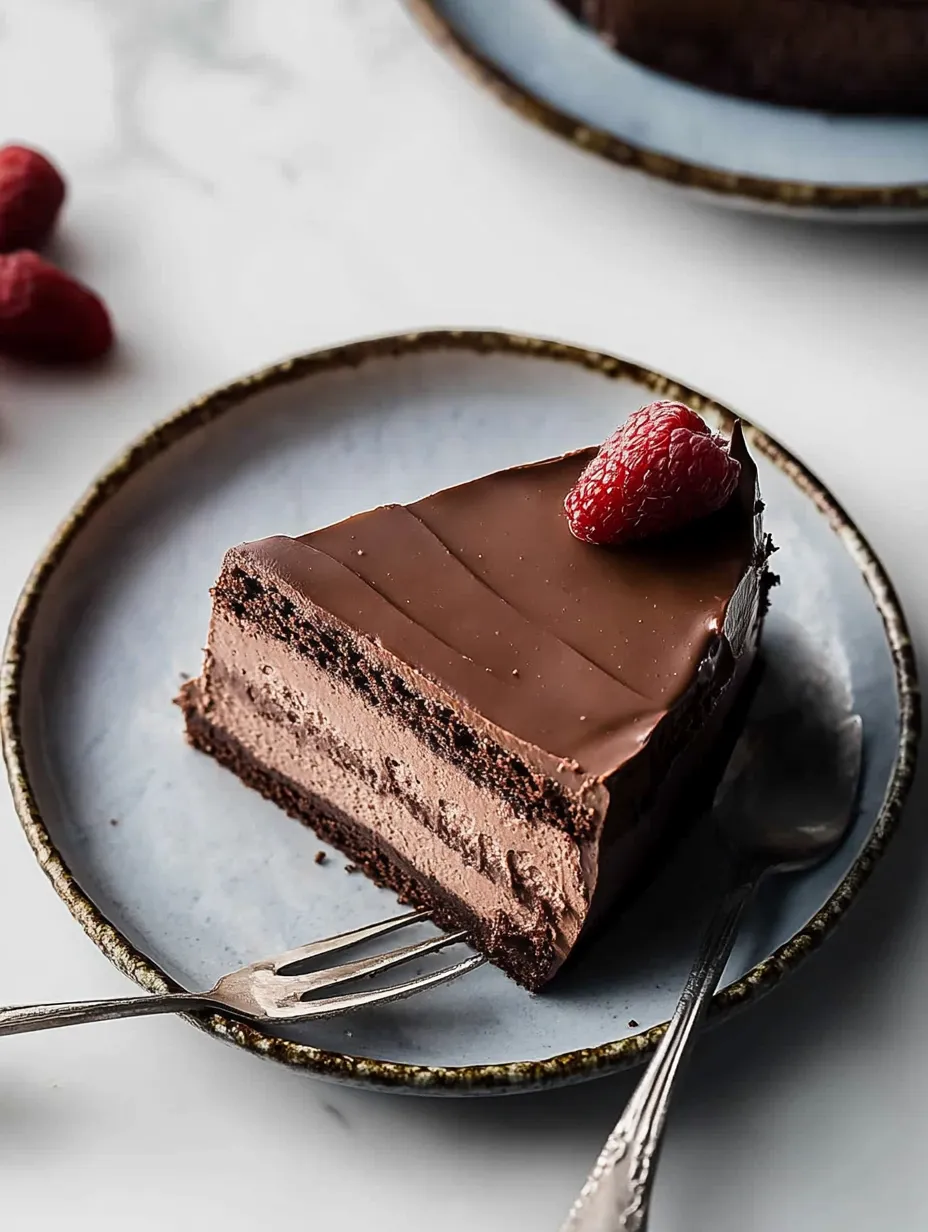
The Perfect Slice
The key to pristine slices lies in your cutting technique. Dip a large, sharp knife in hot water and wipe dry before each cut. Use one smooth, confident motion rather than sawing back and forth. This prevents the layers from smearing into each other and creates that impressive layered look on each plate.
Frequently Asked Questions
- → How can I ensure the mousse is smooth?
Ensure the chocolate mixture cools to room temperature before folding in the whipped cream. This prevents the cream from melting, keeping the mousse light and smooth.
- → What chocolate works best for this cake?
High-quality chocolate is key. Opt for semisweet or dark chocolate with at least 60-70% cocoa content for the best results.
- → Can I use a different pan if I don’t have a springform pan?
Yes, a round 8-inch pan with tall sides works too. To release the cake, freeze it briefly before flipping it onto a plate lined with parchment.
- → How should I slice the cake neatly?
Chill the cake thoroughly before slicing. Use a sharp knife dipped in hot water and wiped clean between cuts for tidy slices.
- → Can I make this cake ahead?
Yes, you can refrigerate it for up to 3 days or freeze it for up to 3 months. Thaw overnight in the fridge for optimal texture.
- → What toppings pair well with this cake?
Fresh berries and whipped cream complement the rich chocolate flavors beautifully, adding a touch of freshness and lightness.