
 Pin it
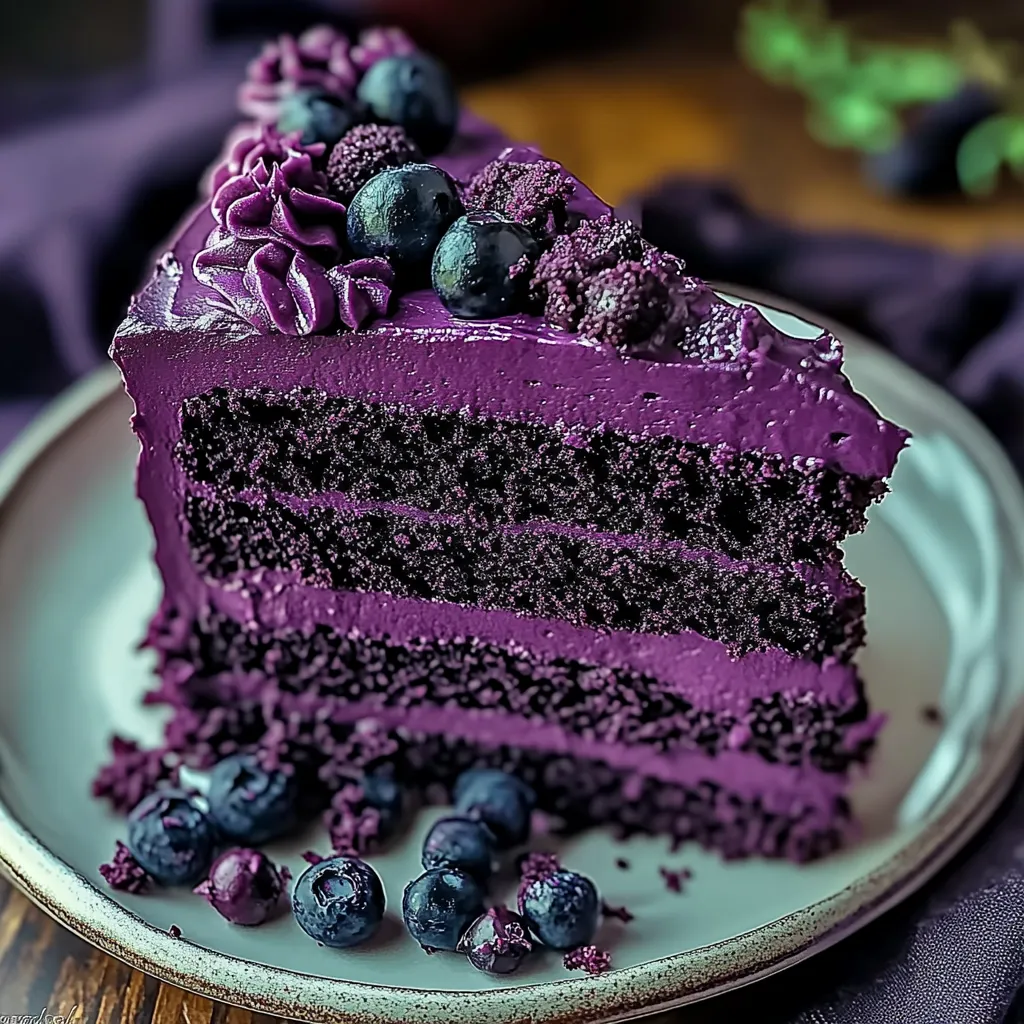
This purple velvet cake is my signature dessert for birthdays and celebrations, creating a stunning centerpiece that always leaves guests amazed at its vibrant color and rich flavor. The subtle cocoa undertones and velvety texture make it truly unforgettable.
I created this purple variation after years of making traditional red velvet cakes. My niece requested something "magical" for her unicorn-themed birthday, and this purple masterpiece was born. Five years later, it's still the most requested cake in our family.
- All purpose flour: Provides the perfect structure without becoming too dense or heavy
- Granulated sugar: Balances sweetness without overpowering the delicate flavors
- Baking soda and vinegar: Create the perfect rise and tender crumb classic to velvet cakes
- Cocoa powder: Adds subtle depth without making it taste like chocolate cake
- Vegetable oil: Ensures moisture that lasts for days unlike butter based cakes
- Buttermilk: Brings tanginess and helps activate the baking soda for proper rise
- Room temperature eggs: Incorporate better for an even texture
- Purple food coloring: Creates the magical color look for one teaspoon for subtle or two for vibrant
- Cream cheese and butter: Combine for a frosting with perfect balance of tang and richness
- Confectioners sugar: Sifted prevents lumps for the smoothest frosting possible
Step-by-Step Instructions
- Prepare Your Space:
- Preheat your oven to exactly 350°F and position rack in the center. Thoroughly grease two 9inch cake pans with butter or shortening getting into all corners and crevices. Dust with flour and tap out excess ensuring complete coverage to prevent sticking.
- Mix Dry Ingredients:
- Sift together all dry ingredients the flour sugar baking soda salt and cocoa powder into a large bowl. Sifting aerates the ingredients and removes any lumps particularly important with cocoa powder which tends to clump. This ensures even distribution throughout the batter.
- Combine Wet Ingredients:
- In a separate bowl whisk together the oil buttermilk eggs food colorings vinegar and vanilla extract until completely smooth. The mixture will look somewhat separated at first but keep whisking until unified. The purple color will start developing as you mix.
- Create The Batter:
- Pour the wet ingredients into the dry ingredients and mix with a spatula or mixer on low speed just until combined with no dry patches. Be careful not to overmix which can develop too much gluten making the cake tough. The batter should be smooth and silky with a gorgeous purple hue.
- Bake To Perfection:
- Divide batter evenly between prepared pans using a kitchen scale for precision if available. Smooth tops with an offset spatula and tap pans gently on counter to release air bubbles. Bake for 25 to 30 minutes until a toothpick inserted comes out clean or with a few moist crumbs.
- Cool Properly:
- Allow cakes to cool in pans for exactly 10 minutes this allows them to set but not stick. Run a thin knife around edges then invert onto cooling racks to cool completely. This prevents moisture from condensing and making the cake soggy.
- Make Cream Cheese Frosting:
- Beat softened cream cheese and room temperature butter with vanilla until completely smooth and fluffy about 3 minutes. Gradually add sifted confectioners sugar cup by cup mixing thoroughly between additions until reaching desired sweetness and consistency.
My favorite thing about this recipe is watching people's expressions when they first see the slice. The dramatic purple against the white frosting creates such a magical moment. At my daughter's graduation party, three different guests asked for the recipe before even tasting it!
Perfect Frosting Technique
Achieving professional looking frosting starts with properly cooled cakes. Any warmth will melt your frosting creating a mess. I always make this cake a day ahead allowing the layers to chill in the refrigerator overnight wrapped individually in plastic wrap. Cold cakes are easier to frost and produce fewer crumbs. Apply a thin crumb coat first letting it set in the refrigerator for 20 minutes before adding the final layer. This prevents purple crumbs from showing in your white frosting.
Make Ahead Options
This cake works beautifully as a make ahead dessert. The unfrosted cake layers can be wrapped tightly in plastic wrap and frozen for up to a month. Thaw overnight in the refrigerator before frosting. The completed frosted cake stays fresh in the refrigerator for up to five days stored in a cake keeper or loosely tented with foil. Allow to come to room temperature for about 30 minutes before serving for the best texture and flavor.
Creating Different Purple Shades
The intensity of purple can be customized to your preference by adjusting the food coloring amounts. For a subtle lavender shade use just half a teaspoon of purple coloring. For a deep royal purple increase to two teaspoons. Gel food coloring produces more vibrant results than liquid versions without affecting the batter consistency. Brands vary in strength so start conservatively and add more if needed. You can even create ombre effects by dividing the batter and coloring each portion with increasing amounts of purple.
Frequently Asked Questions
- → How can I achieve the vibrant purple color?
Use a combination of purple and red food coloring to adjust the hue to your liking. Add more purple gradually until you achieve your desired vibrancy.
- → Can I substitute cake flour for all-purpose flour?
Yes, using cake flour will create a softer and lighter texture. Simply substitute the all-purpose flour with the same amount of cake flour for a delicate crumb.
- → What is the role of buttermilk in the cake?
Buttermilk adds a tangy flavor and helps to keep the cake moist. It also provides acidity to react with the baking soda, ensuring a tender texture.
- → How do I ensure even baking of the cake layers?
Divide the batter evenly between the two pans and rotate them halfway through baking. Use a toothpick to check doneness—they should come out clean.
- → Can I make the frosting ahead of time?
Yes, you can make the cream cheese frosting in advance. Store it in an airtight container in the refrigerator for up to 2 days. Allow it to come to room temperature and whip briefly before using.