
 Pin it
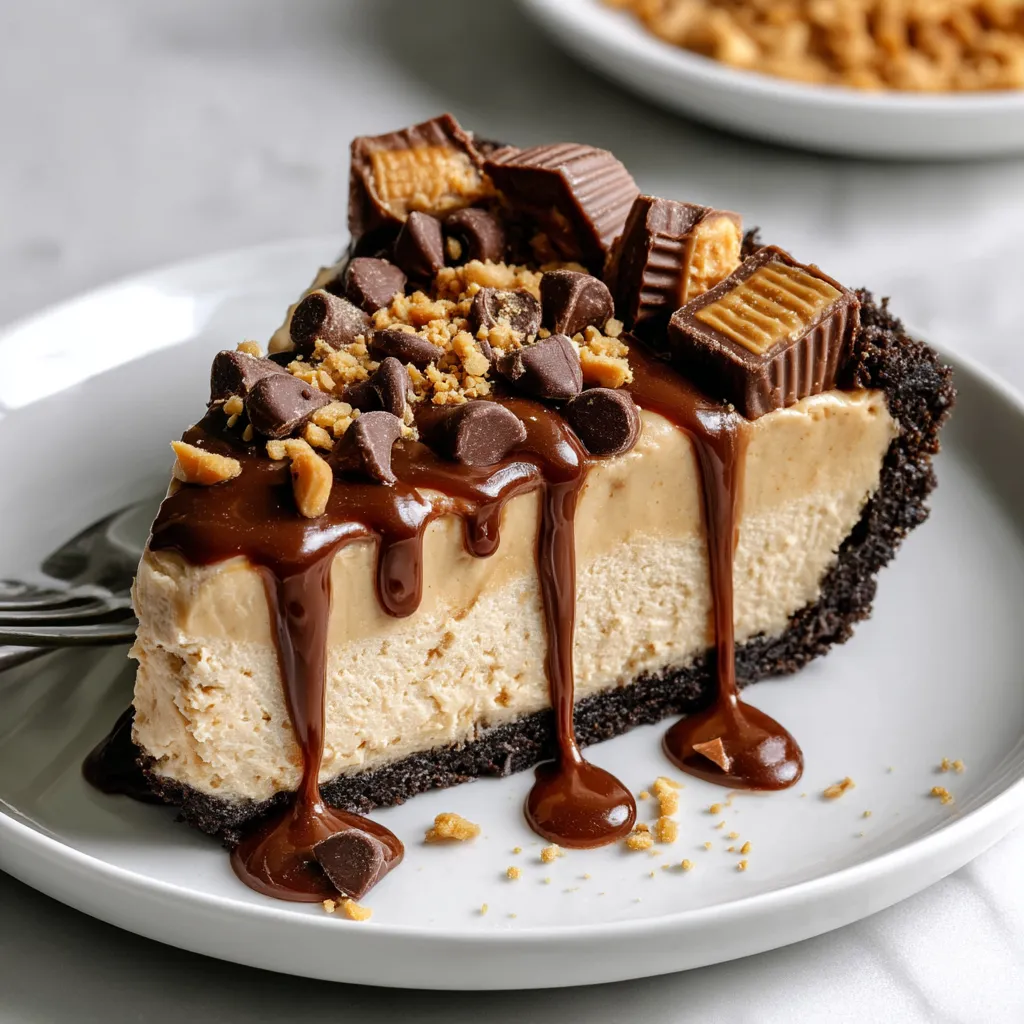
This homemade Peanut Butter Pie has been my secret weapon for family gatherings for years. With its creamy peanut butter filling nestled in a chocolate graham cracker crust, it strikes the perfect balance of sweet and salty flavors that keeps everyone asking for the recipe.
The first time I made this pie was for my brother's birthday when our oven broke down midway through party preparations. What started as a dessert emergency became our family's most requested treat. Even my picky nephew asks for it by name now.
Ingredients
- Chocolate graham crackers: Create the perfect crunchy foundation that complements the creamy filling. The slight bitterness cuts through the sweetness.
- Brown sugar: Adds depth to the crust with its subtle molasses notes.
- Cream cheese: Provides structure and tanginess to balance the sweet elements.
- Peanut butter: Is the star of the show. Use conventional creamy style for the smoothest texture.
- Heavy whipping cream: Creates that airy mousse like texture that makes this pie irresistible.
- Powdered sugar: Dissolves perfectly into the filling for a silky smooth consistency.
- Vanilla extract: Enhances all the flavors without overpowering the peanut butter.
Step-by-Step Instructions
- Prepare the Crust:
- Process chocolate graham crackers and brown sugar in your food processor until they resemble fine sand. This ensures no large chunks remain that could make the crust crumbly. Add melted butter and pulse just until the mixture looks like wet sand. Press firmly into your pie plate using a measuring cup to create an even layer all the way up the sides. The back of a cup works better than fingers since it prevents the mixture from sticking to you.
- Bake the Crust:
- Place in a preheated 325°F oven for exactly 10 to 12 minutes. Watch carefully as this crust can burn quickly. You will know it is done when your kitchen fills with a chocolatey aroma. Let it cool completely on a wire rack before filling.
- Create the Peanut Butter Base:
- Beat cream cheese, powdered sugar and peanut butter for a full three minutes. This extended mixing time is crucial for incorporating air which creates a lighter texture. The mixture should look noticeably fluffier and lighter in color when finished.
- Whip the Cream:
- In a separate bowl whip the heavy cream until it begins to thicken. Add powdered sugar and vanilla then continue whipping until stiff peaks form. Look for the cream to hold its shape when you lift the beater. If it flops over, keep whipping.
- Combine and Chill:
- Fold the whipped cream into the peanut butter mixture using a gentle hand. Cutting through the center and scooping from the bottom works best to maintain air bubbles. Pour into your cooled crust and chill for at least 6 hours or freeze for 3 hours.
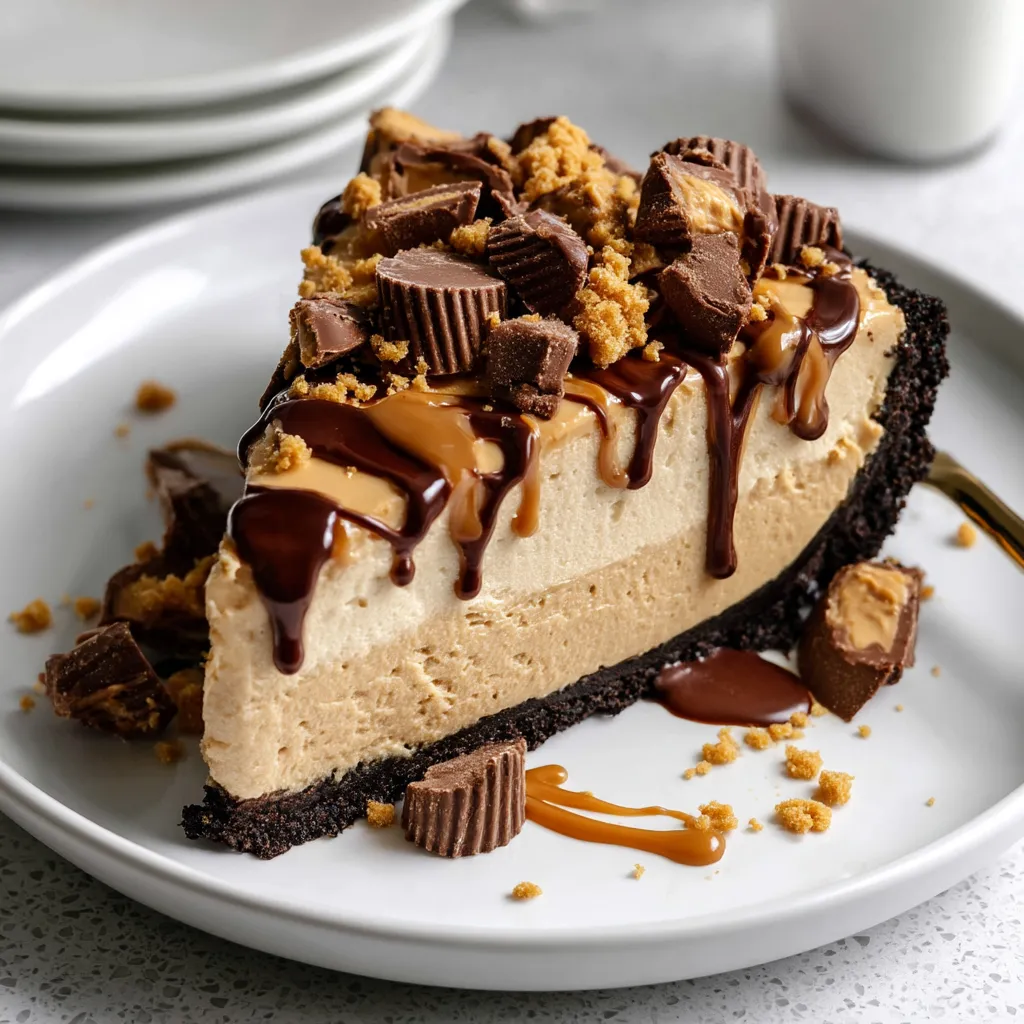
- Add Decorative Toppings:
- Drizzle with melted peanut butter and chocolate in a crosshatch pattern. Sprinkle with mini Reese's cups and peanut butter chips for a professional bakery finish.
 Pin it
My husband once claimed he disliked peanut butter desserts until I served him this pie. The creamy texture completely changed his mind, and now he requests it for every birthday. I think the secret lies in whipping the cream separately rather than using premade whipped topping.
Make It Allergen Friendly
The almond butter variation of this recipe offers all the creamy richness without peanuts. The extra vanilla really enhances the more subtle almond flavor. I discovered this version when my niece developed a peanut allergy, and now many guests actually prefer it to the original. The texture remains identical but with a more delicate nutty flavor profile.
Storage Secrets
For the perfect slice every time, freeze the pie for about 20 minutes before cutting. This firms up the filling just enough to create clean edges without making it too hard. If storing leftovers, press plastic wrap directly onto the surface of any cut areas to prevent the filling from drying out or absorbing refrigerator odors.
Creative Variations
Try using different cookie bases like chocolate sandwich cookies, gingersnaps, or even pretzel crumbs for interesting flavor combinations. For an extra layer of decadence, spread a thin layer of ganache over the crust before adding the filling. During summer months, I love adding a few sliced bananas between the crust and filling for a peanut butter banana pie that tastes like an elevated frozen treat.
Frequently Asked Questions
- → How long does it take to make this pie?
The total time, including chilling, is about 4 hours and 32 minutes with only 32 minutes of active prep and baking.
- → Can I use almond butter instead of peanut butter?
Yes, almond butter can replace peanut butter in equal amounts. Add extra vanilla for flavor adjustments, and customize the toppings as desired.
- → What can I use if I don't have chocolate graham crackers?
Chocolate Teddy Grahams or other cookie alternatives mentioned in the related tips work just as well for the crust.
- → How should I store the pie?
Store the pie in the fridge, covered, for up to three days or in the freezer for up to a month for long-term storage.
- → Can I serve this pie frozen or refrigerated?
Yes, you can serve it either way. It tastes great frozen or simply well chilled in the refrigerator.