
 Pin it
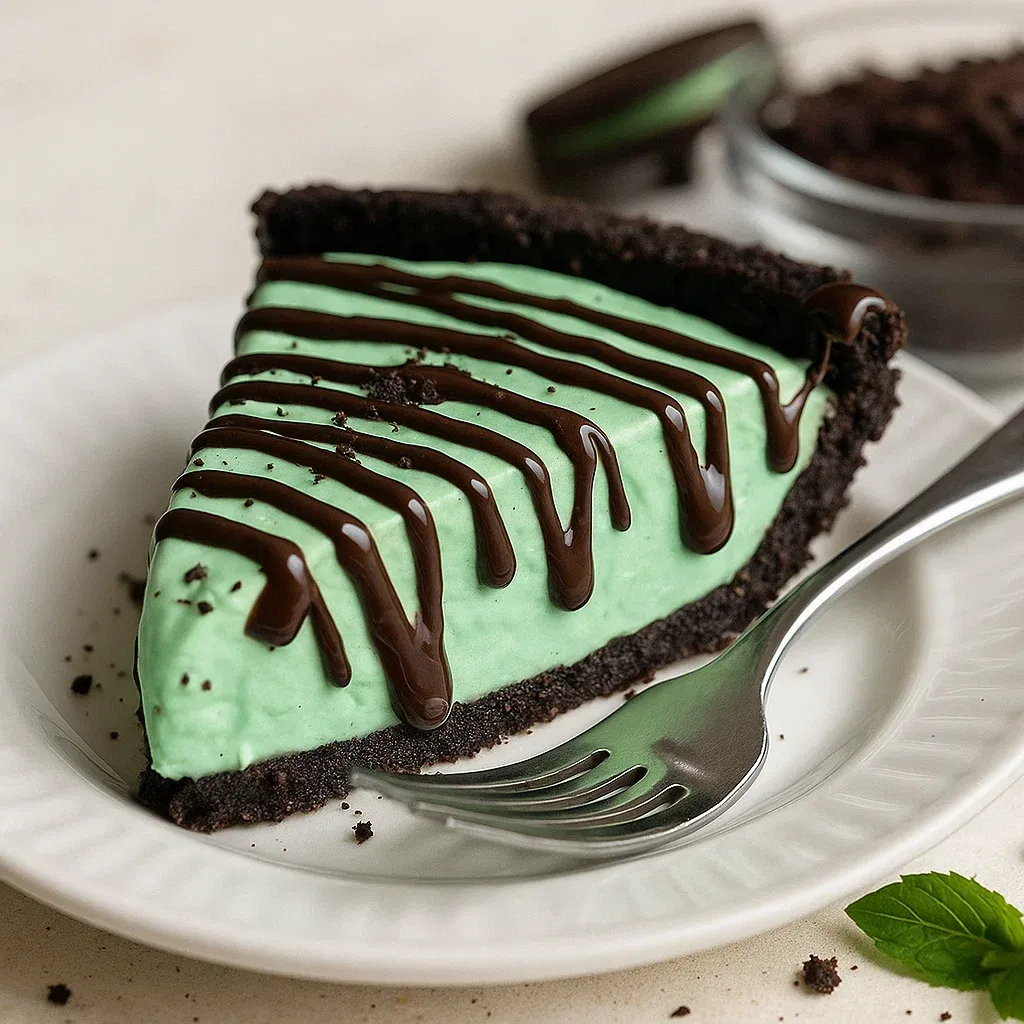
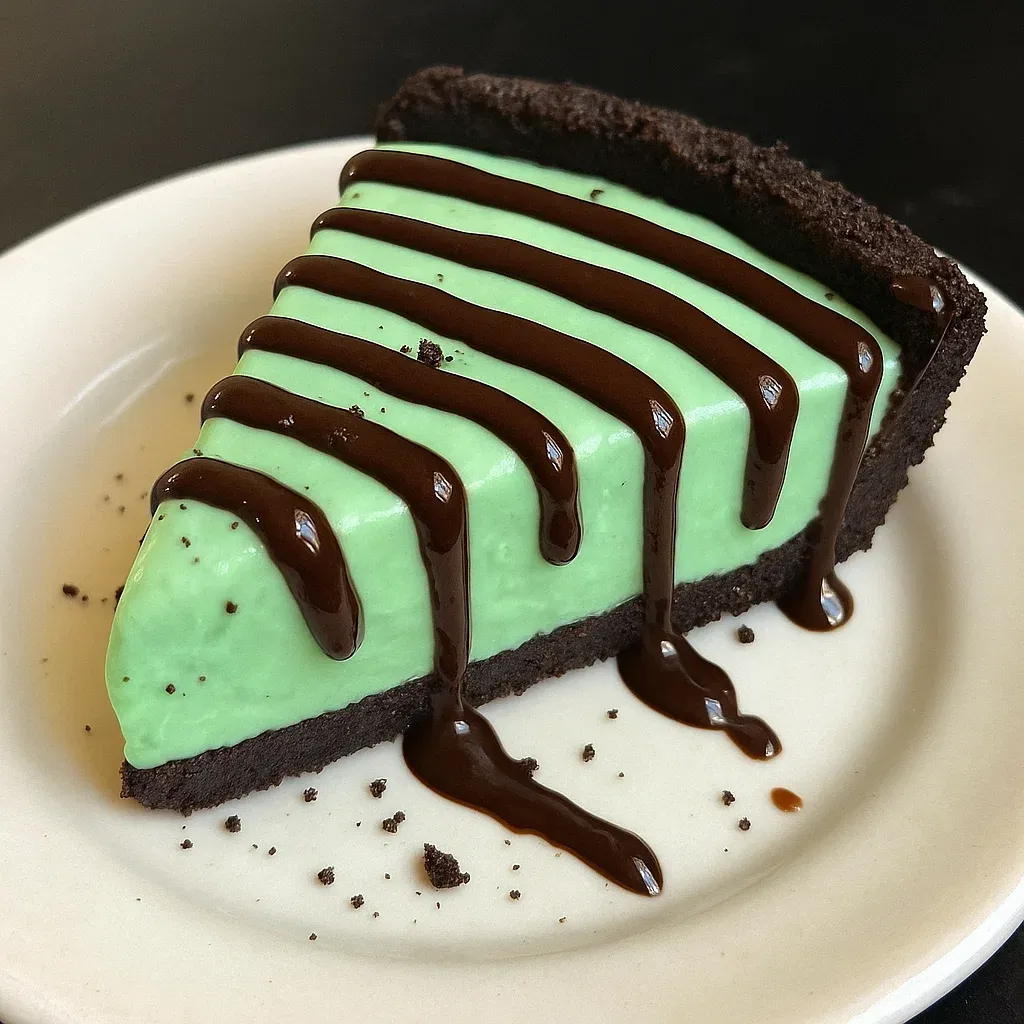
This refreshing No Bake Mint Chocolate Pie delivers the perfect blend of cool mint and rich chocolate flavors in every creamy bite. The combination of a crunchy Oreo crust with the light, fluffy mint filling creates a dessert that's both elegant and easy to prepare without turning on your oven.
I created this pie for my sister's birthday last year when the temperatures were soaring, and now it's become our family's most-requested dessert for gatherings. The balance of mint and chocolate reminds me of those after-dinner mints that make everything feel special.
Ingredients
- Mint Oreo Cookies: form the foundation of our crust and add that classic chocolate mint flavor throughout. Look for the ones with green filling for the most authentic mint flavor.
- Unsalted Butter: binds the crust together and adds richness. Make sure it's fully melted for proper binding.
- Marshmallow Creme: creates the incredible light texture in our filling. The meltable consistency gives the perfect structure.
- Heavy Whipping Cream: provides the airy texture that makes this pie irresistible. Use cold cream for the best whipping results.
- Crème de Menthe: delivers that gorgeous mint flavor and subtle green color. The alcohol cooks off leaving just pure flavor.
Step-by-Step Instructions
- Create the Oreo Crust:
- Process your Mint Oreos until they become fine crumbs with no large pieces remaining. The finer the crumbs, the more cohesive your crust will be. Add melted butter and pulse again until the mixture resembles wet sand that clumps together when pressed between your fingers.
- Form the Crust:
- Press the Oreo mixture firmly into your pie plate, working from the center outward and up the sides. Use the bottom of a measuring cup to create even pressure and a smooth surface. The freezing step is crucial here as it prevents a soggy crust when you add the filling.
- Prepare the Marshmallow Base:
- Microwave your marshmallow creme just enough to soften it without making it completely liquid about 30-45 seconds. If using whole marshmallows, melt them slowly over medium heat, stirring constantly until smooth, then allow to cool completely before proceeding.
- Whip the Cream:
- Beat cold heavy cream until stiff peaks form approximately 4 minutes on medium-high speed. You want the cream to hold its shape firmly when you lift the beaters this provides the structure for your pie filling.
- Create the Mint Filling:
- Blend the crème de menthe into your softened marshmallow mixture until completely incorporated. The green liqueur should distribute evenly, creating a consistent mint flavor throughout.
- Fold in Whipped Cream:
- Using a gentle folding motion with a rubber spatula, combine the whipped cream with your mint marshmallow mixture. Fold just until no white streaks remain to maintain maximum fluffiness.
- Assemble and Chill:
- Pour the mint filling into your chilled crust, smoothing the top with a spatula. Sprinkle additional Oreo crumbs over the surface for visual appeal and textural contrast. The long freezing time ensures the pie sets properly.
 Pin it
The marshmallow creme is truly the secret weapon in this recipe. I discovered its magic when trying to create a lighter texture than traditional cheesecake, and now I use it in all my no-bake cream pies. The way it combines with the whipped cream creates the most incredible melt-in-your-mouth experience.
Substitution Guide
The beauty of this pie lies in its flexibility. If you prefer to keep this alcohol-free, simply replace the crème de menthe with a mixture of milk and peppermint extract as noted in the recipe. Start with less extract than called for and taste as you go mint extract can be quite potent.
For those who prefer a stronger chocolate presence, try using regular Oreos instead of mint ones in the crust. The contrast between the pure mint filling and chocolate crust creates an even more pronounced flavor experience.
White chocolate lovers can add 1/4 cup of melted and cooled white chocolate to the filling mixture before folding in the whipped cream. This adds richness and helps the pie hold its shape even better when served.
Serving Suggestions
This pie truly shines when garnished just before serving. Consider adding a drizzle of chocolate ganache, a few fresh mint leaves, or even some chocolate curls to elevate its presentation.
For a festive holiday variation, crush some candy canes as a topping instead of additional Oreos. The pop of red against the light green filling makes a beautiful Christmas dessert option.
Try serving each slice with a small scoop of chocolate ice cream on the side. The temperature contrast between the frozen pie and ice cream creates a delightful sensory experience that highlights both flavors.
Storage Success
For the best texture, store any leftover pie in the freezer rather than the refrigerator. The higher fat content means it will never freeze completely solid but will maintain the perfect creamy consistency.
When ready to serve from frozen, allow the pie to stand at room temperature for exactly 10-15 minutes. This short thawing period ensures slices are easy to cut but the filling remains firm enough to hold its shape.
Individual slices can be wrapped separately in plastic wrap and stored in the freezer for up to three weeks for quick dessert emergencies. Just unwrap and thaw a single portion whenever a craving strikes.
Frequently Asked Questions
- → Can I use pre-made Oreo crust?
Yes, you can use a store-bought Oreo crust for convenience. It works well with the filling.
- → What if I don’t have crème de menthe?
You can replace crème de menthe with ⅓ cup of milk, 1 teaspoon peppermint extract, and green food coloring.
- → How long should the pie chill?
Chill the pie in the freezer for 5-6 hours or overnight for the best texture.
- → Can I add other toppings?
Yes, feel free to add whipped cream, chocolate shavings, or additional Oreo crumbs as toppings.
- → How should I store leftovers?
Store leftover pie in the refrigerator or freezer, covered, for up to one week.