
 Pin it
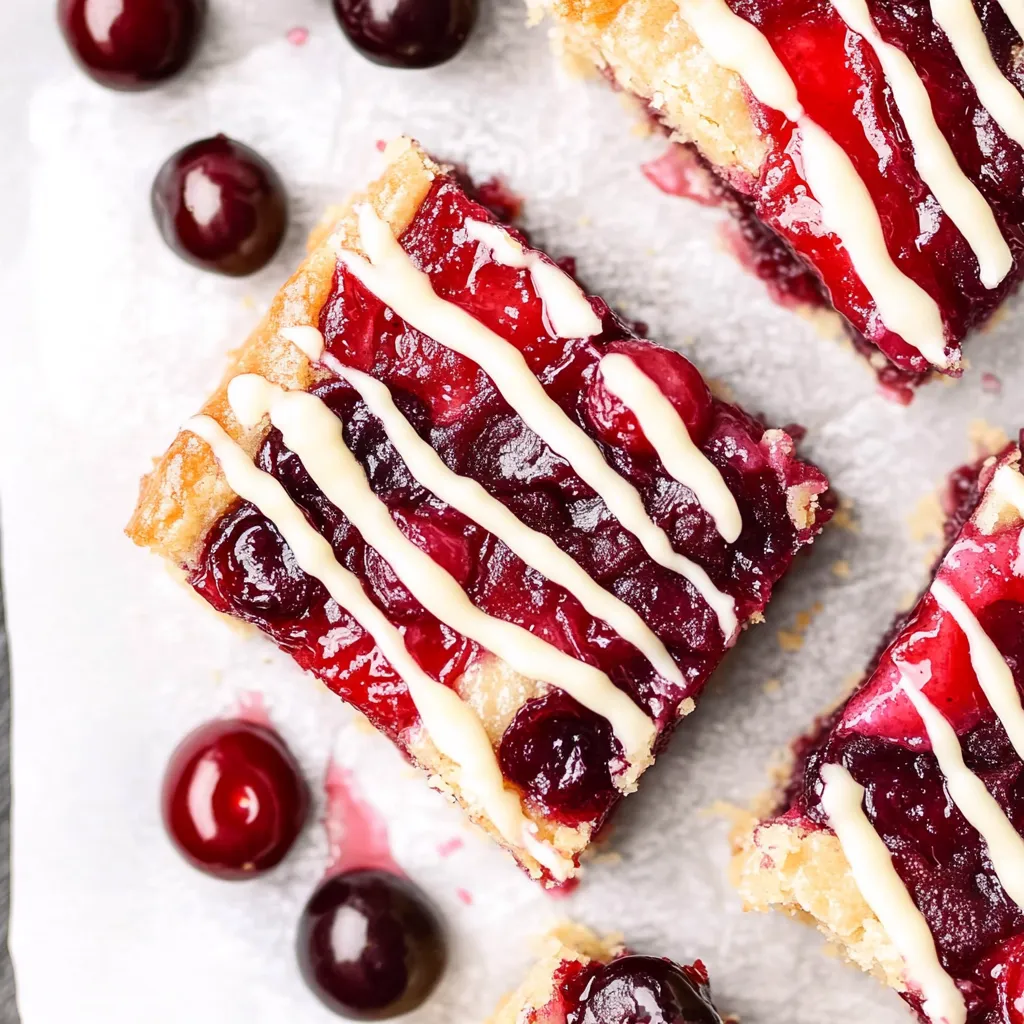
This buttery, fruity treat transforms fresh cherries into something truly special. Each bite delivers the perfect balance of sweet-tart cherry filling nestled between layers of tender, vanilla-scented crust. These bars bring all the comfort of traditional cherry pie in a convenient, hand-held format that's perfect for potlucks, picnics, or afternoon treats.
I first made these bars during cherry season when my farmers market haul was too generous for snacking alone. Now they've become my signature summer dessert that friends request by name whenever cherries appear at the market.
Ingredients
- Fresh cherries: Provide the perfect sweet-tart flavor balance for an authentic filling
- Cornstarch: Creates that perfectly thick pie filling consistency without becoming gummy
- Lemon juice: Brightens the cherry flavor and balances sweetness
- Vanilla extract: Adds warmth and depth to both filling and crust
- Almond extract: Enhances the natural cherry flavor with subtle nuttiness
- Butter: Creates a rich tender crust texture similar to shortbread
- All-purpose flour: Gives structure while maintaining tenderness
Step-by-Step Instructions
- Prepare the filling:
- Cook your pitted cherries with sugar, cornstarch slurry, lemon juice and vanilla over medium heat. The mixture needs to come to a full boil to activate the cornstarch properly. As you stir, you will notice the bright red cherry juices transform into a glossy, slightly thickened filling. This takes about 10 to 15 minutes of patient stirring until the mixture coats the back of a spoon. Allow this filling to cool completely before assembling the bars.
- Create the dough:
- Cream together softened butter with sugar until the mixture becomes light and fluffy. This incorporation of air is crucial for the perfect texture. Add eggs one at a time, allowing each to fully incorporate before adding the next. This prevents the batter from breaking or separating. The tiny amount of almond extract amplifies the cherry flavor without overwhelming. Mix your dry ingredients separately then incorporate them gently until just combined to avoid developing too much gluten.
- Assemble and bake:
- Spread most of your prepared batter across the bottom of your prepared baking pan creating an even layer about half an inch thick. Cover completely with your cooled cherry filling spreading it to the edges. Drop the remaining batter by spoonfuls over the filling creating a rustic pattern that will allow the beautiful red filling to peek through after baking. Bake until the edges turn golden brown and begin to pull away from the sides of the pan slightly.
The vanilla and almond extracts might seem like small additions, but they transform these bars from good to exceptional. My grandmother always added a touch of almond extract to her cherry desserts. The first time I caught that familiar aroma wafting from my own kitchen, it instantly transported me back to her yellow linoleum kitchen floor, watching her pit cherries by hand during summer visits.
Storage Tips
These cherry pie bars maintain their quality remarkably well in various storage conditions. At room temperature in an airtight container, they stay fresh for 2-3 days without refrigeration. For longer storage, refrigerate them for up to a week, though the crust may soften slightly from the moisture in the filling. Let them come to room temperature before serving for the best texture and flavor experience.
Make Ahead Options
The entire recipe can be prepared in stages to accommodate busy schedules. The cherry filling can be made up to 3 days ahead and refrigerated until needed. The assembled bars freeze beautifully both before and after baking. To freeze unbaked bars, prepare completely but do not bake, cover tightly and freeze for up to 3 months. Thaw overnight in the refrigerator before baking as directed, adding a few extra minutes to the bake time.
Serving Suggestions
While these cherry pie bars are perfectly delicious on their own, they become something truly special with thoughtful accompaniments. Warm them slightly and top with vanilla ice cream for a deluxe dessert experience. A simple dusting of powdered sugar adds elegant presentation for tea time or brunches. For summer gatherings, serve alongside freshly whipped cream lightly flavored with almond extract to complement the cherry notes.
Variations Worth Trying
The basic formula of these cherry pie bars provides a versatile canvas for creative adaptations. Add a streusel topping by combining equal parts flour, sugar, and cold butter with cinnamon for a crumbly texture. For chocolate lovers, incorporate mini chocolate chips into the crust mixture or drizzle with chocolate ganache after cooling. During holiday seasons, add warm spices like cinnamon, nutmeg and cloves to the filling for a festive touch.
Frequently Asked Questions
- → Can I use canned cherry filling instead of fresh?
Yes, you can replace the fresh cherry filling with two 21-ounce cans of pre-made filling for convenience.
- → What size pan should I use?
A 9x13 inch baking pan works best for this recipe to ensure even cooking and the proper thickness.
- → How can I make the glaze for topping?
To make a glaze, whisk together 1 cup of powdered sugar and 3-5 tablespoons of milk. Add vanilla or almond extract for extra flavor, then drizzle over cooled bars.
- → Can these bars be frozen?
Yes, these bars can be frozen. Store them in an airtight container, layering parchment paper between bars, and freeze for up to three months.
- → How do I know when the bars are done baking?
The bars are done when the edges of the dotted batter turn golden brown, which typically takes 30-40 minutes at 350°F.