
 Pin it
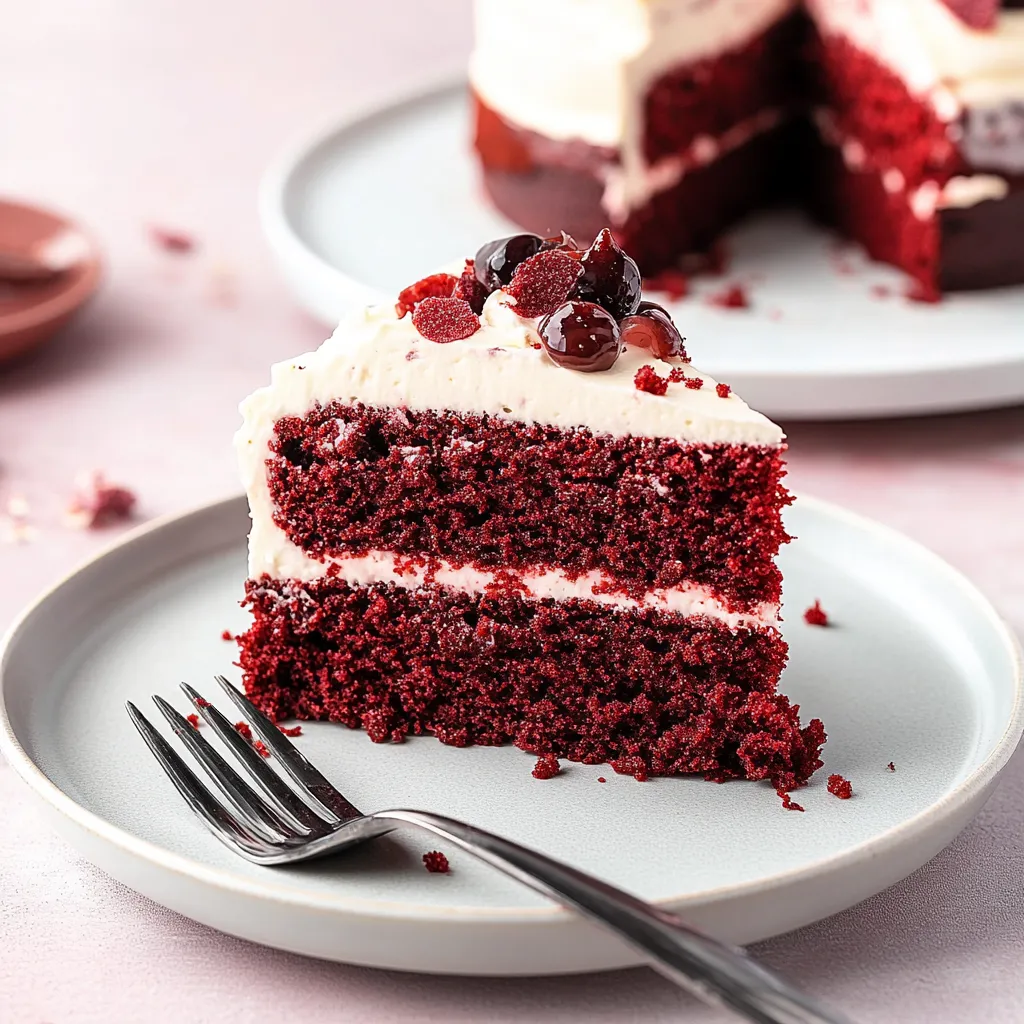
This gluten-free red velvet cake delivers all the moist, tangy flavor of traditional red velvet but without the gluten. Layered with luscious cream cheese frosting, it transforms any gathering into a special occasion with its striking crimson layers and velvety texture.
I developed this recipe after my niece was diagnosed with celiac disease and couldn't enjoy her favorite birthday cake anymore. After five attempts and countless taste tests, this version earned her declaration that it's "even better than the gluten version" she remembered.
Ingredients
- Gluten free all purpose flour blend: gives structure without grittiness
- Cornstarch: helps create that tender crumb texture
- Cocoa powder: provides the subtle chocolate undertone essential to red velvet
- Baking powder and baking soda: work together for the perfect rise
- Granulated sugar: balances the tanginess
- Vegetable oil: ensures moistness that lasts for days
- Eggs: add richness and structure
- Vanilla extract: enhances the flavor complexity
- Apple cider vinegar: activates the baking soda
- Red food coloring: creates the signature vibrant color
- Buttermilk: adds tanginess and tenderness
- Hot coffee: intensifies the chocolate notes without tasting like coffee
- Butter: creates structure in the frosting
- Cream cheese: provides that distinctive tangy flavor
- Vanilla extract: enhances the overall taste
- Salt: balances the sweetness
- Powdered sugar: thickens and sweetens
Step-by-Step Instructions
- Prepare the Pans:
- Preheat your oven to 350°F and prepare two 8 inch round cake pans by lining with parchment paper, greasing with butter, and dusting with cocoa powder. The cocoa powder prevents white flour marks on your red cake and adds flavor to the exterior.
- Mix Dry Ingredients:
- Whisk together the gluten free flour blend, xanthan gum, cornstarch, cocoa powder, baking powder, baking soda, and salt in a medium bowl until thoroughly combined. This step distributes the leavening agents evenly for consistent rise throughout the cake.
- Create Base Mixture:
- Beat granulated sugar and vegetable oil in a large mixing bowl with an electric mixer for a full 2 to 3 minutes. This incorporates air into the mixture which helps create lightness in the final cake despite having no gluten structure.
- Add Wet Ingredients:
- Incorporate eggs, vanilla extract, apple cider vinegar, and red food coloring, stirring until fully combined. The vinegar not only activates the baking soda but also helps preserve the red color against the natural browning of cocoa.
- Add Liquids:
- Stir in buttermilk and hot coffee. The coffee should be freshly brewed and hot to enhance the cocoa flavor through a process called blooming. The buttermilk begins reacting with the baking soda for immediate leavening.
- Combine Everything:
- Gradually add dry ingredients to the wet mixture, mixing just until no flour streaks remain. Allow the batter to rest for 2 to 3 minutes to thicken slightly as the gluten free flours begin absorbing the liquid.
- Bake the Cakes:
- Divide batter evenly between prepared pans and bake for 35 to 40 minutes, or until a wooden pick inserted in the center comes out clean. The cakes should spring back when lightly touched in the center.
- Cool Completely:
- Allow cakes to cool in pans for 10 minutes before transferring to a wire rack to cool completely. Patience here prevents the frosting from melting later and ensures proper structure.
- Make the Frosting:
- Cream together softened butter and cream cheese until absolutely smooth and without lumps. Gradually incorporate vanilla, salt, and powdered sugar until the frosting reaches a thick, spreadable consistency.
- Assemble the Cake:
- Place one cake layer on a serving plate, add frosting on top, then position the second layer. Apply a thin crumb coat, chill for 20 minutes, then finish with a final layer of frosting. Garnish with cake crumbs for the classic look.
The secret to this cake's success is in the hot coffee addition. My grandmother taught me this trick years ago when I complained about bland chocolate cakes. The heat blooms the cocoa powder while the slight bitterness of coffee mysteriously enhances the chocolate notes without leaving any coffee flavor behind.
Storage Tips
Store this cake covered at room temperature for up to 2 days or refrigerated for up to 5 days. The cream cheese frosting requires refrigeration after 24 hours. For best results when refrigerating, allow a slice to come to room temperature for about 30 minutes before serving to restore the soft texture.
The unfrosted cake layers can be wrapped tightly in plastic wrap and frozen for up to 3 months. Thaw overnight in the refrigerator before frosting. The complete frosted cake can also be frozen for up to 1 month if wrapped carefully in plastic then foil.
Making It Dairy Free
For a completely dairy free version, substitute the buttermilk with almond milk mixed with 1 tablespoon apple cider vinegar. Allow this mixture to sit for 5 minutes before using to create a plant based buttermilk alternative. For the frosting, use dairy free cream cheese and vegan butter sticks rather than tub versions which contain more water.
The results remain delicious with only subtle differences in texture. The dairy free frosting may require an additional half cup of powdered sugar to achieve the same stability.
Serving Suggestions
This cake pairs beautifully with fresh berries served alongside each slice. For an impressive presentation, garnish the platter with fresh mint leaves and additional berries around the base of the cake.
For special occasions, add white chocolate curls or edible gold leaf to the top for an elegant finish. During the holidays, crushed peppermint candies make a festive garnish that complements the subtle chocolate flavor.
Frequently Asked Questions
- → What makes this cake gluten-free?
This cake uses a gluten-free all-purpose flour blend and omits wheat-based flours, making it safe for those avoiding gluten.
- → Can I make this cake dairy-free?
Yes, you can substitute buttermilk with almond milk mixed with apple cider vinegar and use dairy-free cream cheese and butter alternatives for the frosting.
- → What’s the purpose of the apple cider vinegar?
The apple cider vinegar reacts with the baking soda to help the cake rise and also enhances the moist and tangy flavor.
- → Do I need to use red food coloring?
Red food coloring gives the cake its iconic red color, but you can omit it if you don’t have any or prefer a natural, non-dyed version.
- → How can I ensure the layers bake evenly?
Weigh your batter when dividing it between the pans and bake on the center rack of the oven for even heat distribution.
- → How far in advance can I make this cake?
You can bake the cake layers a day in advance and store them wrapped in plastic wrap at room temperature. Frosting and final assembly should be done the day of serving for best results.