
 Pin it
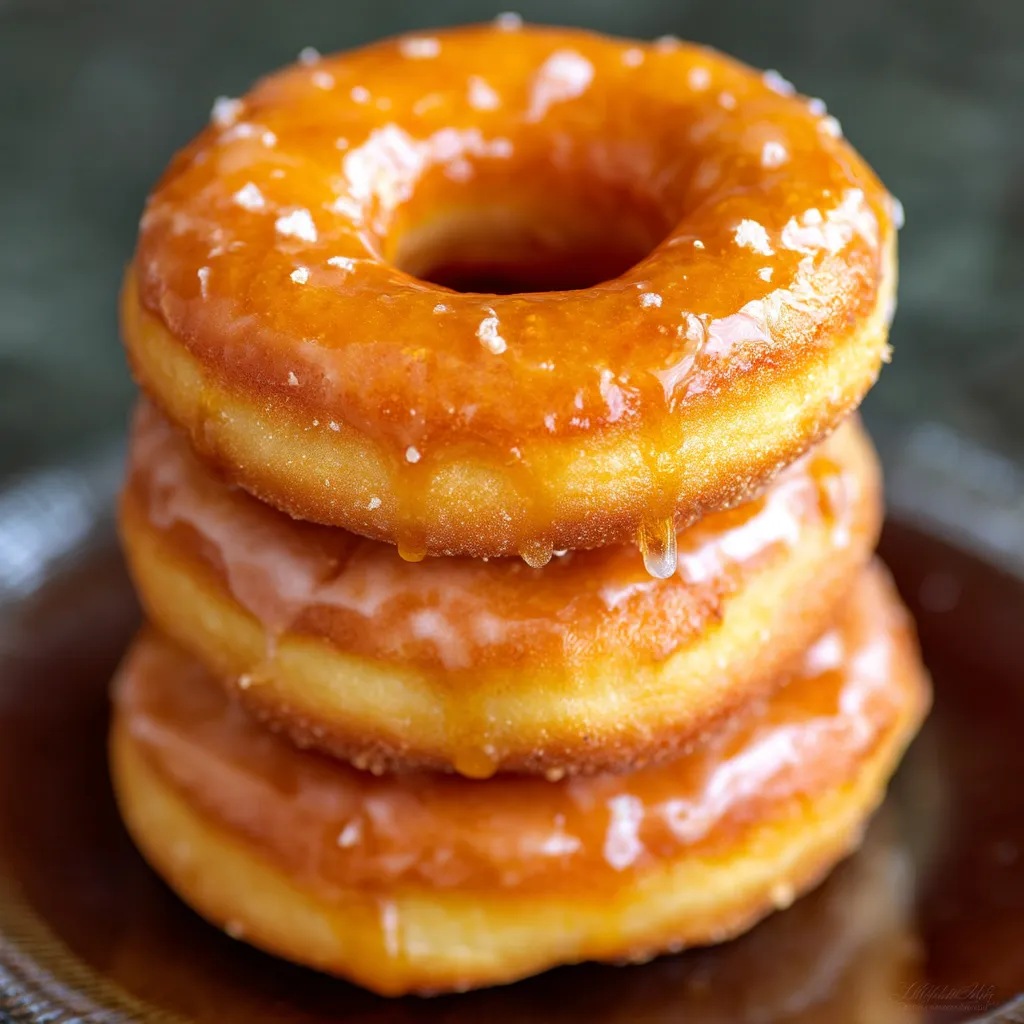
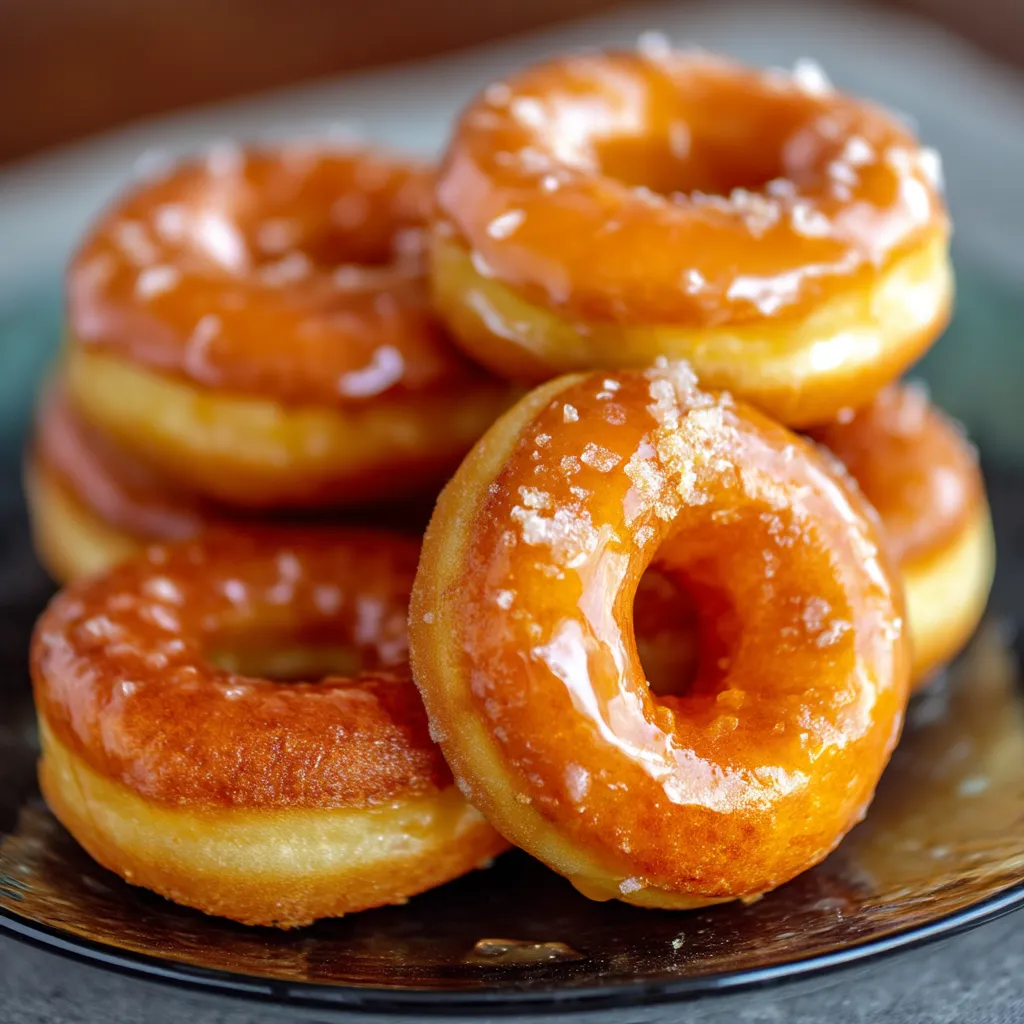
This glazed donut recipe produces the most delightful homemade treats with pillowy centers and a sweet vanilla glaze that sets to perfection. The magic happens with a simple yeasted dough that rises to fluffy perfection before being fried to golden brown excellence and dipped in a classic glaze that crackles between your teeth.
I first attempted these donuts on a rainy Sunday morning when my family was craving something special. The look on their faces when they bit into these warm, freshly glazed treats convinced me this recipe needed to become our weekend tradition.
Ingredients
- All purpose flour: Forms the backbone of our dough for that perfect tender crumb
- Granulated sugar: Provides just enough sweetness without overwhelming the dough
- Instant yeast: Ensures reliable rising with minimal wait time
- Milk: Creates richness in the dough when properly scalded and cooled
- Light olive oil: Keeps the dough moist and tender without adding flavor
- Egg yolks: Contribute to that distinct richness and color of classic donuts
- Vanilla extract: Adds warmth and depth to both dough and glaze
- Powdered sugar: Creates that iconic smooth glaze that sets perfectly
- Frying oil: Peanut oil preferred for its high smoke point and neutral flavor
Step-by-Step Instructions
- Scald the milk:
- Heat milk in a small saucepan over medium low heat while stirring constantly to prevent any skin from forming. Once you see steam rising or it reaches 180°F, remove from heat immediately and transfer to a measuring cup. Allow it to cool to precisely 115°F which is the perfect temperature to activate yeast without killing it.
- Create the starter:
- In a large mixing bowl, combine 1 cup of flour with sugar, yeast and salt. Whisk in your perfectly cooled milk, oil, egg yolks and vanilla. Cover this mixture and let it rest for 10 15 minutes until small bubbles appear on the surface. This initial fermentation period jumpstarts the yeast activity for a better rise.
- Develop the dough:
- Gradually incorporate the remaining flour using a firm spatula until the dough pulls away from the sides of the bowl. The dough should remain somewhat soft and slightly sticky. Hand knead directly in the bowl for a full 5 minutes to develop gluten structure. This kneading period is crucial for creating that distinctive chewy yet tender donut texture.
- First rise:
- Cover the bowl with plastic wrap and place in a warm environment around 100°F for 45 minutes, or at room temperature for 1.5 to 2 hours. Patience here rewards you with a properly doubled dough that will yield light, airy donuts rather than dense ones.
- Shape the donuts:
- Turn the dough onto a lightly floured surface and roll to an even thickness between 1/4 to 1/3 inch. Use a donut cutter to create perfect circles with holes. The thickness matters significantly here too thin results in crispy donuts, too thick and they may remain doughy inside.
- Second rise:
- Place cut donuts on parchment paper with space between each piece. Cover with a clean kitchen towel and allow to rise again until visibly puffed. This second rise creates that distinctive light texture that makes homemade donuts superior to store bought versions.
- Fry to perfection:
- Heat oil to exactly 375°F using a reliable thermometer. Maintaining this temperature is crucial too cool and the donuts absorb excess oil, too hot and they brown before cooking through. Fry just two donuts at a time to maintain oil temperature, carefully flipping once to achieve golden perfection on both sides.
- Glaze while hot:
- Immediately dip freshly fried donuts into the prepared vanilla glaze, coating both sides completely. Transfer to a wire rack where the excess will drip off and the glaze will set to that characteristic crackly finish we all love.
 Pin it
These glazed donuts remind me of Sunday mornings at my grandmothers house. She would always save the donut holes for me, claiming they were just quality control samples but I knew they were her way of giving me a special treat before everyone else arrived.
The Importance of Scalding Milk
Though it might seem like an unnecessary step, scalding the milk serves a crucial purpose in this recipe. The process deactivates enzymes that would otherwise prevent proper gluten formation. Additionally, heating the milk helps the fat distribute more evenly throughout the dough, resulting in a more tender texture. While modern pasteurized milk technically doesnt require scalding for safety reasons, this traditional technique still improves the overall structure and flavor of your donuts.
Troubleshooting Tips
If your donuts turn out dense rather than fluffy, your dough likely didnt rise properly. This could be due to expired yeast, liquid that was too hot and killed the yeast, or insufficient rising time. Remember that yeast is a living organism that needs the right conditions to thrive. When in doubt, give your dough more time to rise rather than rushing this critical step.
Creative Variations
While classic glazed donuts are perfection on their own, this versatile dough welcomes creative adaptations. Try adding cinnamon to the glaze, sprinkling with toasted coconut while the glaze is still wet, or even creating a chocolate glaze by adding cocoa powder and a touch more liquid to the powdered sugar mixture. For special occasions, colorful sprinkles pressed gently into the wet glaze transform these homemade treats into celebration worthy desserts.
Frequently Asked Questions
- → What makes these donuts fluffy?
The combination of scalded milk, quick-acting yeast, and proper kneading helps ensure the donuts achieve their fluffy and airy texture.
- → How do I know if my yeast is active?
When proofing the dough, bubbles will form on the surface within 10–15 minutes, indicating that your yeast is active and working.
- → Can I use a different glaze flavor?
Yes, you can customize the glaze by adding flavors such as chocolate, lemon juice, or even a hint of cinnamon or nutmeg to suit your tastes.
- → What is the best oil for frying donuts?
Peanut oil, vegetable oil, or canola oil are excellent options for frying as they have high smoke points and neutral flavors.
- → How long do these donuts stay fresh?
These donuts are best enjoyed fresh on the same day, but they can be stored in an airtight container for up to two days.
- → Can I make the dough in advance?
Yes, you can refrigerate the dough after the first rise for up to 24 hours and then proceed with cutting and proofing before frying.