
 Pin it
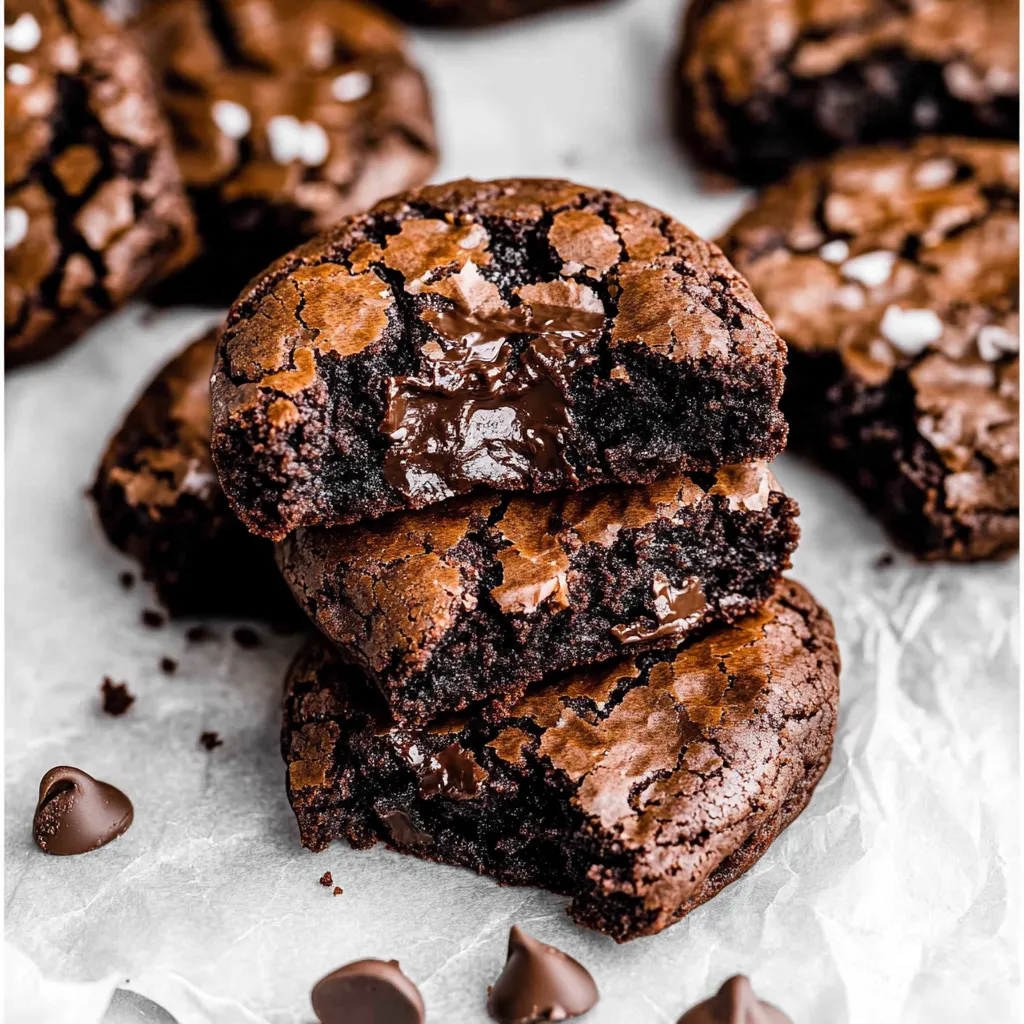
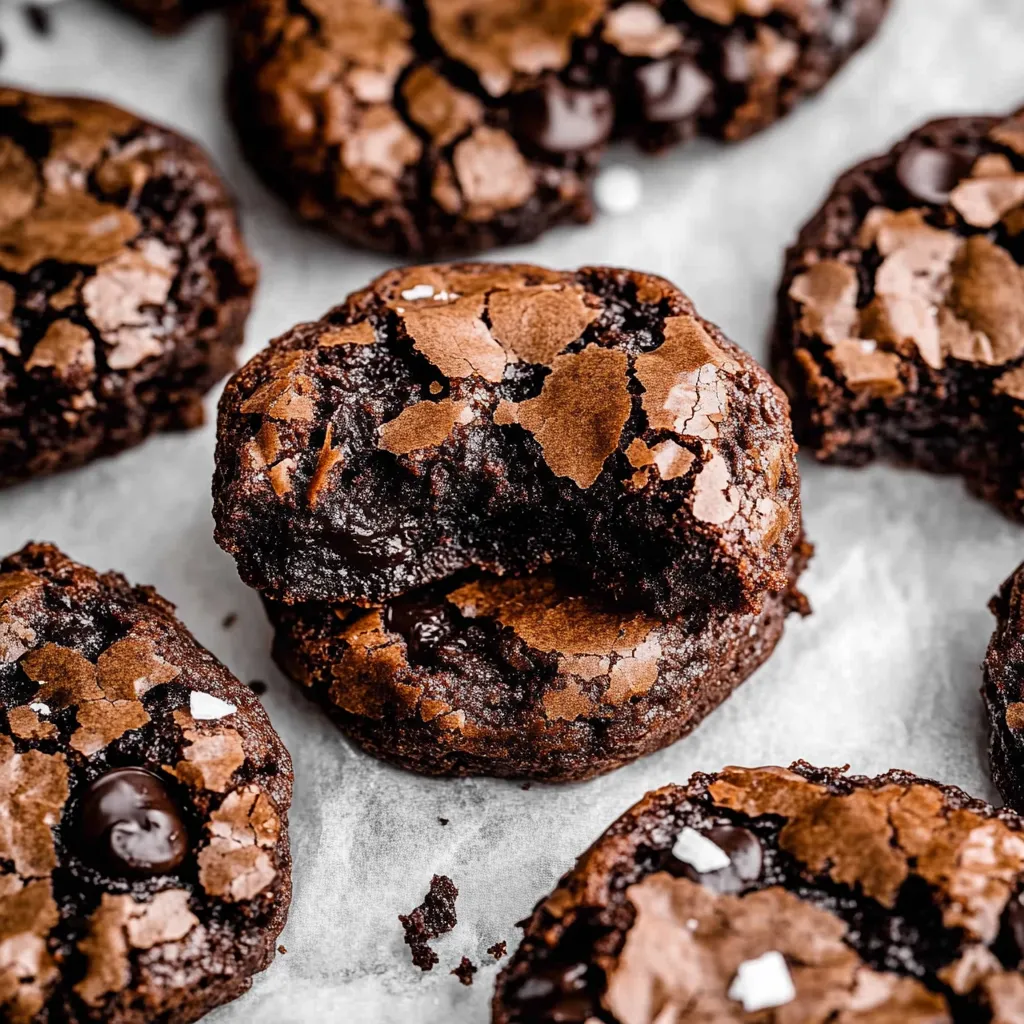
This rich chocolate browkie recipe brings together the best qualities of brownies and cookies into one irresistible treat. The crackly tops and fudgy centers create the perfect texture contrast that chocolate lovers crave, making them an instant hit for family gatherings or special occasions.
I first created these browkies during a rainy weekend when my family was craving something special but I couldn't decide between brownies or cookies. The moment these came out of the oven, they became an instant tradition in our home, with friends and family requesting the recipe after the very first bite.
Ingredients
- All-purpose flour: Serves as the structured base without overwhelming the chocolate flavor
- Cocoa powder: Intensifies the chocolate flavor and contributes to the rich dark color
- Baking powder: Provides just enough lift without making them cakey
- Salt: Balances the sweetness and enhances the chocolate notes
- Dark chocolate: Forms the foundation of the fudgy texture; choose high quality for best results
- Butter: Adds richness and helps create the perfect chewy texture
- Eggs: Bind everything together while contributing to the fudgy texture
- Caster sugar: Dissolves easily for a smoother texture in the final product
- Demerara sugar: Adds a subtle caramel note and slight crunch
- Vanilla extract: Enhances the chocolate flavor with its aromatic qualities
- Chocolate chips: Create pockets of melty chocolate throughout each browkie
Step-by-Step Instructions
- Preheat Oven:
- Set your oven to 160ºC with fan or 170ºC conventional. This moderate temperature allows the brownies to develop their signature cracky top while keeping the centers fudgy and not overbaked. Line your baking tray with parchment for easy removal.
- Create Chocolate Base:
- Gently melt chopped dark chocolate and butter together using the double boiler method. This slow melting prevents the chocolate from seizing or burning while creating a smooth mixture. Stir occasionally until completely smooth with no chocolate chunks remaining. The mixture should be warm but not hot when you add the vanilla.
- Whip Egg Mixture:
- Beat eggs and both sugars with an electric mixer for a full 3 minutes until the mixture becomes very pale and thick. This step is crucial as it creates the structure that gives brownies their distinctive cracky top. The mixture should fall from the beater in thick ribbons that hold their shape momentarily.
- Prepare Dry Ingredients:
- Sift all dry ingredients together thoroughly. This eliminates lumps in the cocoa powder and flour while evenly distributing the leavening agents and salt. Take care to incorporate the chocolate chips at this stage to ensure they disperse evenly throughout the batter.
- Combine Wet Ingredients:
- Fold the slightly cooled chocolate mixture into the whipped eggs using gentle strokes. Work carefully to maintain the air bubbles you created during whipping. The mixture should look glossy and smooth when properly combined.
- Add Dry Ingredients:
- Using a spatula fold the dry ingredients into the wet mixture with as few strokes as possible. Stop mixing the moment you no longer see dry flour. Overmixing will develop gluten and result in tough rather than fudgy brownies.
- Shape and Bake:
- Scoop generous tablespoons of batter onto your prepared tray leaving ample space for spreading. The browkies will expand during baking so allow at least 2 inches between each portion. Bake until the tops develop cracks and the edges are set but the centers still look slightly underdone; approximately 12 minutes.
- Finish with Finesse:
- Remove from oven and immediately sprinkle with flaky sea salt if desired. This contrast of sweet and salty elevates the chocolate flavor. Allow to cool on the tray for 10 minutes where they will continue cooking slightly from residual heat before transferring to a cooling rack.
 Pin it
My absolute favorite part of making these browkies is watching the faces of first-time tasters. There's always this moment of surprise when they bite into what looks like a cookie but tastes like the most decadent brownie. My nephew once declared them "magic chocolate discs" and the name stuck in our family.
Storage Solutions
These browkies maintain their fudgy texture for up to 5 days when stored in an airtight container at room temperature. For longer storage, freeze them individually wrapped in plastic then placed in a freezer bag. To refresh slightly stale browkies, warm them for 10 seconds in the microwave for that just-baked texture.
Perfect Pairings
Serve these browkies slightly warm with a scoop of vanilla ice cream for a dessert that rivals any restaurant offering. For a cozy afternoon treat, pair with a cup of coffee or hot chocolate spiked with a touch of cinnamon. During summer months, these make an incredible base for ice cream sandwiches, especially with coffee or mint chocolate chip flavors.
Troubleshooting Tips
If your browkies spread too much during baking, chill the dough for 30 minutes before scooping. For browkies that are too cakey, you likely overbeaten the mixture after adding the flour or baked them too long. Remember that they continue cooking on the hot tray after removal from the oven, so timing is everything for that perfect fudgy center.
Frequently Asked Questions
- → What are browkies?
Browkies are a delightful blend of brownies and cookies, combining the rich, fudgy texture of brownies with the chewy qualities of cookies.
- → How do I prevent browkies from spreading too much?
Space the batter well apart on the baking tray and use a cookie scoop for consistent sizes. Make sure your dough is mixed properly but not over-handled.
- → Can I use milk chocolate instead of dark chocolate?
Yes, milk chocolate can be used for a sweeter taste, but dark chocolate provides a more robust flavor profile for these browkies.
- → How do I know when the browkies are done baking?
The tops of the browkies should be set with a crackly appearance. Bake for 12-14 minutes, being cautious not to overbake for a fudgy texture.
- → Why is it important to cool the browkies on the tray?
Cooling the browkies on the tray prevents them from breaking apart and helps them firm up for the perfect texture.