
 Pin it
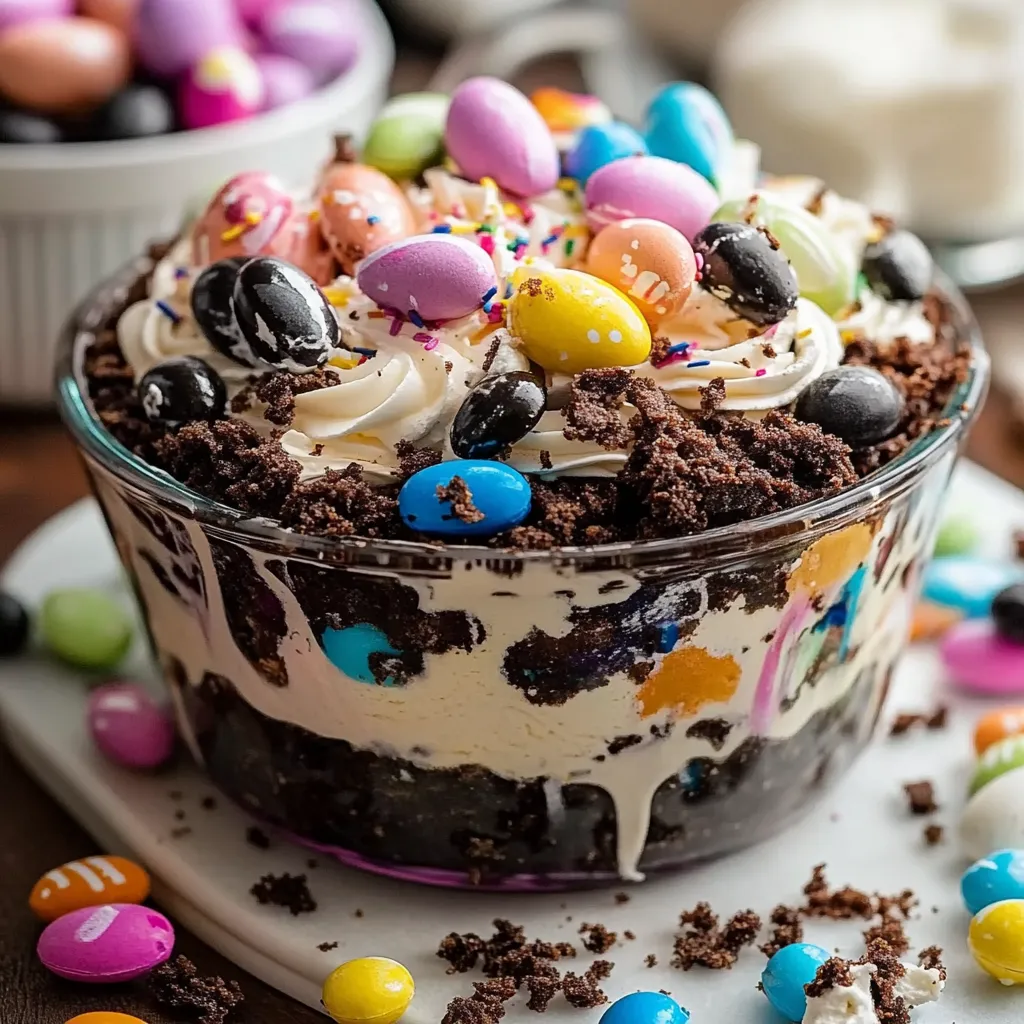
This Easter Dirt Cake Casserole transforms simple ingredients into a showstopping spring dessert that delights both kids and adults alike. The contrast between crunchy chocolate cookies and creamy filling creates an irresistible texture that's perfect for holiday gatherings.
I first made this dessert when hosting my first Easter as a newlywed, nervous about impressing my inlaws. The colorful presentation and delicious taste had everyone asking for the recipe, and now it's requested at every spring gathering we host.
- Oreo cookies: these form both the "dirt" base and topping creating that signature look while adding chocolatey crunch
- Cream cheese: provides rich tanginess that balances the sweetness look for full fat for the creamiest texture
- Unsalted butter: adds silky smoothness to the filling choose good quality for best flavor
- Powdered sugar: sweetens without graininess make sure it's fresh with no lumps
- Vanilla pudding mix: creates that light fluffy texture instant variety works perfectly here
- Cold milk: activates the pudding whole milk creates the richest result
- Whipped topping: gives the filling its cloud like consistency thaw completely before using
- Pastel colored candy coated chocolates: add festive spring color and chocolate surprise in every bite
- Mini Oreo cookies: create adorable decoration that hints at what's inside
Step-by-Step Instructions
- Prepare the Oreo Base:
- Process Oreos in your food processor until finely ground with no large chunks remaining. If you don't have a food processor place cookies in a heavy duty zip bag and crush with a rolling pin using firm even pressure. Reserve half cup of these crumbs for the topping. Press remaining crumbs into an even layer across the bottom of your 9x13 baking dish creating a compact base.
- Create the Cream Cheese Mixture:
- Beat softened cream cheese butter and powdered sugar together until extremely smooth about 3 minutes on medium high speed. Stop occasionally to scrape down the sides of your bowl ensuring no lumps remain. The mixture should be light and fluffy with a pale color. Fold in the thawed whipped topping using a spatula with gentle motions to maintain the airy texture.
- Prepare the Pudding Layer:
- Whisk vanilla pudding mix with cold milk vigorously for about 2 minutes until it begins to thicken. Let it stand for exactly 5 minutes the pudding will set to the perfect consistency during this time. Gently fold this pudding into your cream cheese mixture using a large spatula with broad strokes from bottom to top to maintain maximum fluffiness.
- Assemble Your Masterpiece:
- Spread the combined filling over your Oreo base using an offset spatula to create a smooth even layer reaching all corners of the dish. Sprinkle the reserved crushed Oreos evenly across the top creating the "dirt" effect. Arrange pastel candies and mini Oreos decoratively across the surface creating an eye catching Easter garden scene.
The vanilla pudding is truly the secret ingredient in this recipe. I discovered its importance when trying to shortcut the process once by just using cream cheese and whipped topping. The pudding gives the filling that perfect consistency between mousse and cheesecake that makes this dessert so addictive. My niece now insists on being in charge of the candy decoration every Easter making her own special patterns each year.
Storage Tips
This dessert keeps beautifully in the refrigerator for up to 3 days tightly covered with plastic wrap. The flavors actually deepen after the first day making it an ideal make ahead dessert. I don't recommend freezing as the texture of the filling changes and the cookie base can become soggy upon thawing.
Easy Variations
While this recipe shines as an Easter treat you can easily adapt it for other occasions. For Christmas use red and green candies with crushed peppermint. Halloween calls for orange and black candies with gummy worms. Summer birthdays become special with colorful sprinkles and matching candy colors. The base recipe remains the same just change the decorative elements to match your celebration.
Serving Suggestions
For a beautiful presentation serve this dessert in clear glass trifle dishes or individual mason jars to showcase the layers. Add fresh berries around the serving plate for a pop of natural color. A dollop of additional whipped topping on each serving adds an elegant touch. For children's parties consider serving in small plastic cups with colorful spoons for an easy individual dessert option.
Make It Your Own
This recipe welcomes personalization. Consider adding a thin layer of caramel between the cookie base and filling for added decadence. Chocolate lovers might prefer chocolate pudding instead of vanilla. Those who enjoy texture contrasts can add chopped nuts to the cookie layer. The basic structure stays intact while allowing for creative interpretation.
Frequently Asked Questions
- → How should I crush Oreos for the base?
Use a food processor for fine crumbs or place Oreos in a zip-top bag and crush with a rolling pin for a chunkier texture.
- → Can I use a substitute for Cool Whip?
Yes, you can use homemade whipped cream as a substitute. Beat heavy cream with powdered sugar until stiff peaks form.
- → How long should the cake chill before serving?
Refrigerate for at least 2 hours to ensure the layers are set and the dessert is properly chilled.
- → What’s the best way to soften cream cheese?
Leave the cream cheese at room temperature for 30-60 minutes or microwave it for 10-15 seconds, ensuring it’s softened but not melted.
- → Can I make this dessert ahead of time?
Yes, this dessert can be made a day in advance. Store it covered in the refrigerator until ready to serve.