
 Pin it
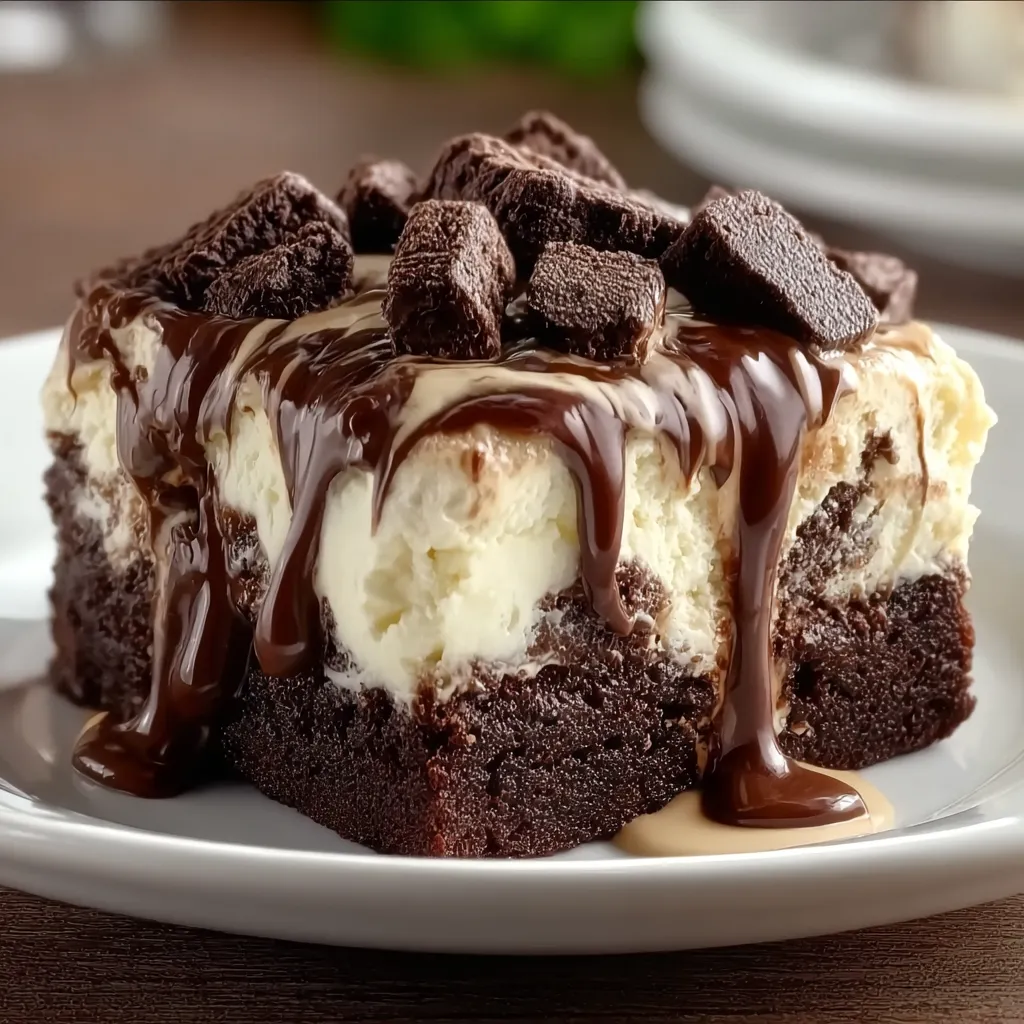
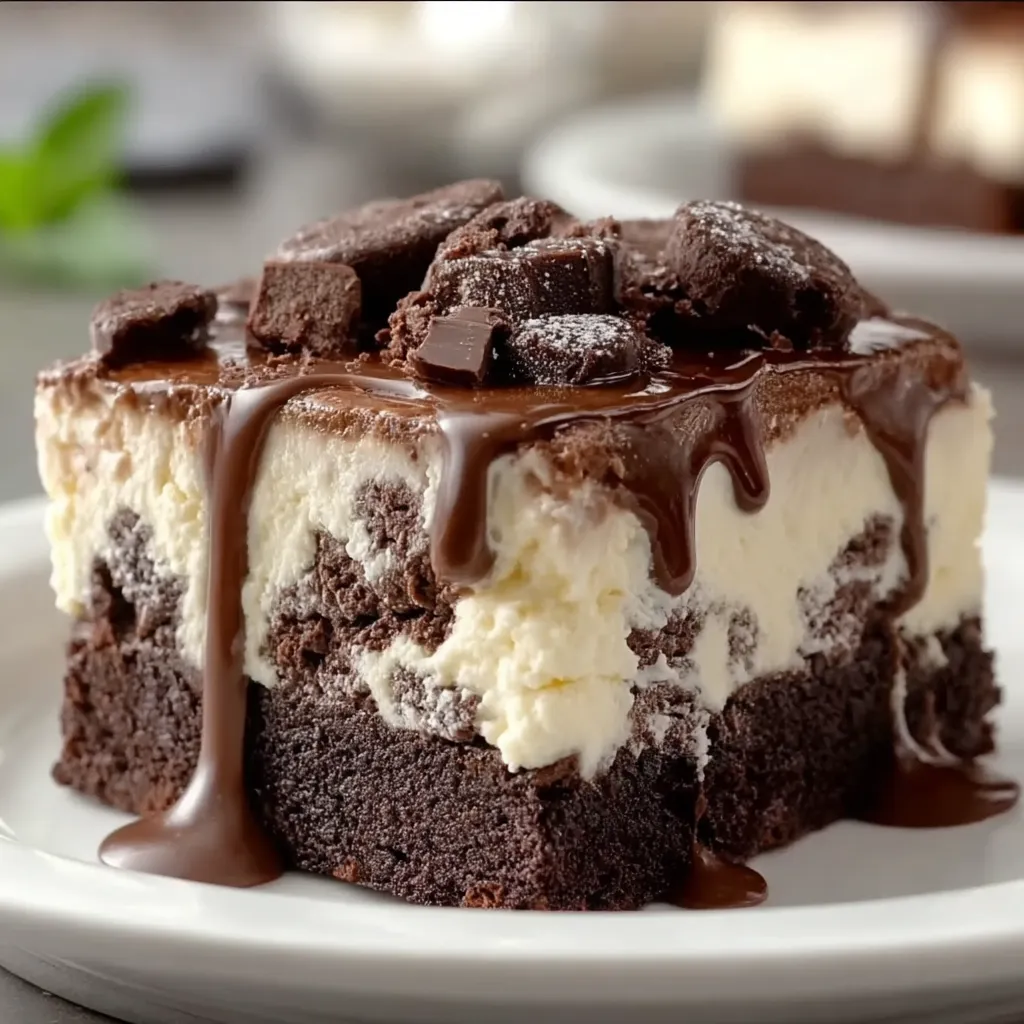
This make-ahead brownie ice cream cake is a go-to for special occasions and summer celebrations. With chewy brownie layers hugging creamy swirls of ice cream and plenty of fudge, it is the dessert everyone wants a second slice of—no matter how old they are.
This is the cake my family always requests for birthdays. The first time I made it, there was complete silence during dessert—everyone was so happy with every bite.
Ingredients
- Boxed brownie mix: Using a reliable brand makes sure you get a chewy dense base every time
- Ice cream: Two pints; pick your favorites for endless combinations; creamy premium options hold up best in layers
- Fudge sauce: Choose a thick rich sauce for the best dramatic drizzle; quality chocolate deepens the whole cake flavor
When I want to impress I go classic with vanilla and chocolate but birthdays often call for the wildest flavors we can find.
Step-by-Step Instructions
- Prepare and Bake Brownies:
- Mix the brownie batter as instructed on the box and bake it in a nine by thirteen inch pan until just set so the center stays chewy and does not dry out. Let them cool entirely in the pan to keep them sturdy for layering
- Cut and Layer the Brownies and Ice Cream:
- Once the brownies reach room temperature use a sharp knife or cake ring to cut two six inch circles of brownie. Line a six inch springform pan with one circle pressing it flat for an even foundation. Add one pint of slightly softened ice cream on top spreading it smoothly
- Add the Second Brownie Layer and More Ice Cream:
- Place the second brownie circle on top of the first ice cream layer creating a sandwich. Layer the last pint of ice cream over this brownie smoothing the top so you get perfect slices later
- Freeze and Set the Cake:
- Wrap the pan in plastic wrap and transfer it to the freezer. Let the cake chill for at least three hours or until firm to the touch. This prevents the layers from sliding when unmolding
- Serve and Garnish:
- Let the cake sit at room temperature for five minutes then remove from the pan. Drizzle generously with heated fudge sauce and add extra brownie scraps if you like it extra decadent. Serve in thick, satisfying slices
 Pin it
My favorite part is always sneaking a few extra pieces of brownie while assembling. One year my little niece insisted we use mint chip ice cream and now it is our family tradition.
How to Store Leftovers
- Keep the brownie ice cream cake wrapped well in plastic and foil to prevent freezer taste
- Airtight containers help reduce ice crystals and keep the cake softer
- Store in the coldest part of your freezer for up to one week for best flavor
Easy Ingredient Swaps
- Use cookie dough or blondie mix instead of brownies for a fun twist
- Swap in vegan ice cream or gluten free brownie mix so everyone can enjoy
- Peanut butter or caramel sauce works great for the topping instead of fudge
Creative Serving Suggestions
- Slice the cake while frozen then plate with fresh berries for color
- Top each serving with whipped cream and crushed nuts for extra crunch
- Serve as petite squares at a buffet for easy finger food fun
Recipe Origins
Ice cream cakes became a birthday treat tradition in my house because we love how easy they are to personalize. The boxed brownie base is my kitchen hack for rich flavor without fuss and the fudge topping takes it over the top every single time.
Frequently Asked Questions
- → Can I use homemade brownie batter instead of a mix?
Absolutely! Using homemade brownie batter will add a personal touch and can enhance the flavors even more.
- → What type of ice cream works best for this dessert?
Choose your favorite flavors, but classic options like vanilla, chocolate, or salted caramel work really well with brownies.
- → How do I prevent the ice cream from melting during assembly?
Ensure the brownies are fully cooled before layering, and work quickly. You can also chill the springform pan beforehand.
- → Can I make this dessert in advance?
Yes, you can assemble and freeze the cake up to 2-3 days in advance. Just store it in an airtight container to avoid freezer burn.
- → What if I don’t have a springform pan?
If you don't have a springform pan, use any deep dish lined with parchment paper for easier removal.