
 Pin it
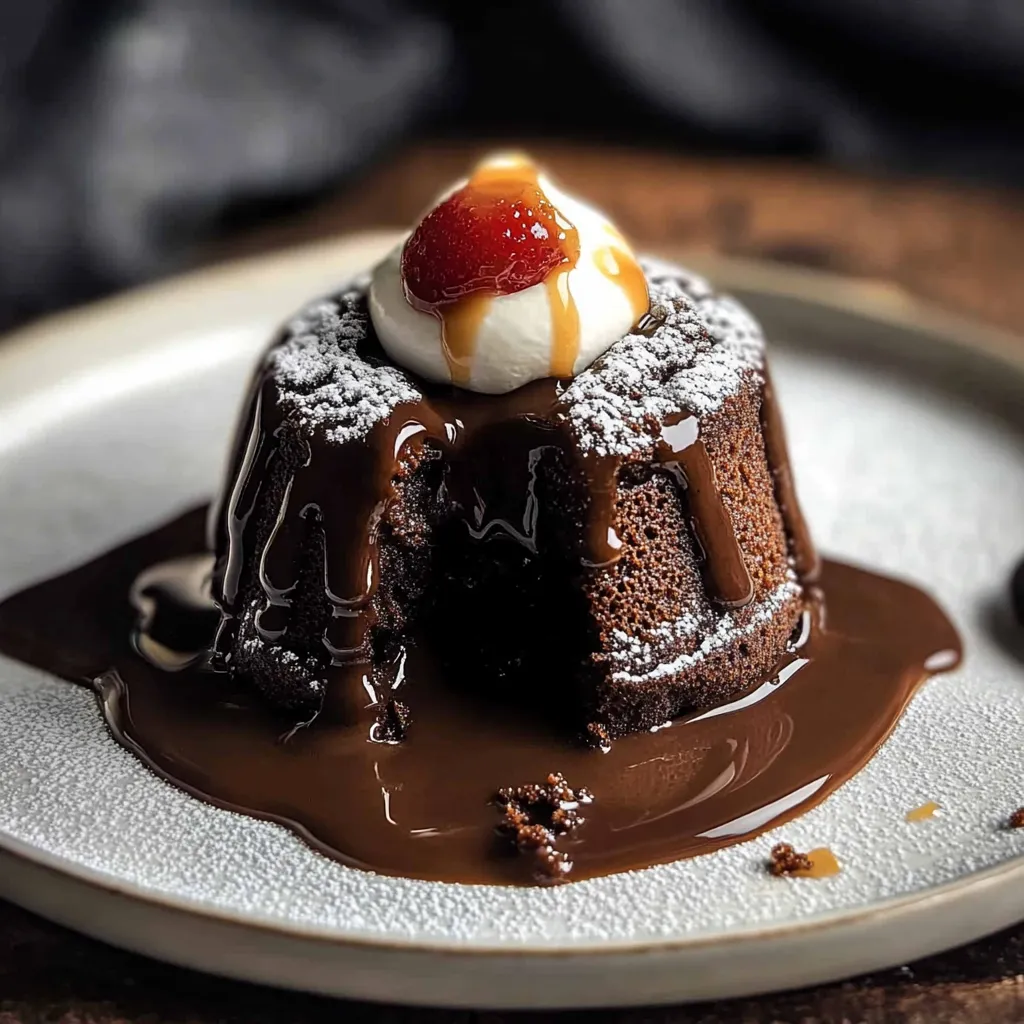
This decadent copycat Chili's Molten Lava Cake brings restaurant-quality dessert right to your home kitchen. The contrast between the warm cake exterior and the gooey chocolate center creates a dessert experience that feels like pure indulgence without the restaurant price tag.
I first recreated this after my daughter requested it for her 12th birthday. The look on her face when she broke into that first cake and watched the chocolate center flow onto her plate made all the effort worthwhile. Now it's our special occasion tradition.
Ingredients
- Milk chocolate chips: Create that signature molten center. Choose high-quality chips for the smoothest texture.
- Unsalted butter: Adds richness and helps create the cake's tender structure. Room temperature works best.
- Powdered sugar: Dissolves seamlessly into the batter ensuring no grittiness in your finished cake.
- Whole eggs and egg yolk: Provide structure while adding richness to the cake.
- Vanilla extract: Enhances the chocolate flavor. Pure extract offers the cleanest taste.
- All-purpose flour: Gives just enough structure without making the cake too dense.
- Nonstick cooking spray: Ensures your cakes release perfectly every time.
Step-by-Step Instructions
- Prepare the ramekins:
- Generously coat four 1-cup oven-safe ramekins with nonstick cooking spray, making sure to cover the entire interior surface. This critical step ensures your cakes will release cleanly after baking. Preheat your oven to exactly 400°F to ensure proper cooking times.
- Create the chocolate base:
- In a microwave-safe bowl, combine the chocolate chips and butter. Microwave in 30-second intervals, stirring thoroughly between each interval. This gradual melting prevents the chocolate from scorching and ensures a perfectly smooth base. It usually takes about 1-2 minutes total depending on your microwave power.
- Build the batter:
- Whisk the powdered sugar and a small pinch of salt into your melted chocolate mixture until completely incorporated. The mixture will thicken slightly. Then add the whole eggs, egg yolk, and vanilla extract, whisking vigorously until the batter becomes smooth and takes on a silky consistency with a slight shine.
- Add structure with flour:
- Using a rubber spatula rather than a whisk, gently fold the flour into the chocolate mixture just until no dry streaks remain. Overmixing at this stage will develop too much gluten and result in a tough cake rather than a tender one. The batter should look uniform but not overly worked.
- Bake to perfection:
- Pour the batter evenly among the prepared ramekins, filling each about three-quarters full to allow room for rising. Place them on a baking sheet for stability and bake for exactly 13-15 minutes. The edges should be set but the center should still appear slightly jiggly. This precise timing creates the perfect balance between cake exterior and molten center.
The first time I served these at a dinner party, my friend literally gasped when she cut into hers. The slow cascade of chocolate lava spreading across her plate became an instant memory. I always use Ghirardelli chocolate chips in this recipe because their melt quality creates the smoothest, most luxurious center.
The Perfect Serving Strategy
To create the ultimate Chili's restaurant experience, invert each warm cake onto a dessert plate right before serving. The cake should release easily if you've generously greased the ramekins. Top immediately with a scoop of quality vanilla ice cream and drizzle with caramel sauce. The temperature contrast between the warm cake and cold ice cream creates that magical sensory experience that makes this dessert so special.
Troubleshooting Your Lava Cakes
The most common issue with lava cakes is overcooking, which results in a fully baked cake without the molten center. Remember that the cakes will continue cooking slightly after removal from the oven due to residual heat. Look for set edges but a center that still jiggles slightly when you gently shake the ramekin. If your center solidifies, simply serve with extra chocolate sauce warmed and poured over the top.
Make-Ahead Options
While these cakes are best baked right before serving, you can prepare the batter up to 24 hours in advance. Simply divide it among the greased ramekins, cover tightly with plastic wrap, and refrigerate. When ready to bake, remove the ramekins from the refrigerator 30 minutes before baking to take the chill off, then add 1-2 minutes to the baking time to account for the cooler starting temperature.
 Pin it
Frequently Asked Questions
- → How do I prevent the cakes from sticking?
Ensure the ramekins are generously coated with nonstick cooking spray for easy release.
- → How do I achieve a gooey center?
Bake the cakes for 13-15 minutes, monitoring closely. Remove them from the oven when the edges are set, but the center remains soft.
- → Can I use dark chocolate instead of milk chocolate?
Yes, using dark chocolate will create a bolder flavor. Adjust sweetness by reducing the powdered sugar slightly if needed.
- → What size ramekins should I use?
Use 1-cup oven-safe ramekins for the best results. This size ensures even baking and perfect portions.
- → How should I serve this dessert?
Serve warm with a drizzle of caramel sauce, a scoop of vanilla ice cream, and magic shell topping for a classic touch.