
 Pin it
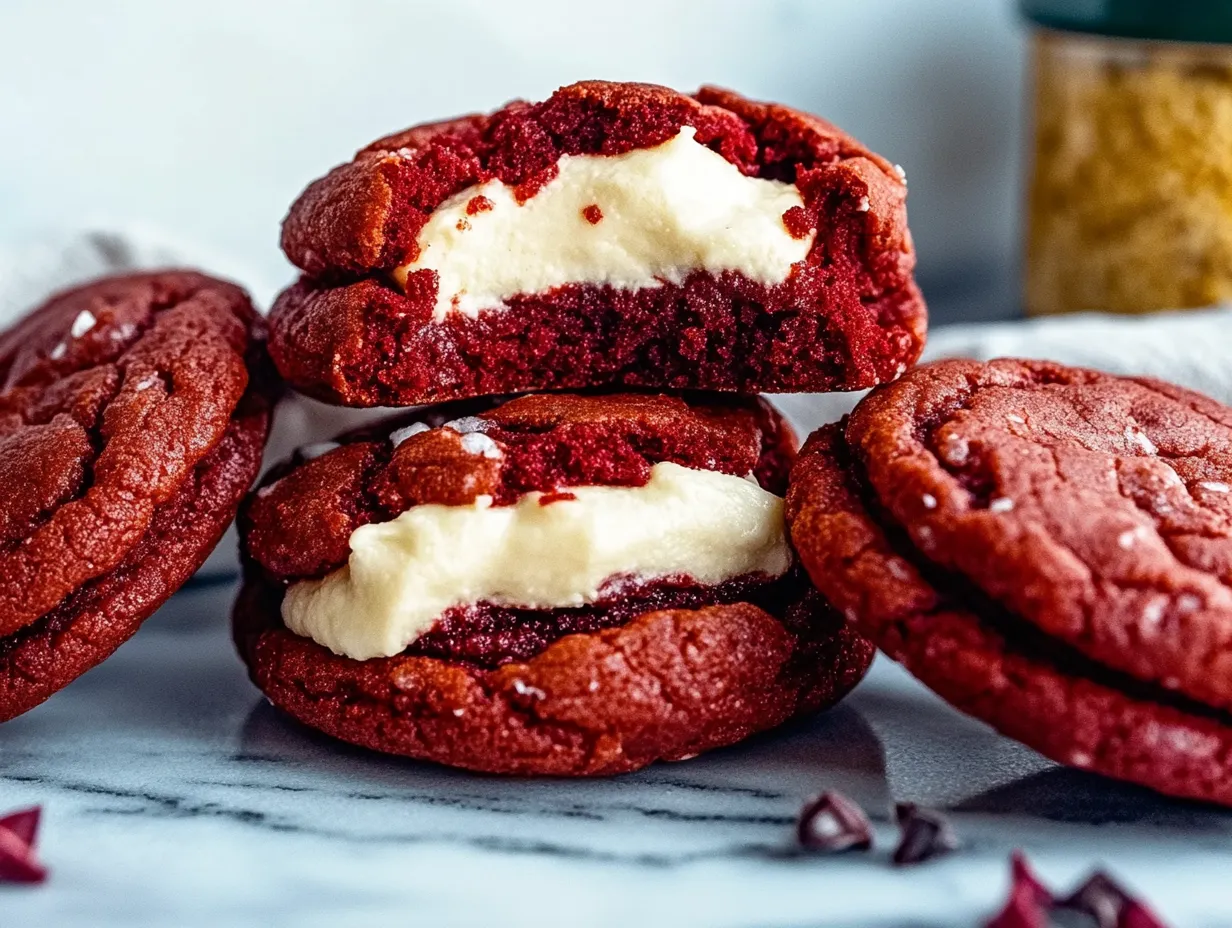
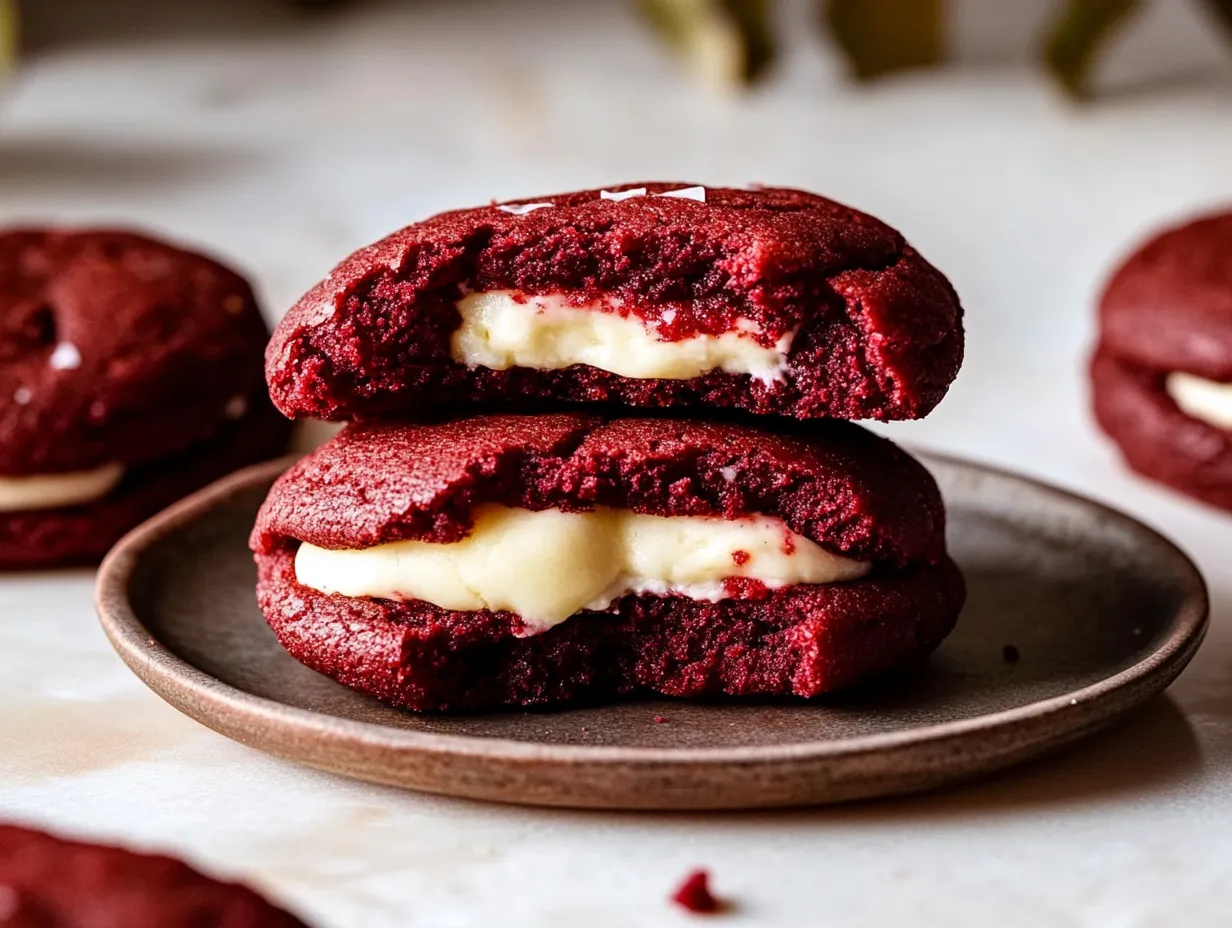
This cheesecake stuffed red velvet cookie recipe combines two beloved desserts into one show-stopping treat. Each cookie features a vibrant red velvet exterior with white chocolate chips, hiding a creamy cheesecake surprise in the center. The contrast between the soft, chocolatey cookie and tangy cheesecake filling creates an irresistible flavor experience perfect for holiday gatherings or special occasions.
I first made these cookies for a Christmas cookie exchange last year, and they disappeared faster than any other treat on the table. The recipe has since become my secret weapon whenever I need to bring something that guarantees compliments.
Ingredients
- Red Velvet Cookie Dough
- 1 cup Butter: barely softened for proper creaming
- 1 cup Brown Sugar: provides moisture and richness
- 1/2 cup Sugar: for the perfect sweetness balance
- 2 large Eggs: for structure and binding
- 2 teaspoons Vanilla Extract: enhances all flavors
- 2 teaspoons Red Food Coloring: creates that iconic vibrant color
- 1/3 cup Unsweetened Cocoa Powder: adds chocolate depth without excessive sweetness
- 3 cups Flour: provides structure, choose all-purpose for best results
- 1 teaspoon Baking Soda: gives proper rise
- 1/2 teaspoon Cornstarch: creates tender texture
- 1 teaspoon Salt: enhances all flavors, use half if using salted butter
- 1 3/4 to 2 cups White Chocolate Chips: adds creamy sweet bites throughout
- Cheesecake Filling
- 8-ounce package Cream Cheese: use full fat for richest flavor
- 1 cup Powdered Sugar: incorporates smoothly without grittiness
- 1 teaspoon Vanilla Extract: adds warmth and complexity
Step-by-Step Instructions
- Prepare the Cheesecake Centers:
- Beat cream cheese, powdered sugar, and vanilla until completely smooth with no lumps. Portion into 16 equal scoops on a parchment-lined tray. The freezing step is crucial; allow at least 45 minutes until centers are firm enough to handle without sticking to your fingers.
- Create the Cookie Dough:
- Cream the butter and sugars until noticeably lighter in color and fluffy in texture, about 3 minutes with an electric mixer. This incorporates air for a better texture. Add eggs one at a time, allowing each to fully incorporate before adding the next. Mix in vanilla and red food coloring until the vibrant red color is evenly distributed.
- Combine Dry Ingredients:
- Mix the flour, cocoa powder, baking soda, cornstarch and salt in a separate bowl until evenly combined. This prevents cocoa powder clumps and ensures even leavening. Gradually add this mixture to the wet ingredients in three batches, mixing just until no dry streaks remain. Overmixing will develop gluten and make cookies tough. Fold in white chocolate chips by hand to distribute evenly.
- Assemble the Cookies:
- Divide dough into 16 equal portions and flatten each into a disc about 3 inches wide. Place a frozen cheesecake ball in the center of each disc. Carefully fold the cookie dough around the filling, sealing completely and rolling into a smooth ball. Work quickly as the cheesecake centers will begin softening. Make sure no filling is exposed to prevent leaking during baking.
- Bake to Perfection:
- Space the cookies 2 inches apart on parchment-lined baking sheets. Bake at 350°F for 10 to 13 minutes. Look for set edges with slightly soft centers. The cookies will continue cooking from residual heat after removal. Immediately shape into perfect circles using a round object if desired. Allow to cool 5 minutes on the baking sheet before transferring to a wire rack.
 Pin it
The cornstarch in this recipe is my secret weapon for achieving that perfect bakery-style texture. I discovered this trick years ago when trying to recreate my grandmother's cookies, and it transforms even simple recipes into something special with its ability to create that tender, almost melt-in-your-mouth quality.
Storage Solutions
These cookies stay fresh in an airtight container at room temperature for 2-3 days, but the best way to maintain freshness is refrigeration. Store them in the refrigerator for up to 5 days, allowing them to come to room temperature before serving for the best texture and flavor experience. For longer storage, freeze completely cooled cookies individually wrapped in plastic wrap then placed in a freezer bag. When ready to enjoy, thaw unwrapped at room temperature for about an hour.
Troubleshooting Common Issues
If your cheesecake filling leaks during baking, your centers likely weren't frozen enough or the dough wasn't fully sealed around them. Ensure your cheesecake portions are frozen solid and take extra time sealing the dough completely around each center. Another common issue is cookies spreading too much during baking, which typically means the butter was too soft. Your butter should be cool to the touch and just pliable, not room temperature soft. If your kitchen is warm, refrigerate the assembled cookie dough balls for 15 minutes before baking.
Creative Variations
While these red velvet cookies are stunning as is, you can customize them for different occasions with simple tweaks. For Valentine's Day, add heart-shaped sprinkles on top after baking. During Christmas, mix in some green food coloring to half of your white chocolate for drizzling to create a festive red and green design. You can also experiment with flavoring the cheesecake filling—try adding a teaspoon of lemon zest for brightness or a quarter teaspoon of almond extract for sophisticated depth. For chocolate lovers, replace the white chocolate chips with semi-sweet chocolate chips in the dough and drizzle with dark chocolate instead.
Frequently Asked Questions
- → How do I ensure the filling doesn’t leak?
Make sure the cheesecake filling is frozen before wrapping it entirely in the dough. Seal all seams thoroughly to avoid leaks during baking.
- → Can I make the dough ahead of time?
Yes, you can prepare the dough up to two days in advance and store it in the fridge. Let it soften slightly before assembling the cookies.
- → What is the best way to achieve a perfect cookie shape?
Use a round spatula or the rim of a glass immediately after baking to gently shape the cookies while they are still warm.
- → What substitutions can I make for white chocolate chips?
You can replace white chocolate chips with dark or milk chocolate chips, or even festive sprinkles for a colorful touch.
- → How should these cookies be stored?
Store them in an airtight container at room temperature for up to 3 days, or refrigerate for up to a week for extended freshness.