
 Pin it
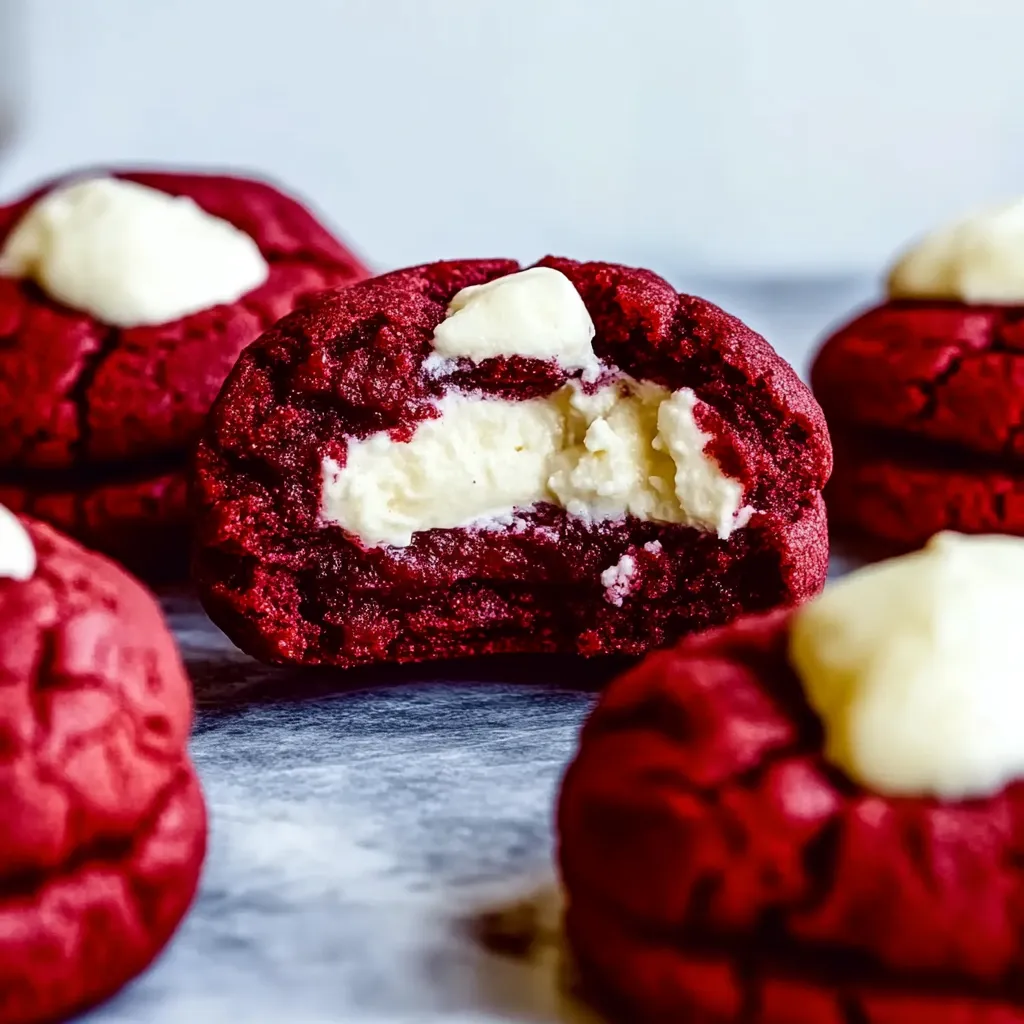
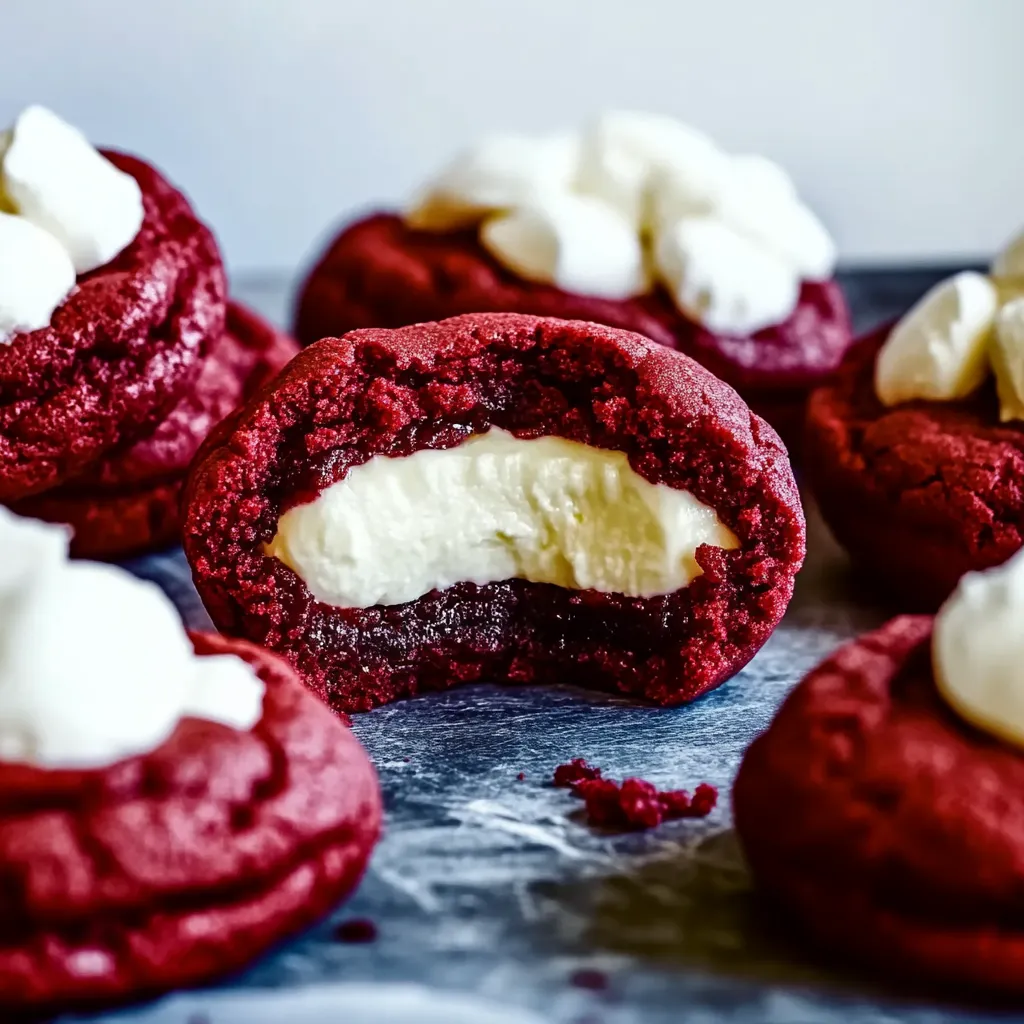
This cheesecake-stuffed red velvet cookie recipe transforms ordinary cookies into a decadent treat with a creamy surprise center. The vibrant red cookie dough studded with white chocolate chips creates a stunning contrast when you bite into the sweet cheesecake filling.
I first made these cookies for a Christmas cookie exchange and they disappeared faster than any other treat. The contrast between the chocolatey red exterior and creamy center reminds me of red velvet cake in portable form.
Ingredients
- Butter: Use barely softened butter for the perfect cookie texture that wont spread too much
- Brown Sugar: Creates a deeper flavor profile and chewy texture in the cookies
- Eggs: Provide structure and richness to help bind everything together
- Red Food Coloring: Gel coloring gives the most vibrant color without thinning the dough
- Unsweetened Cocoa Powder: Adds the subtle chocolate flavor authentic to red velvet desserts
- White Chocolate Chips: Creates beautiful contrast against the red dough and complements the cream cheese filling
- Cream Cheese: The star of the filling must be barely softened for proper freezing
- Powdered Sugar: Dissolves smoothly into the cream cheese without adding graininess to the filling
- Vanilla Extract: Enhances both the cookie dough and filling with warm aromatic notes
Step-by-Step Instructions
- Prepare Cheesecake Centers:
- Beat cream cheese until completely smooth before adding powdered sugar and vanilla. Avoid overmixing which can make the filling too soft. Portion into 16 equal scoops on parchment paper and freeze until firm enough to handle approximately 45 minutes to one hour. This patience ensures your filling stays intact during baking.
- Create Cookie Dough:
- Begin by thoroughly creaming the butter and sugars until the mixture becomes noticeably lighter in both color and texture about 3 to 4 minutes with an electric mixer. Add eggs one at a time allowing each to fully incorporate before adding the next. The red food coloring should be added with vanilla for even distribution throughout the dough creating that signature vibrant red color.
- Combine Dry Ingredients:
- Mix your flour cocoa powder cornstarch baking soda and salt in a separate bowl before gradually incorporating into the wet mixture. This prevents pockets of dry ingredients in your final dough. Fold in white chocolate chips gently to avoid overmixing which would result in tough cookies.
- Form Stuffed Cookies:
- Divide dough into 16 equal portions and flatten each into a disc about 3 inches wide. Place a frozen cheesecake ball in the center of each disc and carefully wrap the dough completely around the filling. Ensure no filling is exposed by pinching any seams closed then roll between your palms to form a smooth ball.
- Bake To Perfection:
- Bake at exactly 350°F for 10 to 13 minutes watching carefully for set edges while centers remain slightly soft. The cookies will continue cooking from residual heat after removal from oven. Immediately shape into perfect circles using a round spatula or glass rim while still hot and pliable.
- Cool Properly:
- Allow cookies to firm up on the baking sheet for exactly 5 minutes before transferring to a wire rack. This critical cooling period prevents breakage and allows the structure to set while the filling remains warm and melty inside.
 Pin it
My favorite part about these cookies is watching people take their first bite. The surprise on their faces when they discover the cheesecake center never gets old. My daughter now requests these for her birthday instead of actual cake.
Storage Tips
These cookies will stay fresh in an airtight container at room temperature for up to 2 days. For longer storage refrigerate for up to 1 week due to the cream cheese filling. Allow refrigerated cookies to come to room temperature before serving for the best texture and flavor experience. When freezing formed but unbaked cookies place them on a baking sheet until solid then transfer to freezer bags marked with the date.
Troubleshooting Guide
If your cheesecake filling oozes out during baking your balls likely werent frozen enough before assembly. Return them to the freezer for an additional 15 minutes before trying again. For cookies that spread too much during baking chill the formed cookie dough balls for 15 minutes before baking. This helps them maintain their shape and keeps the filling properly centered during the baking process.
Making Ahead Options
You can prepare both the cookie dough and cheesecake filling up to 2 days ahead. Store the cookie dough wrapped tightly in plastic in the refrigerator and the portioned cheesecake balls in the freezer. You can also freeze fully assembled unbaked cookie balls for up to one month simply add 2 minutes to the baking time when cooking from frozen.
Frequently Asked Questions
- → How do I prevent the cheesecake from leaking out?
Ensure the cheesecake filling is frozen and fully enclosed within the cookie dough before baking. Pinch the seams tightly to seal.
- → Can I make these cookies ahead of time?
Yes, you can store baked cookies in an airtight container for up to 3-4 days or freeze the unbaked stuffed dough balls for later baking.
- → What type of food coloring should I use?
Use red gel food coloring for vibrant color without altering the dough consistency.
- → How do I customize the cookie texture?
For thinner cookies, use less flour or flatten the dough balls. For thicker cookies, use more flour and roll dough into larger balls.
- → Can I substitute the white chocolate chips?
Yes, you can use dark or milk chocolate chips, or even omit them altogether if preferred.