
 Pin it
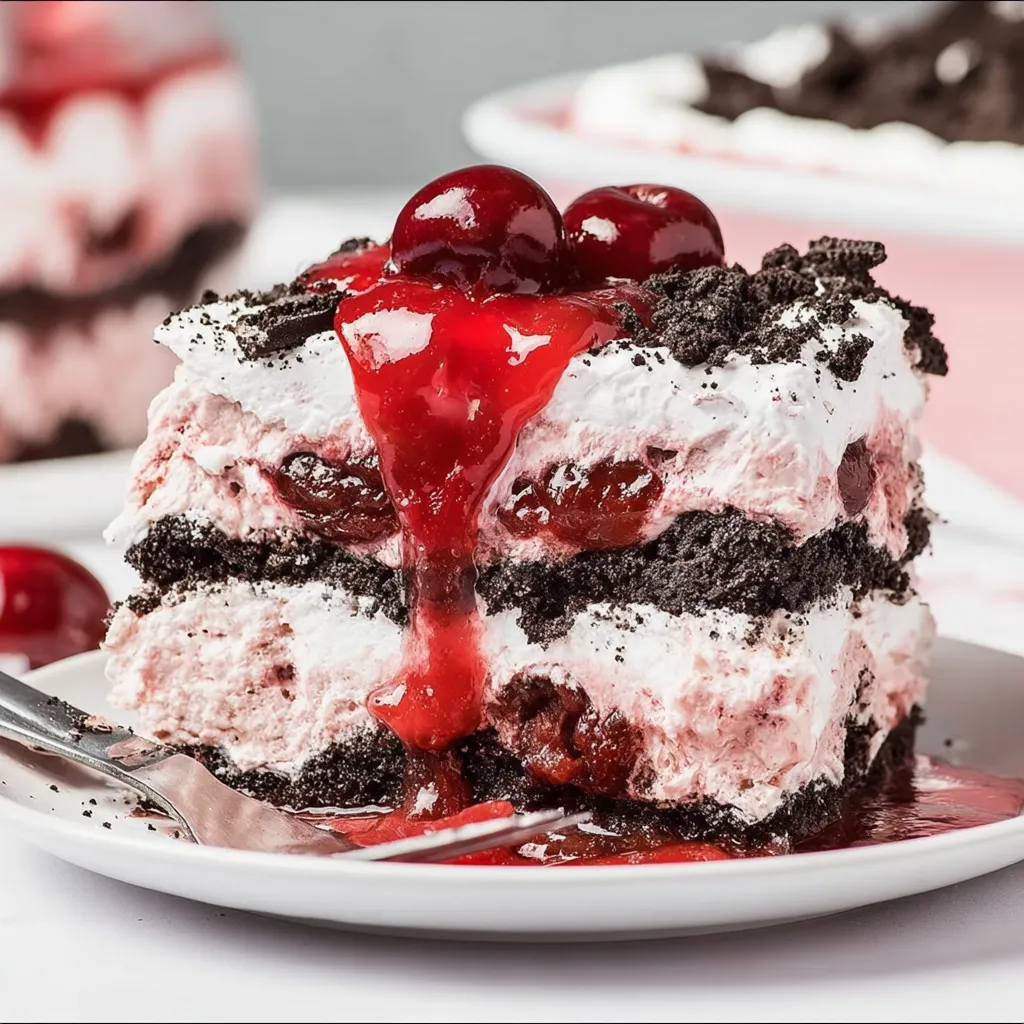
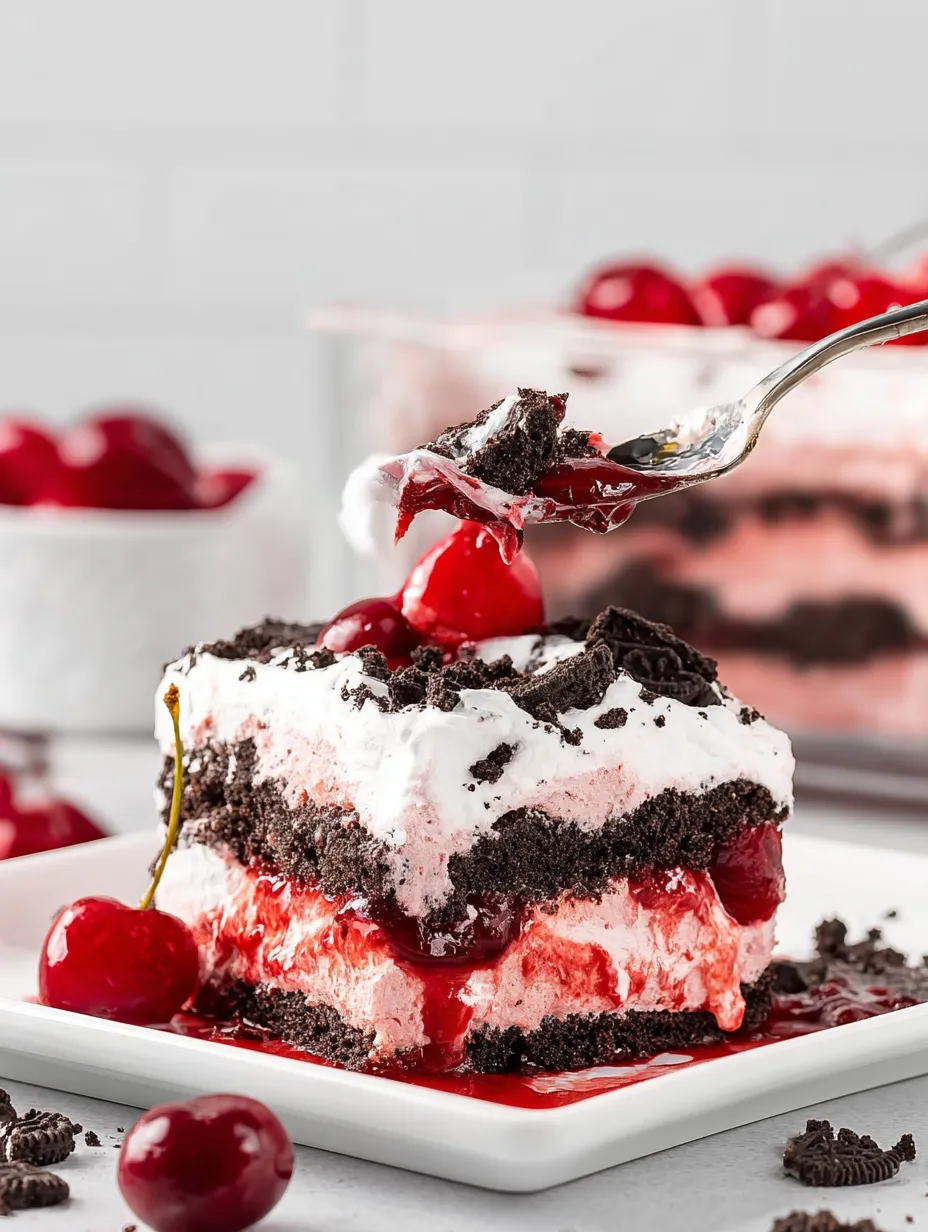
This Black Forest Icebox Cake is my go-to dessert when I crave rich chocolate flavor with cherries without turning on the oven. These cool creamy layers come together fast yet taste like you worked for hours. Perfect for summer parties or when you want a show stopping treat with zero fuss.
When I first made this cake, it disappeared from the fridge overnight—my family thought it was straight from a bakery. Now it is a birthday staple for my daughter, who requests extra cherries on top.
Ingredients
- Cream cheese: Softens up the filling for a tangy rich base. Look for full-fat cream cheese and let it come to room temperature for smooth blending.
- Granulated sugar: Balances the tang of the cream cheese. Choose fine white sugar so it dissolves easily.
- Pure almond extract: Adds a subtle nutty fragrance which lifts the cherry flavor. Try to find a good quality pure almond extract.
- Pure vanilla extract: Rounds out all the sweet flavors. Pick real vanilla for best taste.
- Cherry pie filling: Gives juicy fruit layers and a classic Black Forest flavor. Choose a filling with whole cherries for a more authentic bite.
- Whipped topping: Makes each layer light and fluffy with less effort than homemade whipped cream. Always thaw before folding into the mixture.
- Oreo cookies: Create soft chocolate cake-like layers. Select fresh packaged cookies, not crushed or stale, for the right texture.
- Whole milk: Used to soften the cookies slightly so they meld into the creamy layers. Whole milk keeps things rich but not heavy.
Step-by-Step Instructions
- Prepare the Cream Cheese Base:
- In a large bowl, use a hand mixer or stand mixer to blend the cream cheese, granulated sugar, almond extract, and vanilla extract at medium-high speed. Mix for about two minutes until completely smooth and fluffy. Make sure no lumps remain for the silkiest texture.
- Fold in Cherries and Whipped Topping:
- Gently fold one and one-quarter cups of cherry pie filling into the cream cheese mixture. Add three cups of thawed whipped topping and fold carefully until the color is even and everything is light and airy. Set aside for layering.
- Create the Whipped Topping Base:
- Spread a quarter cup of whipped topping in the bottom of a nine by nine-inch baking dish. This thin layer keeps the cookies from sticking and starts your creamy base.
- Layer Dipped Oreos:
- Briefly dip half of the Oreo cookies, one at a time, into the cold milk, making sure each is coated but not soggy. Line the dipped cookies tightly on top of the whipped topping base, covering the bottom.
- Spread Cream Cheese Cherry Mixture:
- Use an offset spatula to evenly cover the Oreo layer with half of the cream cheese cherry filling. Try to push some of the mixture to the edges for a nice clean slice later.
- Repeat Cookie and Cream Layers:
- Dip the remaining cookies in milk and layer them on top of the first cream cheese mixture. Spoon the rest of the cream cheese cherry mixture over these cookies and smooth the top.
- Add Final Whipped Topping Layer:
- Evenly spread the remaining whipped topping over the entire cake, making sure to cover every bit for a pretty finish.
- Chill and Finish:
- Cover the dish with plastic wrap and chill the cake for at least six hours or overnight. Just before serving, evenly spread the remaining cherry pie filling across the top for that signature Black Forest look. Slice and serve cold.
 Pin it
Storage Tips
This cake keeps beautifully in the refrigerator for up to three days tightly covered with plastic wrap. The layers become more flavorful as they chill. For best texture do not freeze as the whipped topping may become grainy once thawed.
Ingredient Substitutions
You can swap out the cherry pie filling for a homemade mix of fresh pitted cherries simmered with a bit of sugar and cornstarch if you want a less sweet option. Chocolate wafer cookies or even graham crackers also work well in place of Oreos for a different flavor profile.
Serving Suggestions
Serve each slice topped with extra whipped cream, a handful of chocolate shavings, or a few fresh cherries. This cake pairs beautifully with a small scoop of vanilla ice cream or a shot of espresso to balance the richness.
Cultural Context
Inspired by the famous Black Forest cake from Germany, this American icebox version skips the sponge and Kirsch in favor of speed and convenience. It celebrates the classic chocolate-cherry pairing that has charmed dessert lovers worldwide for generations.
Frequently Asked Questions
- → Can I use a different cookie instead of Oreos?
Yes, you can substitute Oreos with other chocolate cookies, graham crackers, or your favorite alternatives. Keep in mind the flavor balance with the cherry and cream layers.
- → How long does the cake need to chill?
Let the cake chill for at least 6 hours or overnight to ensure the cookies soften and the flavors meld perfectly.
- → Can I use fresh cherries instead of cherry pie filling?
Yes, fresh cherries can be used, but you may need to prepare a cherry compote or mixture with sugar for similar sweetness and consistency.
- → What can I use as a whipped topping substitute?
Homemade whipped cream or stabilized whipped cream can replace store-bought whipped toppings if preferred.
- → Is this dessert suitable for freezing?
Yes, you can freeze the icebox cake for up to a month. Thaw it in the refrigerator for a few hours before serving for best results.