
 Pin it
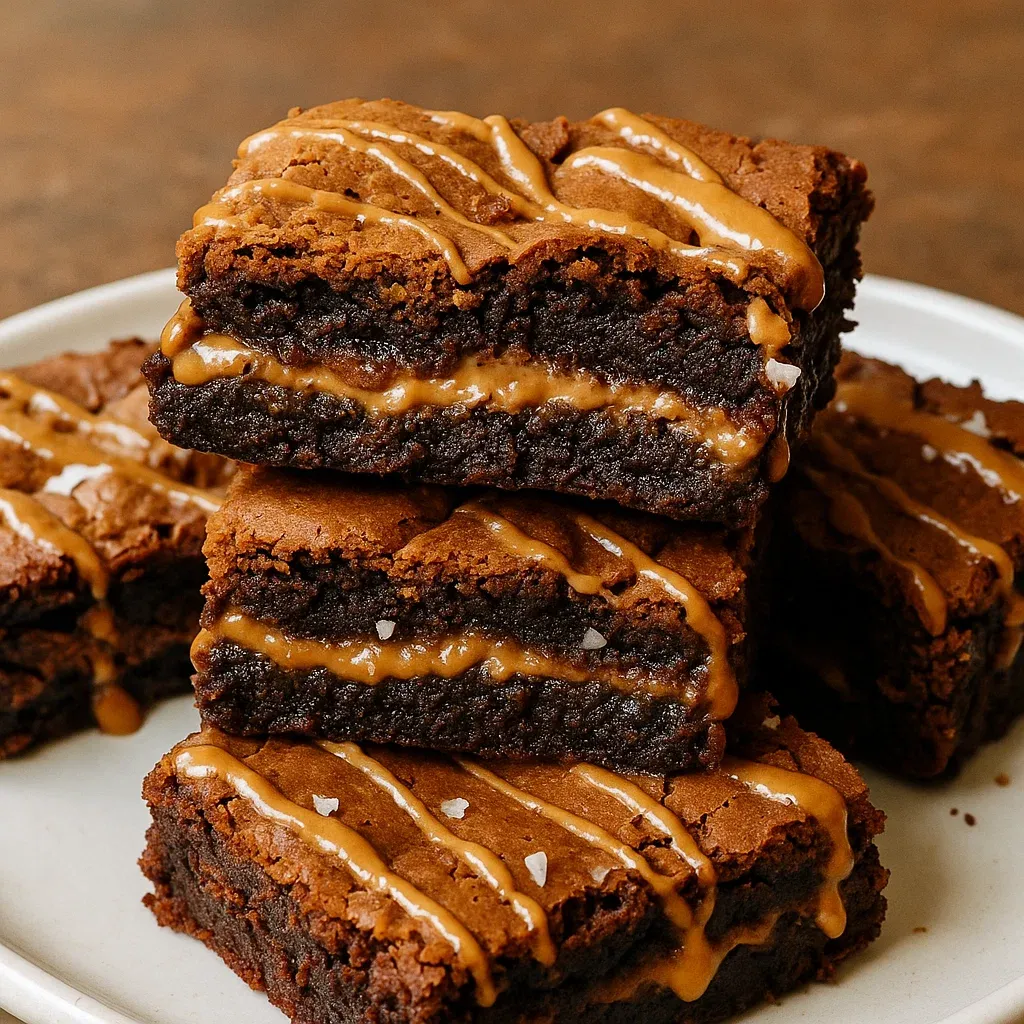
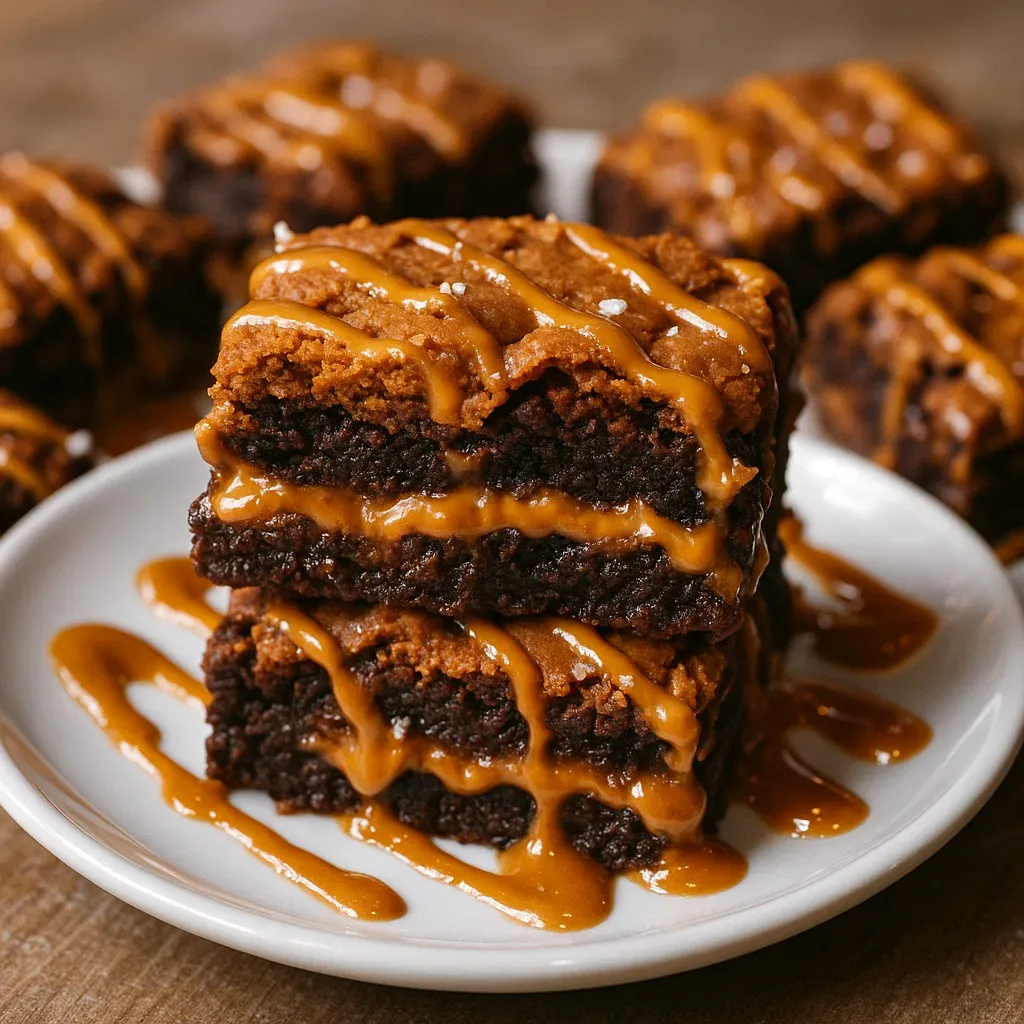
This fudgy Biscoff brownie recipe transforms ordinary chocolate brownies into a caramelized cookie butter dream. The combination of rich chocolate, gooey Biscoff center, and cookie crumbles on top creates an irresistible dessert that disappears quickly at every gathering.
I first made these brownies for a holiday cookie exchange and they upstaged every traditional cookie there. What started as an experiment with leftover cookie butter has become my most requested dessert for family gatherings.
Ingredients
- Biscoff cookie butter: gives these brownies their signature caramelized spice flavor while creating the gooey center layer
- Brown sugar: enhances the molasses notes in the cookie butter for depth of flavor
- Granulated sugar: balances sweetness and helps create that perfect crackly brownie top
- Eggs and egg yolk: provide structure while keeping the texture moist and rich
- Vanilla extract: complements both the chocolate and cookie butter flavors
- Unsalted butter: creates richness and allows you to control the salt content
- Semisweet chocolate chips: melt perfectly for the base use high quality for best results
- Dutch cocoa powder: provides deeper chocolate flavor than natural cocoa
- All-purpose flour: gives structure keep it measured correctly for perfect texture
- Espresso powder: intensifies the chocolate flavor without tasting like coffee
- Fine sea salt: balances sweetness and enhances all flavors
- Biscoff cookies: add texture and visual appeal to the top
Step-by-Step Instructions
- Prep The Cookie Butter Layer:
- Freeze a layer of cookie butter in the shape of your pan. This technique creates the perfect middle layer without it melting completely into the brownie batter. Make sure it’s completely solid before using or you’ll lose the distinct layers.
- Create The Brownie Base:
- Whisk together sugars, eggs, and vanilla until fully incorporated. The mixture should be smooth and slightly thickened, which helps create that classic brownie texture.
- Melt The Chocolate Mixture:
- Gently melt butter and chocolate together until glossy and smooth. This can be done in a double boiler or microwave in short bursts. Add cocoa powder while still warm for the richest flavor development.
- Combine Wet Ingredients:
- Whisk the melted chocolate mixture into the egg mixture using gentle folding motions. Mix just until combined to avoid developing too much gluten, which would make brownies tough.
- Add Dry Ingredients:
- Fold in flour, espresso powder, and salt with a light hand. Stop mixing as soon as the flour disappears to keep brownies tender. Overmixing at this stage is the most common cause of dry brownies.
- Layer The Components:
- Pour half the batter into your prepared pan creating an even foundation. Place the frozen cookie butter square on top then cover with remaining batter. This strategic layering ensures the cookie butter stays in the middle.
- Add Toppings:
- Arrange broken Biscoff cookies on top and drizzle with melted cookie butter. These toppings not only look beautiful but also signal the surprise waiting inside.
- Bake To Perfection:
- Bake until just set with a few moist crumbs on a toothpick. The 30 to 40 minute range allows for different ovens, but remember brownies will continue cooking slightly as they cool.
 Pin it
You Must Know
- These brownies actually taste better the next day as flavors meld together
- The espresso powder is undetectable but makes the chocolate taste richer
- The freezing technique works with other fillings like caramel or peanut butter
- Proper pan material matters – metal conducts heat more evenly than glass
The cookie butter is truly the star ingredient here. I discovered Biscoff spread during a trip to Belgium and became obsessed with incorporating it into desserts. My daughter now requests these brownies instead of birthday cake every year, which I consider the ultimate compliment.
Troubleshooting Your Brownies
If your brownies seem undercooked in the center but the edges are done, it might be due to the cookie butter layer. Always check with a toothpick inserted at multiple points. Remember that fudgy brownies should have moist crumbs, not wet batter. The cookie butter layer will remain slightly softer than the brownie portions even when fully baked.
Perfect Cutting Technique
For clean, professional-looking slices, refrigerate the completely cooled brownies for 1 hour before cutting. Use a large, sharp knife wiped clean between cuts and dipped in hot water. This prevents the gooey center from sticking and dragging through your beautiful layers. Let brownies return to room temperature before serving for the best texture experience.
Make Ahead Options
These brownies freeze beautifully after baking. Wrap individual pieces in plastic wrap then place in a freezer bag. Thaw at room temperature for about an hour before serving. You can also prepare the cookie butter layer up to a week in advance and keep it frozen until ready to assemble the brownies. This makes the day of baking much simpler.
Frequently Asked Questions
- → How do I prevent the cookie butter layer from melting too much?
Freeze the cookie butter layer until it's completely firm before adding it to the brownie batter to ensure it holds its shape during baking.
- → Can I substitute semi-sweet chocolate chips with another type?
Absolutely, you can use dark chocolate chips or milk chocolate chips, depending on your preference for sweetness.
- → How long should I let the brownies cool before cutting?
Allow the brownies to cool completely in the pan on a wire rack before cutting. This helps them set properly for clean slices.
- → What’s the best way to store leftovers?
Store leftovers in an airtight container at room temperature for 2-3 days, or freeze them in an airtight container for up to 1 month.
- → Can I skip the espresso powder?
Yes, you can skip the espresso powder, but it enhances the chocolate flavor without adding a coffee taste.
- → What’s the easiest way to measure flour for this recipe?
Use the spoon-and-level method: fluff the flour, spoon it into your measuring cup, and level it off with a straight edge to avoid overpacking.